Wedding Photography Editing Styles, Techniques & Ideas to Try in 2025
Posted by Team Aftershoot
Updated: February 3, 2026
Chapters
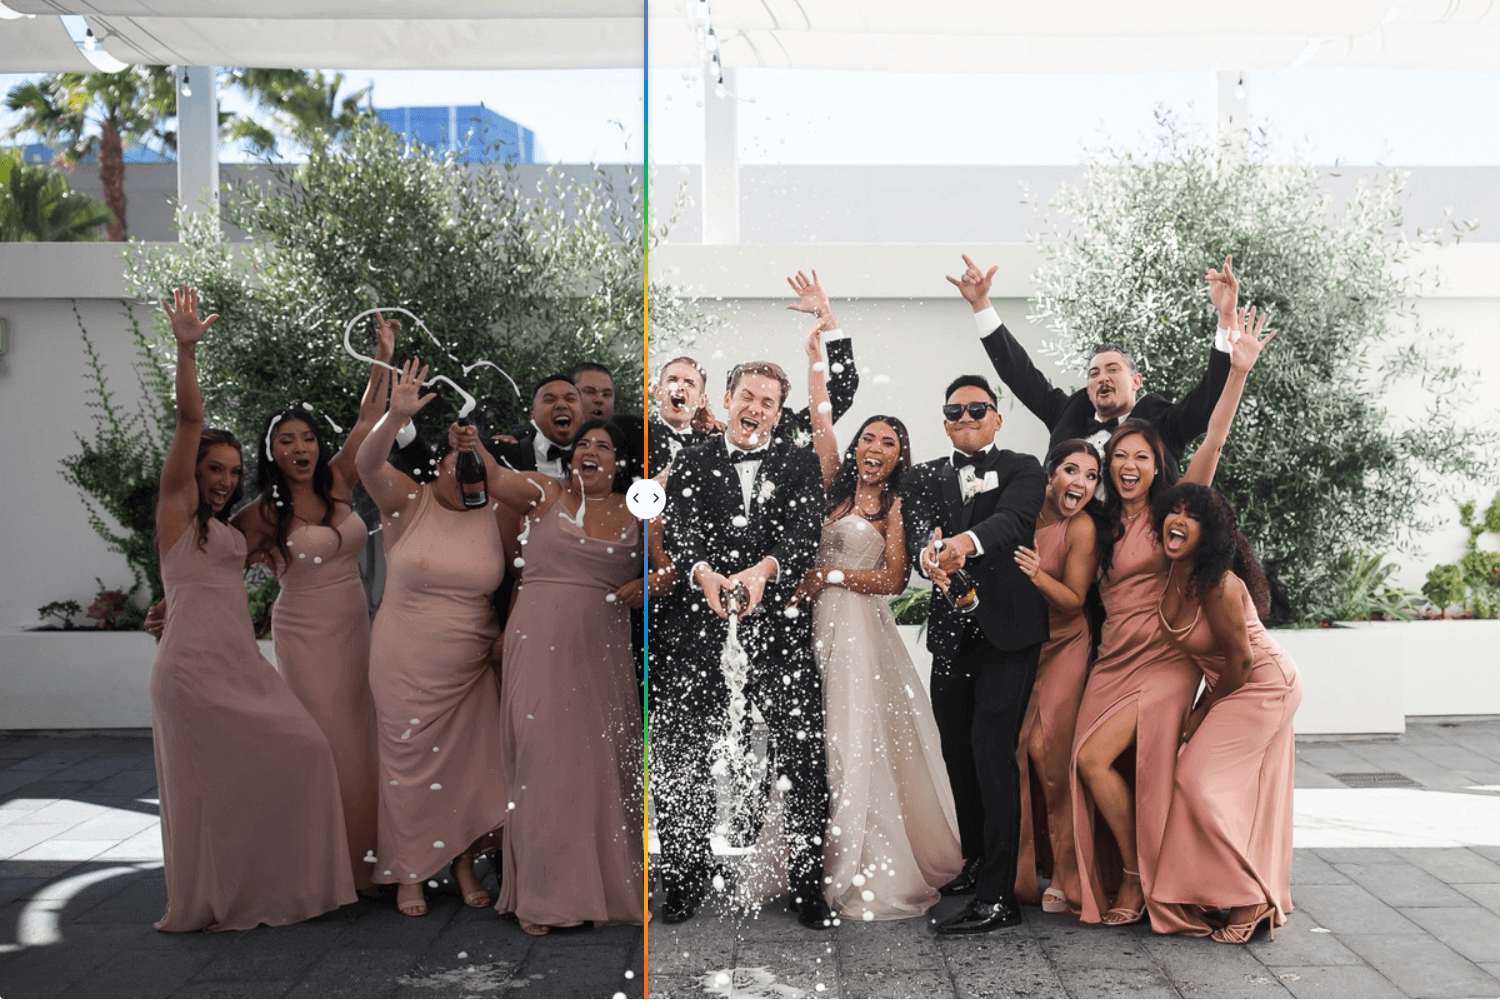
You shot a perfect wedding where the raw images captured the “love is in the air” vibe, but something felt missing in the final product. The shot’s set up great, but the real thing just did not do justice to the artistic vision in your head when you set it up.
Don’t lose hope. It’s the editing that makes all the difference here. Forget generic adjustments – we’re talking about crafting a consistent photo editing style that makes your clients feel like, “Damn, this photographer did an amazing job and I’ll be recommending them to everyone.”
Wedding photography editing styles and techniques are where your technical expertise meets artistic vision, transforming those captured moments into the story you want to tell. Although clicking the perfect moment is the most important job, it’s your editing choices that truly define your style.
Consistency in editing becomes your visual signature and shapes how clients perceive your work. Do your photos lean towards a timeless elegance with moody monochromes? Or do you bring your subjects to life with vibrant color palettes?
Join us as we explore different wedding photography editing styles, techniques, and ideas to bring your vision to life. This guide will equip you with the knowledge and tools to create stunning wedding photo albums that your clients will cherish forever. Let’s unlock the secrets behind wedding photography editing together.
Essential Editing Requirements for Wedding Photos
Before we begin, let’s lay down some of the prequisites. It’s important to plan your photography editing workflowbefore you start making creative adjustments. These essential checks ensure your wedding photos are safe, organized, and ready for editing.
Backup Raw Files
Wedding photos are irreplaceable treasures capturing a couple’s special day. That’s why safeguarding your original, unedited RAW files is paramount. Invest in reliable external hard drives and cloud storage solutions to create a robust backup system. This ensures you have pristine copies in case of accidental deletion or hardware failure.
Organizing and Culling Photos
Once your backup is complete, you can move on to organizing and culling your photos. In this step, we are dealing with thousands of images. To avoid feeling overwhelmed, embrace the power of organization. Most editing software comes with built-in tagging and categorization features. Use these tools to group photos by ceremony, reception, or key moments.
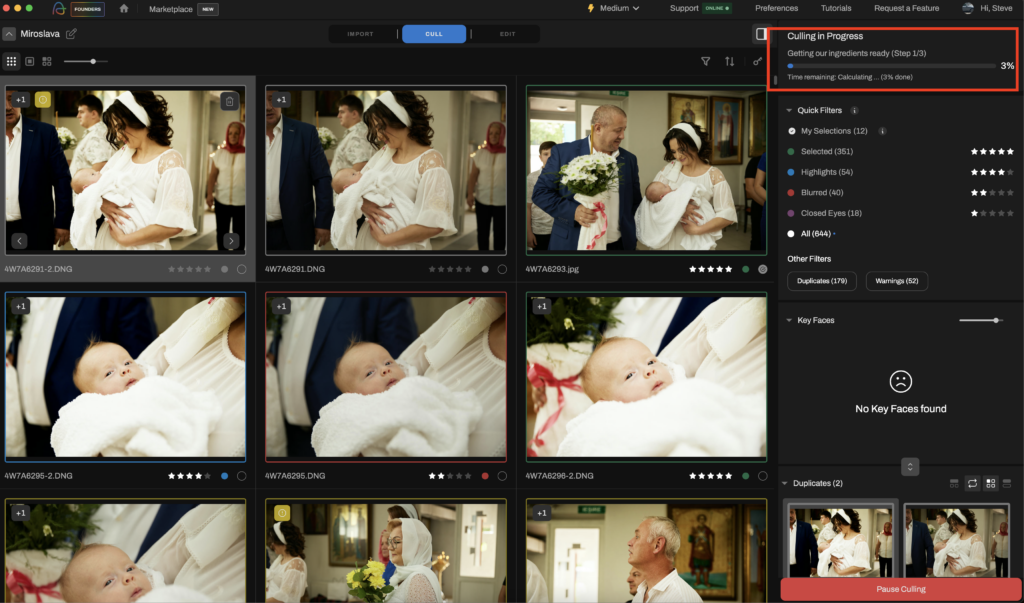
Next comes the crucial step of culling, where you select the best images and discard blurry, repetitive, or out-of-focus shots. Traditionally, this can be a time-consuming process.
However, with AI-powered culling software like Aftershoot, it is easier to analyze your photos and identify strong contenders based on factors like sharpness, exposure, and composition. These tools can significantly accelerate the process, freeing up your time to focus on the finer details of your editing.
Calibrate your monitor
To ensure your editing reflects your artistic intent, calibrating your monitoris crucial. This process adjusts your display’s settings to accurately represent colors and prevent edits that might appear different when viewed on other devices.
5 Creative Wedding Photography Editing Styles, Techniques & Ideas You Should Try Out
Now that your photos are safely backed up, organized, and culled, it’s time to unleash your creativity! As a photographer, this is where we want to show our personality, style, and uniqueness.
By consistently using specific creative editing techniques, photographers develop a recognizable signature style. This visual language becomes their calling card, attracting clients who resonate with their artistic approach. Don’t be afraid to experiment, push boundaries, and discover your unique style.
Below, we’ve outlined a mix of basic, advanced, and creative wedding photo editing styles, ideas, and techniques to help you get started.
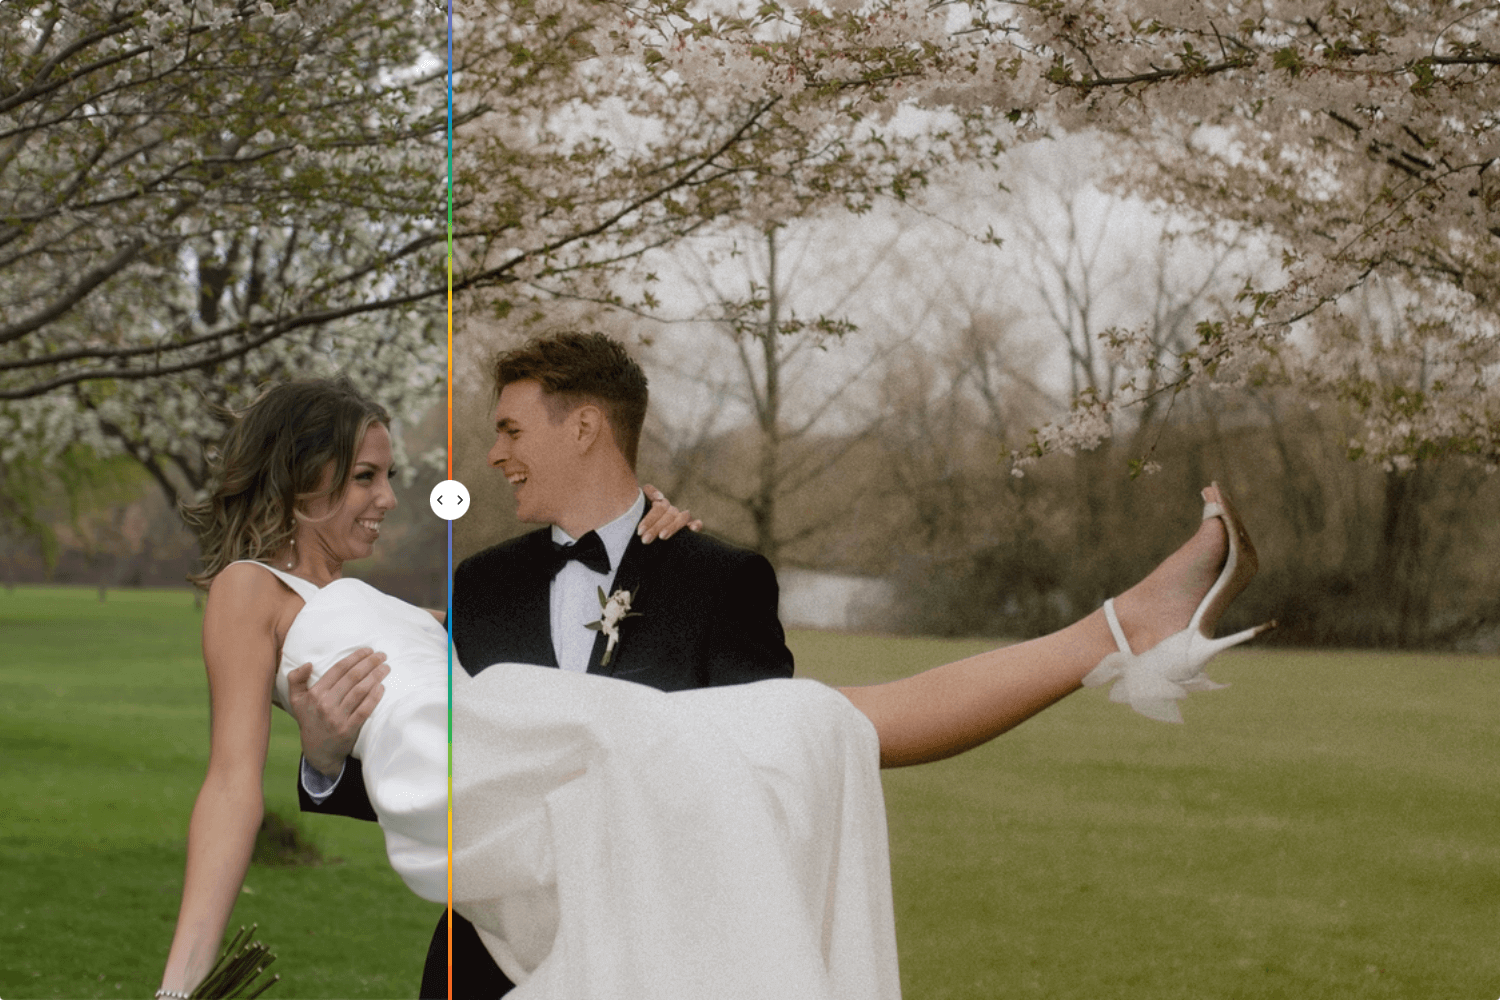
#1 – Cassidy Lynne’s Creamy Dreamy Style
Add a soft dreamy look to your photos to make your clients’ special day one to remember. This is an editorial, subtle, and soft editing style, with true-to-color edits and ultra creamy skin tones.
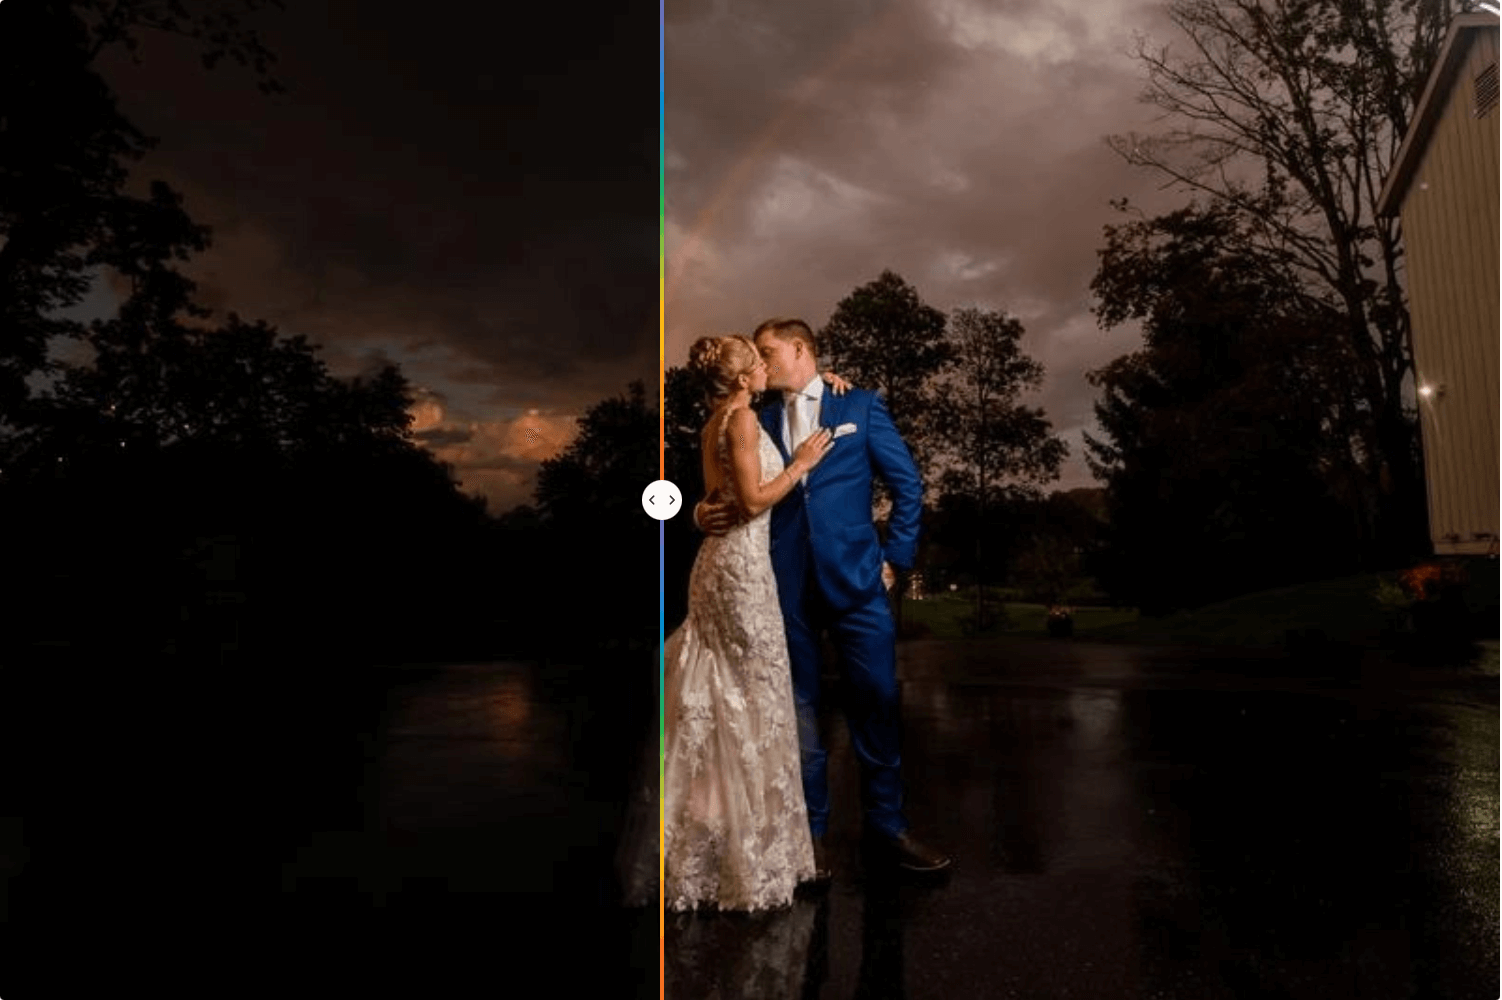
From Aftershoot co-founder Justin Benson comes this complex style that plays with exposure to draw out the details. By underexposing pictures during the shoot and cranking up the exposure during post, this editing style plays with highlights and shadows beautifully.
Sometimes a picture speaks for itself, and nothing spells romance more than nostalgic black and white captures that highlight raw emotions free from any distractions.
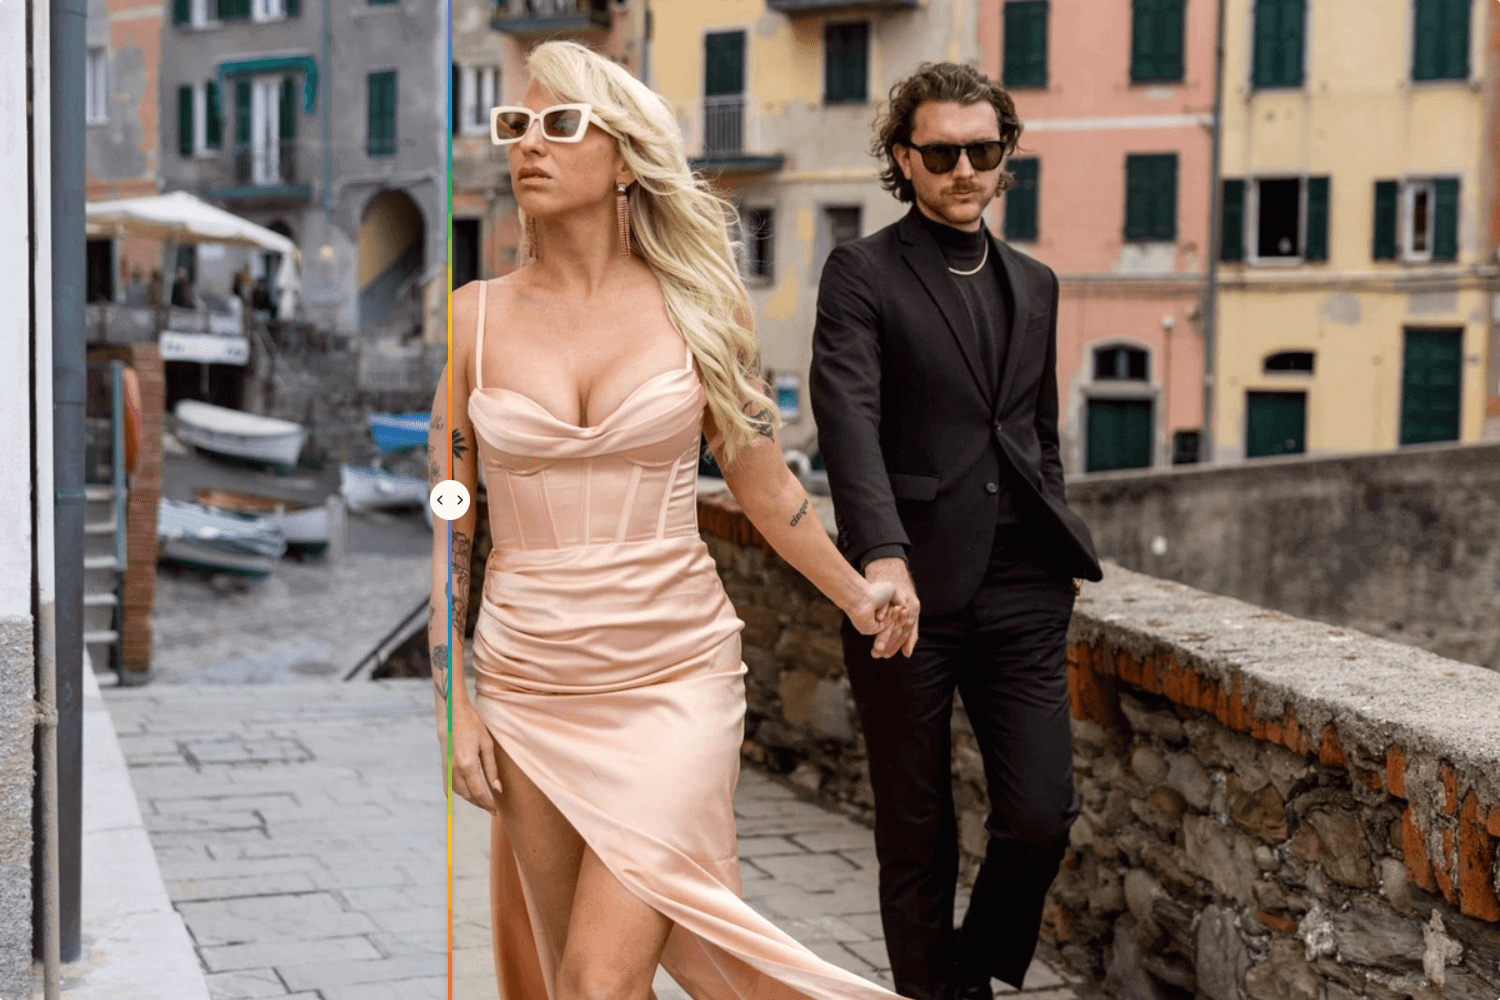
One of the most popular AI styles on Aftershoot, Kreate Naturelle gives off a feeling of refined luxury and elegance while staying bold, vibrant, and true to life.
9 Manual Wedding Photo Editing Styles and Techniques
Don’t feel like playing around with AI just now and want to do the work yourself? We have some editing ideas and tips for you too!
#1 – Exposure and Contrast
Although the wedding day might be perfect, the lighting may not. Don’t gamble on a single exposure, especially with unpredictable lighting. Embrace bracketing to capture a range of exposures, ensuring you capture detail in highlights and shadows.
Merging these exposures in post-processing unlocks the full dynamic range of the scene, preserving the delicate details of a white wedding dress or the vibrant colors of a sunset ceremony.
While contrast sliders offer a starting point, consider more nuanced techniques. Utilize Dodge and Burn tools to adjust contrast selectively. Dodge specific areas to brighten details in shadows, like the bride’s eyes or the groom’s boutonniere. Conversely, burn down distracting elements or overblown highlights to create a more focused composition.
Remember, a one-size-fits-all approach rarely works. Utilize tools like graduated filters or luminosity masks to adjust exposure and contrast in specific areas.
This allows you to brighten a backlit couple while maintaining the richness of the background shadows, or darken distracting elements like busy backgrounds without affecting the main subject.
#2 – White Balance
Most editing software offers various white balance presets like “daylight” or “tungsten,” or allows you to adjust the color temperature manually. Choose the setting that best represents the lighting environment where the photo was taken.
Don’t be afraid to crop aggressively to remove distracting elements in the foreground or background. This allows you to focus on the central subject and create a cleaner, more impactful composition.
Remember, cropping isn’t just about aesthetics. Use it strategically to guide the viewer’s eye and tell a story.
A tight crop on a couple’s joyful embrace creates intimacy, while a wider crop showcasing the wedding venue might set the scene.
#4 – Skin Retouching
Frequency separation allows for selective adjustments. Target high-frequency areas for smoothing blemishes while preserving essential low-frequency details like skin texture and wrinkles. This ensures a natural, flawless look that avoids the dreaded “plastic skin” effect.
#5 – Color Grading
Creating a consistent visual style across an entire wedding gallery is crucial. Develop custom presets or utilize Look Up Tables (LUTs) to achieve a cohesive color palette. Remember, subtle adjustments can make a world of difference. Opt for natural color palettes that flatter skin tones and enhance the overall mood of the wedding day.
A great way to do this is to utilize the Creator AI Profile on Aftershoot. Your previously edited images become the building blocks for a custom AI profile.
This feature then adapts your wedding photography editing style and applies it automatically to all your selected photos. It also helps to make sure all your edits are consistent.
#6 – Noise Reduction and Sharpening
Low-light photos often introduce unwanted noise. Utilize noise reduction tools strategically, focusing on reducing noise in specific areas like shadows without compromising image detail. Pair noise reduction with subtle sharpening to enhance micro-details and ensure your photos appear crisp and professional.
#7 – Black and White Conversion
Black and white conversion isn’t a one-size-fits-all technique, but a powerful tool for professional wedding photographers to evoke specific emotions and create timeless narratives. Black and white strips away color distractions, allowing raw emotion to take center stage.
Use it for intimate moments like stolen glances, heartfelt speeches, or first dances. Or accentuates textures like lace on a wedding dress, the intricate details of floral arrangements, or the weathered brick of a historic building.
#8 – Adding Vignettes
Vignettes are a subtle yet impactful way to direct the viewer’s attention. A gentle darkening of the image edges naturally draws the eye toward the central subject, creating a sense of focus and intimacy.
Experiment with the intensity and feathering of your vignettes to achieve a look that complements your overall composition. Oval vignette creates a traditional, portrait-style vignette, ideal for timeless wedding photos. While a creative vignette helps you bring your artistic vision to life.
If you are looking to create timeless wedding photos, we suggest you try Aftershoot’s Kreate Naturelle AI Styleon the Aftershoot marketplace. Now what is that? AI styles are pre-built wedding editing presets that photographers can use on Aftershoot. All you need to do is select the profile and apply. To learn more on how to use AI styles on Aftershoot, discover here.
#9 – Artistic Effects
Wedding photography extends beyond replicating reality. Creative filters and overlays offer a playground for artistic exploration. A great wedding photography editing technique is to Infuse your photos with a touch of vintage charm with light leaks and film grain textures.
Experiment with selective color grading to create a dreamlike, ethereal quality for artistic portraits. However, remember, subtlety is key.
Overdoing artistic effects can detract from the authenticity of the wedding day. Use them strategically to enhance your storytelling and create a cohesive visual style for the entire gallery.
How to Use AI to Edit Photos with a Few Simple Clicks on Aftershoot
Did we tell you that you can do all this on Aftershoot with just a few clicks? Let’s talk about how to edit wedding photos using AI. It’s super simple, quick, and efficient.
Step 1: Import and Cull your Photos
To kick off a new project, head to Aftershoot’s home screen and hit “+ New Album.” From there, choose “Start Culling” and upload the images you’re ready to work with.
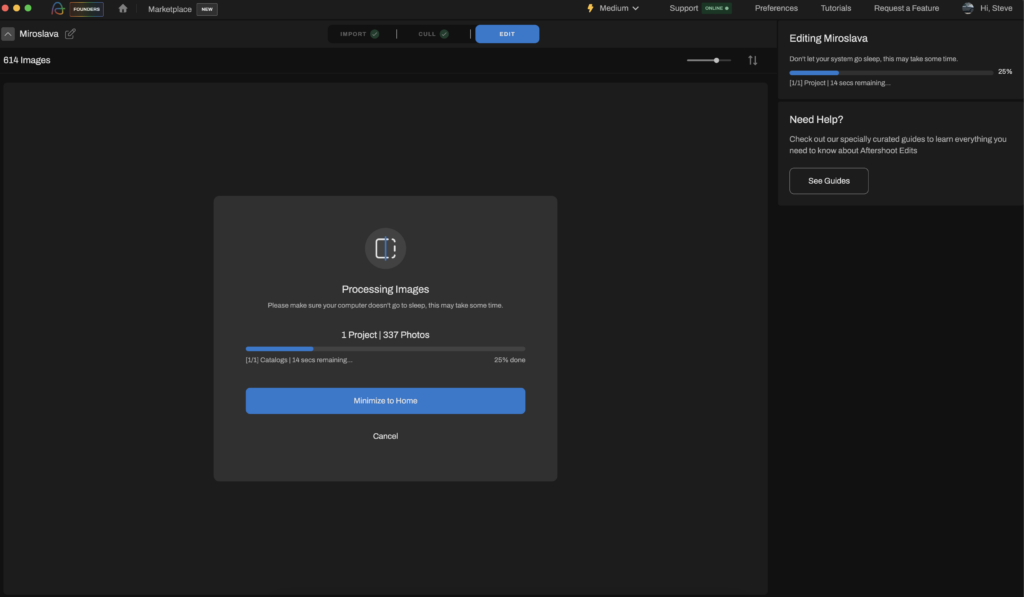
Step 2: Edit Your Images
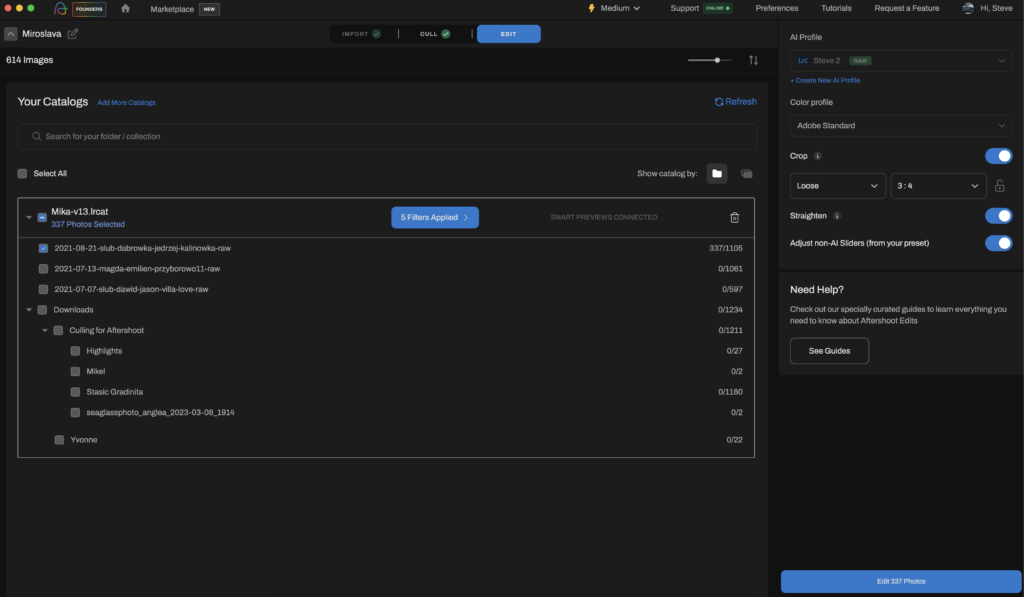
Now that your cull is done, it’s time to move on! Just click the Edit tab (right next to the Cull tab).
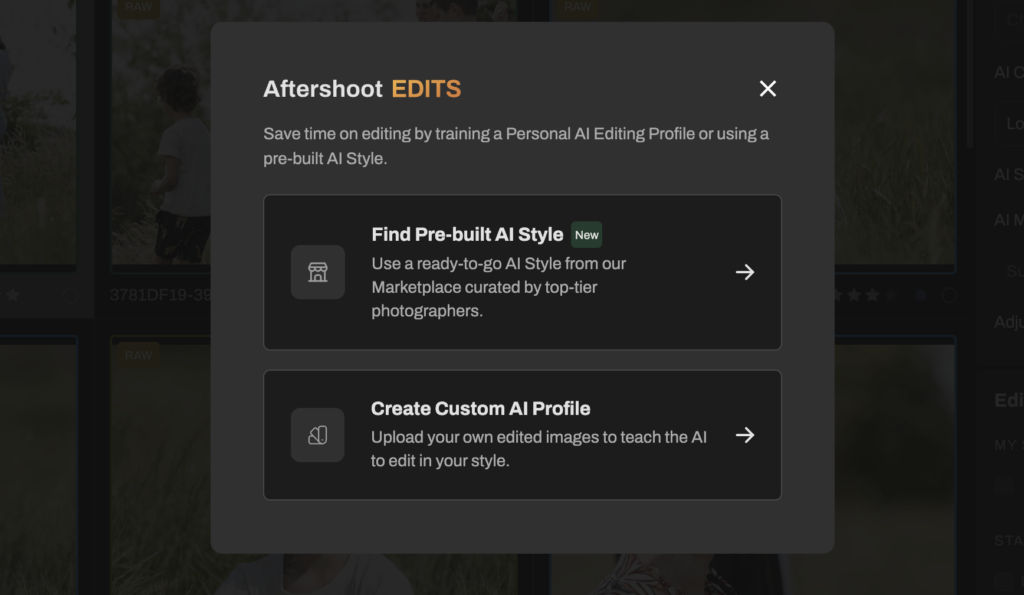
Pick your Personal AI Editing Profileor AI Style, choose the Color Profile, and set up your other Editing Preferences. If you want, you can fine-tune your culled images a bit more.
When you’re ready, just hit “Edit X Photos” to get started!
You can pick from a range of AI styles (pre-built wedding editing presets) to apply to your photos if you don’t have enough photos to train your AI profile(your personalized editing profile)
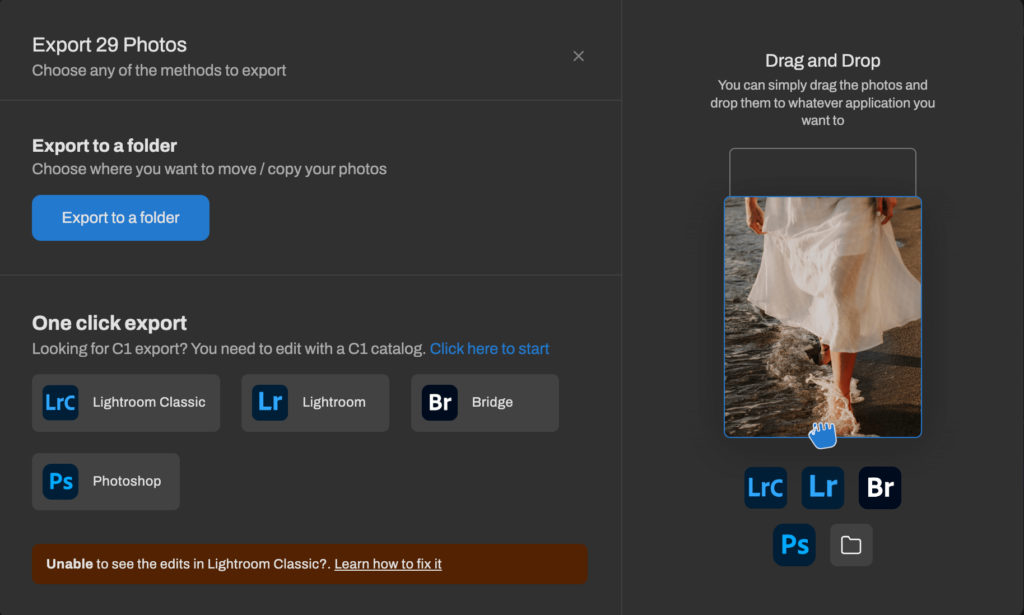
Step 3: Export and Review
Once the editing is done, you’ll get a notification in the app and an email. After that, just click the “Review” button. From there, you can easily export your images straight into your preferred software by clicking “Review in Lightroom,” “Capture One,” “Bridge,” or any other editing app you like to open the edited photos directly.
Can you use AI to edit wedding photos?
As you’ve seen above, you can definitely use AI for wedding photo editing! It can automate repetitive tasks like exposure and color correction, and remove unwanted blurry images from your list, thus saving you time. It can even learn your editing style and apply it consistently across photos. This makes room for you to make creative adjustments as much as you want.
Which software should you choose for wedding photography editing?
The editing battlefield offers a range of software options, each with its strengths. You’ve got the same old manual choices like Adobe Lightroom, known for its powerful organizational tools and streamlined editing, and Adobe Photoshop, offering unmatched control for creative manipulation.
Or you can embrace modern technology and stay ahead of the curve by adopting an AI editing software like Aftershoot that use AI to adapt your wedding photography editing styles and make this process much faster.
Editing wedding photos is not just about enhancing images; it’s about preserving the emotions and moments of one of the most important days in a couple’s life. We hope these wedding photography editing ideas, styles, and techniques helped you take your photography editing to the next level. The right wedding photography editing techniques can make a world of difference in your work.
And if you are looking for a solution that helps you achieve consistent edits every time, Aftershoot is here to help! Start your 30-day free trial today!