UPDATE: Editing isn’t the bottleneck it once was, for photographers who adopted AI in their workflows.
In fact, 81% of the 1000+ photographers we surveyed for our 2025 photography report said they had finally reclaimed work-life balance after adopting AI.
62% use hybrid workflows with specialized AI tools and their preferred editing software to blow through tedious culling, editing, and retouching and reinvest the time saved into curating premium experiences for their clients, developing their business, or simply living a life outside Lightroom.
Get the inside scoop on pro AI workflows that enable premium pricing, faster deliveries, smoother client experiences, and a better life for you!
Bulk photo editing is mostly about picking the right tool for the job. If you are processing hundreds of RAWs, let Aftershoot handle the heavy lift, review and sync in Lightroom or Capture One, then export with presets.
If you only need quick resizes or format changes for social or delivery, use Aftershoot’s free PNG to JPEG converter or another tool from the Aftershoot converters hub. The tips below show both paths so you can move from card to client without losing a weekend.
TL;DR picks for Bulk Photo Editing
| Tool | Best for | Quick action | Cost | Offline |
|---|---|---|---|---|
| Aftershoot Edits | Volume RAW galleries that match your look | Run AI edit, review in Lightroom or Capture One, export with presets | Paid, free trial | ✓ |
| Lightroom Classic | Fast syncing across similar images | Edit one reference, use Sync or Auto Sync on the cluster | Paid | ✓ |
| Capture One | Tethered and studio color control | Apply Styles, batch by set, use Speed Edit | Paid | ✓ |
| Photoshop Actions | Repeatable finishing and watermarking | Record an Action, File → Automate → Batch on a folder | Paid | ✓ |
| Aftershoot Free Converters (e.g., PNG → JPEG) | Quick format changes before delivery | Convert, download, drop into your export workflow | Free | ✗ |
| Pixlr Batch | Browser resize and crop | Upload, set size or crop, export | Free | ✗ |
| BeFunky Batch | Resize and watermark for social | Use Batch features on the Plus plan | Freemium | ✗ |
| Canva bulk edits | Simple adjustments for teams already in Canva | Apply brightness, contrast, and filters to a set | Freemium | ✗ |
| XnConvert / ImageMagick | Scriptable conversions at scale | Use presets or command line for automation | Free | ✓ |
You need a faster bulk photo editing process, and we’re here to help you do it! In this article, we’ll give you 10 tips that’ll transform your post-processing nightmare into a dream.
We’ll cover every part of your process, from preparation and workflow optimization to using the right software, collaboration, quality control, exporting, and storage.
Here’s a screenshot-able version for quick reference:
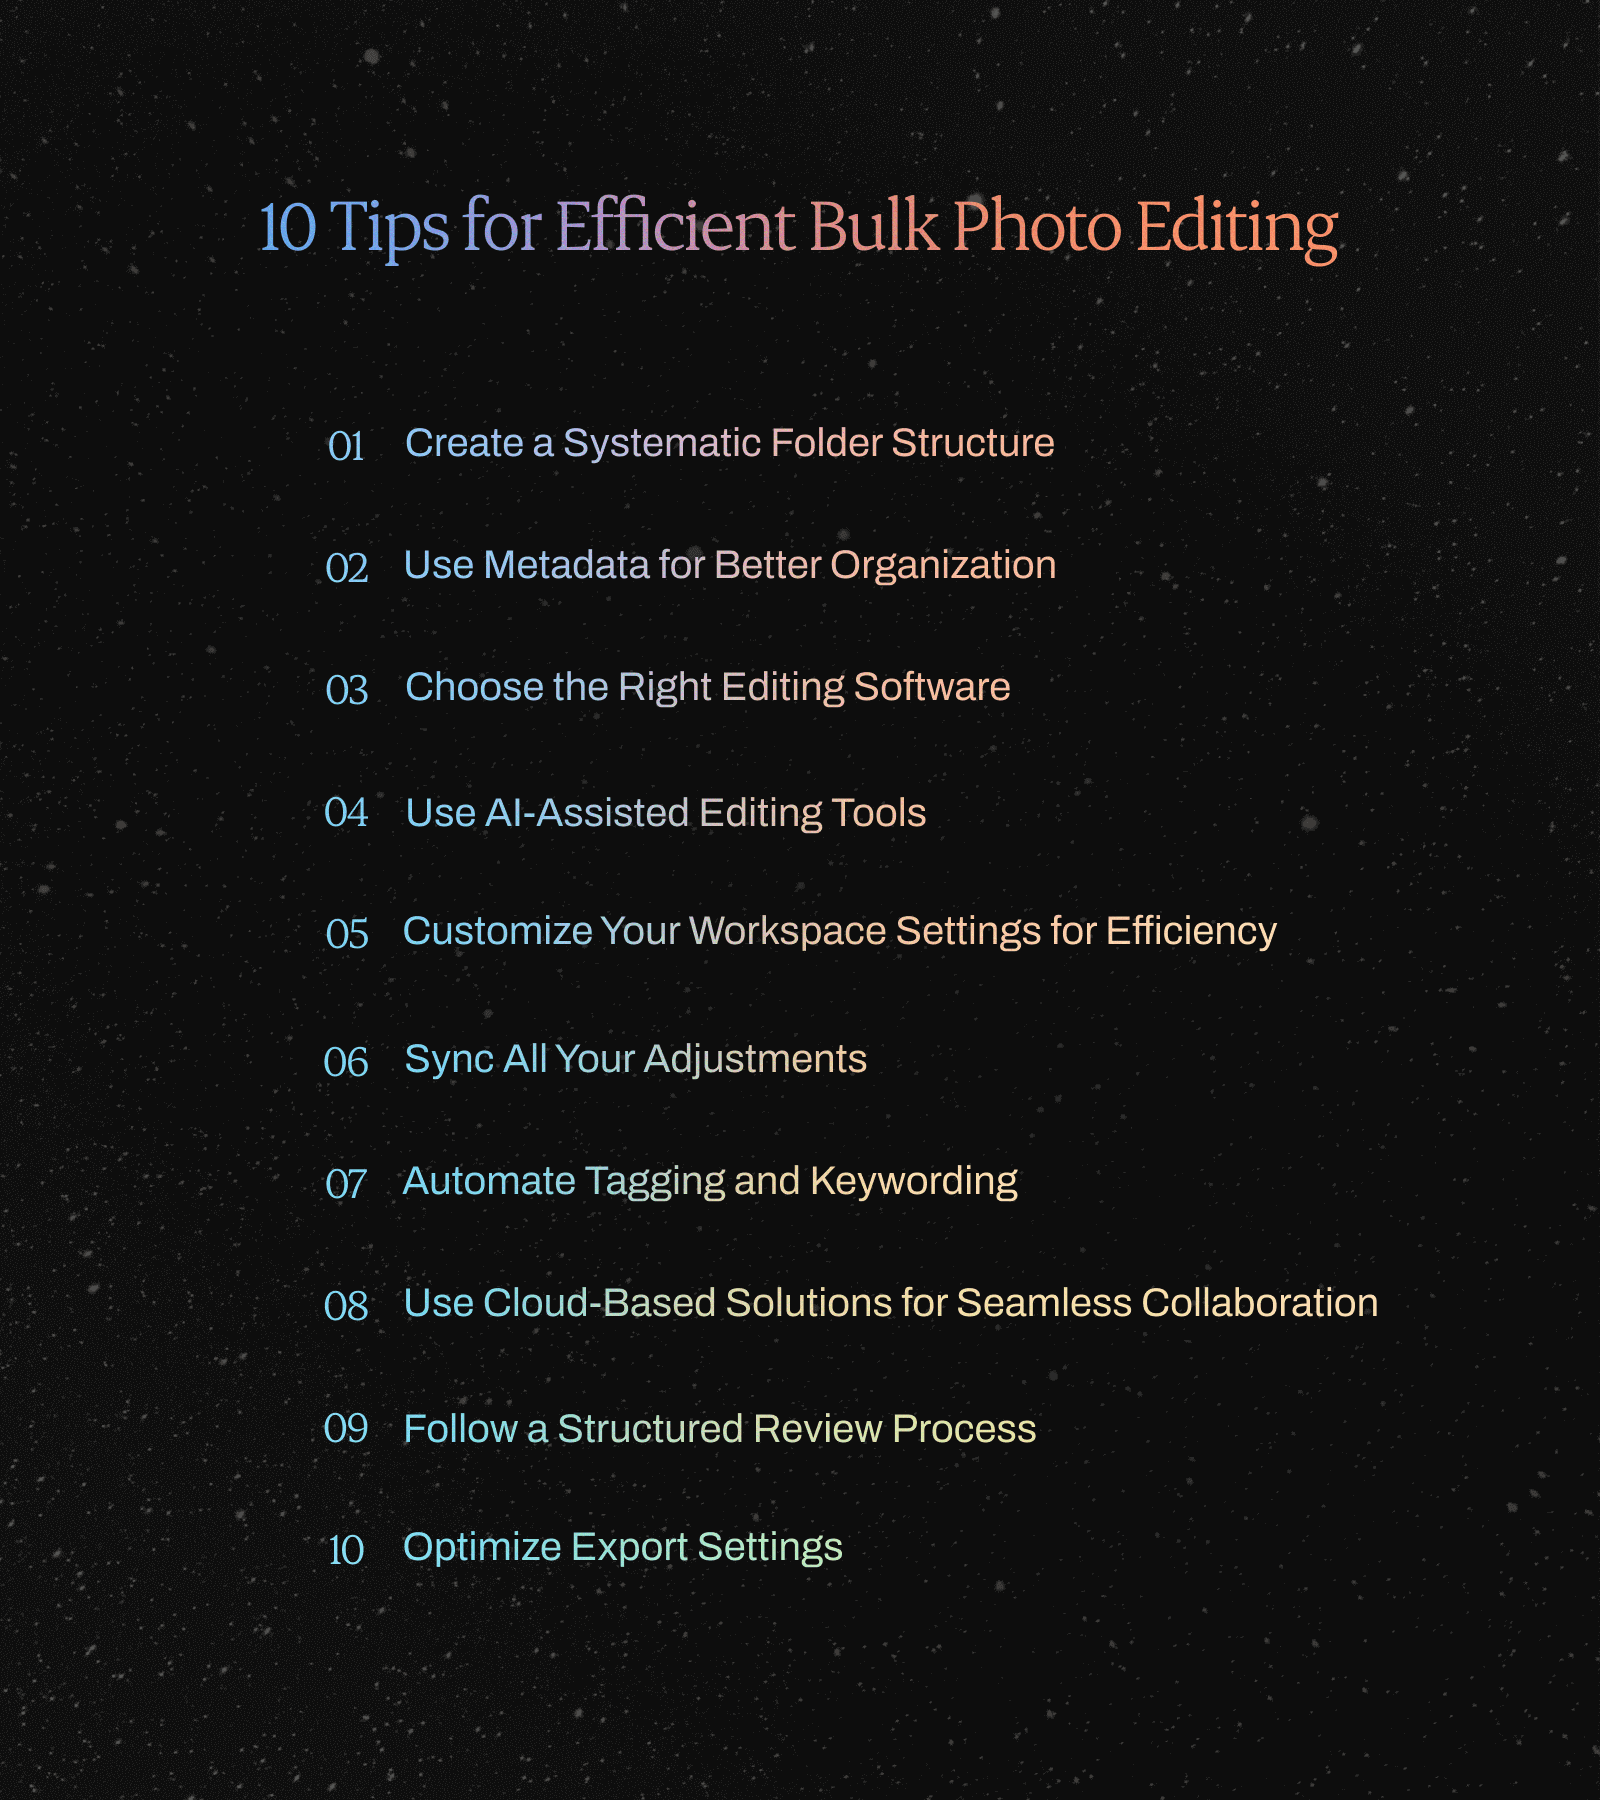
10 Tips for Efficient Bulk Photo Editing
1. Create a Systematic Folder Structure for Bulk Editing
Creating an organized folder structure is the first step in bringing order to chaos when you batch edit photos.
You won’t have to spend unnecessary time (and get frustrated with) searching for your images. Plus, it’ll be a breeze to find images to add to your portfolio at a later stage.
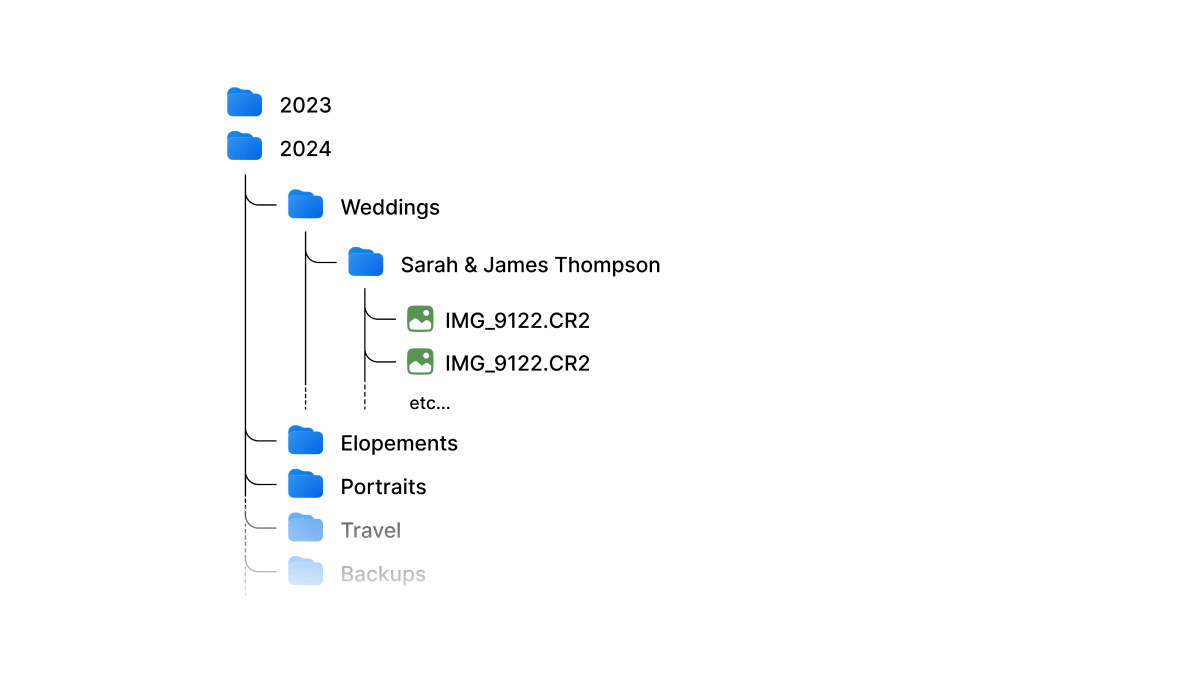
Organize your photos by date, event, or client to make it easy and logical to find what you’re searching for.
For instance, create main folders for each year, subfolders for months, and further subfolders for events. Find a system that works for you and stick to it.
2. Use Metadata to Organize Your Bulk Photo Editing Workflow
Metadata is your friend! It’s your shortcut to a well-organized photo library.
Metadata is additional information embedded within your image files. This info goes beyond the pixels and includes details about the creation, content, and context of the photograph.
Think of it as a digital ID card for your images.
Using metadata will enhance searchability and categorization. Add keywords, tags, and descriptions to your files to find your shots in seconds.
It also streamlines your batch photo editing process by allowing you to filter and select images based on criteria like keywords or tags.
3. Choose the Right Bulk Photo Editing Software
Choose software by outcome.
- Aftershoot for AI base edits on volume RAWs.
- Lightroom Classic for Sync or Auto Sync across similar images.
- Capture One for tethered sessions and precise color.
- Photoshop Actions for repeatable finishing and watermarking.
- Free online tools for quick resize or format changes.
Carefully consider your personal preferences, tools you need, and workflow. Choose software that’s user-friendly, aligns with your photo editing style, and meets your needs to ensure a faster bulk photo editing process.
4. Use AI-Assisted Tools for Bulk Photo Editing
Using AI-powered batch editing software will speed up your workflow big time.
Tools like Aftershoot EDITS can automate your editing process and still ensure amazing quality and consistent styling. Aftershoot learns from your past edits.
Start with about 2,500 edited photos to train a profile, 5,000 improves accuracy. If you don’t have archive yet, pick an AI Style from the Aftershoot Marketplace and go, or create an instant profile in under a minute, whatever works best for you!
Edits run offline and the flat plan covers unlimited images and culling. For last-mile format changes, use the Aftershoot Free Converters.
Aftershoot edits thousands of images at once in just a few minutes. Imagine what you could be doing with all those saved hours instead of sitting there stuck behind the screen!
Here are just a few reasons why Aftershoot is a great AI-assisted editing option:
- The AI learns your unique style from your previous Lightroom, Capture One, or other edited catalogs and mimics your editing style with 90%+ accuracy.
- You can make adjustments to your AI editing profile in-app or export to Lightroom/Capture One/Photomechanic or any other tool of your choice to make further tweaks to the edited images.
- The AI continuously learns from your input and adjustments to keep improving.
- If you don’t want to create your own AI Profile, you can use Aftershoot’s pre-built profiles (AI Styles).
- Aftershoot works offline, so you can edit in bulk anywhere, anytime.
- You pay a flat subscription fee for unlimited image edits (and AI culling too).
5. Customize Your Workspace for Speed AND Efficiency
Customizing your workspace settings will significantly boost your efficiency and lead to a faster bulk photo editing process.
You will navigate through edits with ultra-precision and speed by mastering keyboard shortcuts, organizing panels thoughtfully, and creating/using presets and templates.
And you won’t just save time; you’ll ensure a consistent and professional look across your entire portfolio.
6. Sync All Your Adjustments
A great way to speed up your batch photo editing process is to sync your edits or copy-paste adjustments.
Whether it’s fixing colors, adjusting exposure, or tweaking contrast, you can make changes to one photo, and then give the whole catalog the same treatment. This ensures consistency without compromising quality.
7. Automate Tagging and Keywording
When you’re dealing with heaps of photos, tagging and keywording can be a major snooze-fest. Luckily, tools like Lightroom can automate the process for you with keyword sets.
Basically, you set up a bunch of relevant keywords, and during the importing process, you can apply them to your pics in one shot.
Not only does this trick save you from drowning in a sea of photos, but it also ensures your categorization is on point.
8. Cloud Tools for Bulk Photo Editing & Collaboration
Teamwork makes the dream work, right? Well, not always. Sometimes collaboration can slow things down with back-and-forth communication and file-sharing requests.
Enter cloud-based solutions! Whether you’re teaming up with clients or your creative squad, the cloud lets you share and store edits with ease.
Some reliable cloud-based software examples include Google Drive, Dropbox, or Adobe Creative Cloud if you’re using their batch editing services anyway.
9. Follow a Structured Review Process
A thorough review process is the secret sauce for impeccable edits and happy photography clients. Take the time to scrutinize each image, making sure that your creative vision shines through.
Check for sharpness – is every detail crystal clear? Dive into color balance – are those hues singing in harmony? And don’t forget composition – is your masterpiece telling the story you intended?
A meticulous review isn’t just a nitpicky phase; it’s where your creative vision takes center stage. Every adjustment you’ve made gets a final nod of approval, ensuring your photos are nothing short of spectacular.
If you don’t follow a structured review process every time, you run the risk of overlooking errors or inconsistent edits and possibly experiencing every photographer’s nightmare… clients asking for reverts.
10. Optimize Export Settings for Faster Processing
When wrapping up your batch photo editing journey, the grand finale lies in optimizing your export settings.
Start by choosing the right file format – JPEG for online sharing and TIFF for high-quality prints.
Compression is your speed ally. Find that sweet spot for a compact file size without sacrificing quality.
- Web galleries: 2048–2560 px long edge, sRGB JPEG, quality 80–90, screen sharpen.
- Social: 2048 px long edge, sRGB.
- Print labs: match the lab’s size and ICC profile; JPEG high quality unless the lab specifies TIFF.
- Archive: full-res 16-bit TIFF or high-quality JPEG with embedded profile.
Size web by pixels. PPI is for print math, not screen display. Build export presets and stop rebuilding them every job.
Batch exporting will save you loads of time for large sets, and creating export presets for different purposes can help streamline the process and ensure consistency.
Before hitting export, it’s important to perform a final quality check, zooming in to ensure compression hasn’t impacted details.
These meticulous adjustments not only speed up the export process but also guarantee a stellar impression, whether on screens or in print.
How to batch edit photos with AI in Aftershoot
You can batch edit thousands of photos on Aftershoot using your personal AI editing profile or choose from our wide range of AI styles from the Aftershoot marketplace
Here is how to get started with batch photo editing with AI:
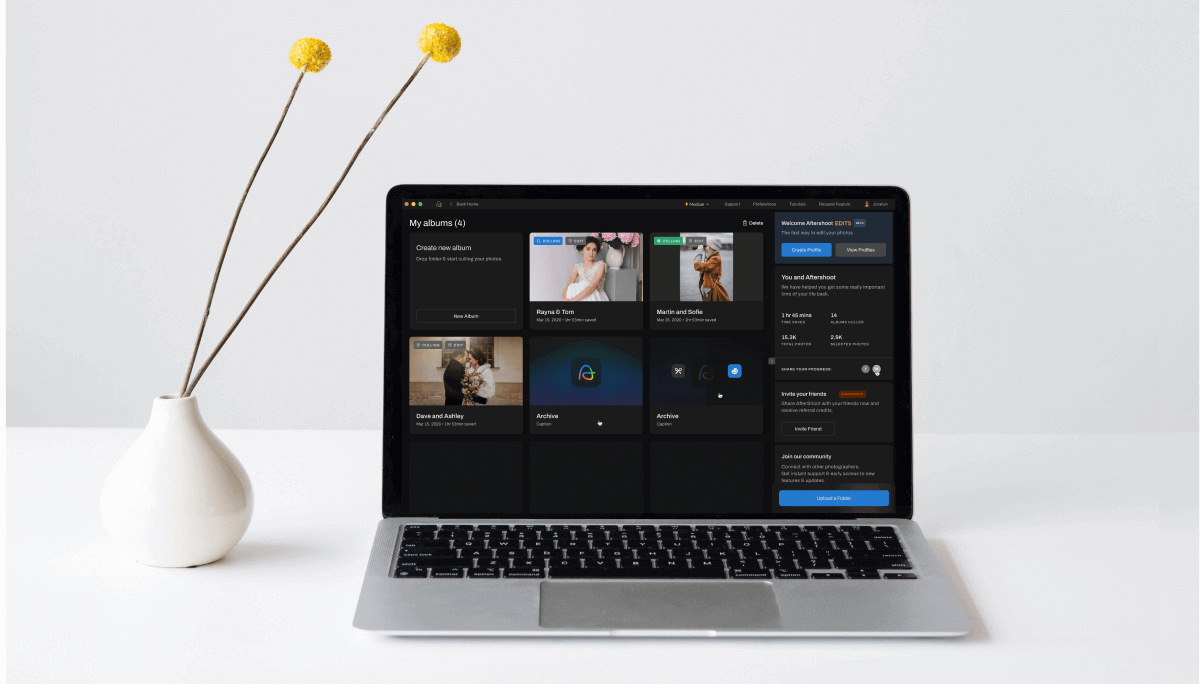
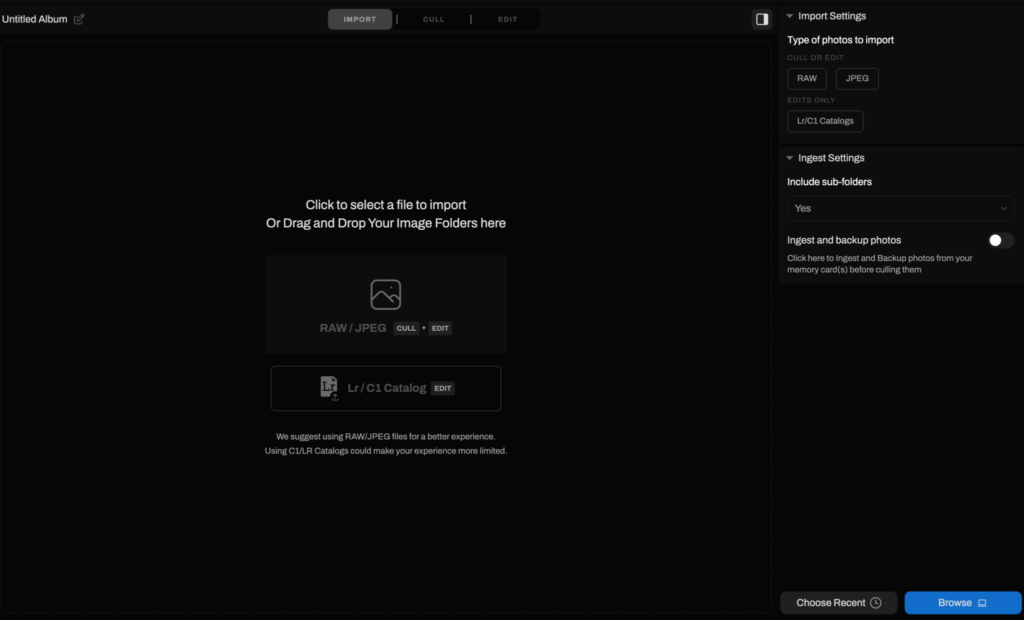
Step 1: Import your photos for Bulk Editing
Import your RAWs or JPEGs on the Aftershoot Dashboard
Step 2: Choose your AI Editing Style
Choose between a Personal AI Editing Profile or an AI Style to enhance your images. To apply your unique editing style, simply train your AI profile with 2,500 previously edited photos—the more you use, the more precise it gets!
If you prefer to use an AI style which is like an AI preset you can explore the Aftershoot Marketplace to find the perfect AI Style for your photos. You can also decide if you want automatic cropping and straightening. Plus, customize cropping with Loose or Aggressive settings and select your preferred aspect ratio.

Step 3: Process Your Bulk Photo Editing
Aftershoot will edit your images, you’ll receive a notification and email when it’s done.
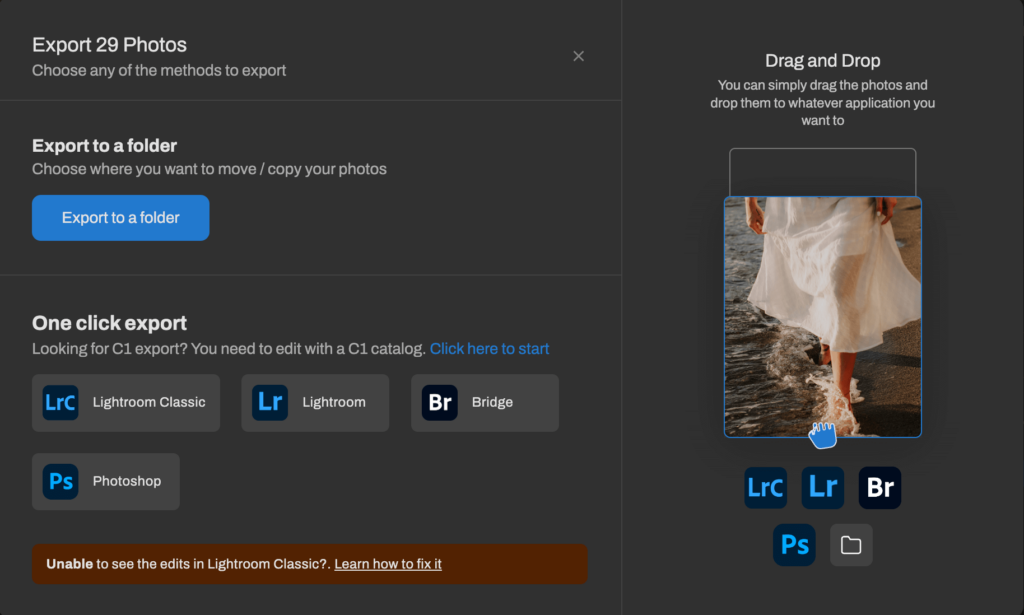
Step 4: Export and Review Your Edited Photos
Aftershoot believes in full creative control. Click Export, then Review in Lr, Capture One, or any other editing tools of your choice to open your edited catalog in the corresponding app
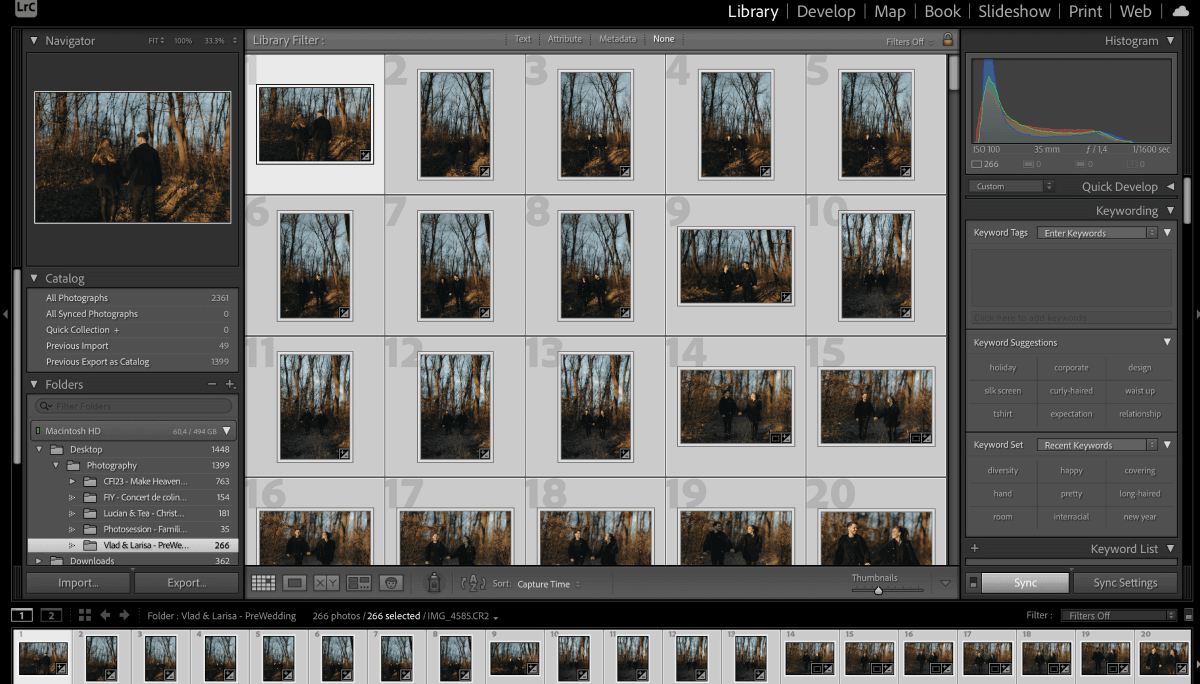
How to bulk edit in Lightroom Classic
Edit one reference, select similar images, use Sync or Auto Sync, then export with a preset. Work in lighting clusters.
Lightroom Bulk Editing Steps
- Import, then color-label clusters like open shade, tungsten, DJ lights.
- Edit a reference: profile, WB, exposure, tone, HSL, lens corrections, noise, crop rules.
- Select the cluster. Reference first, Shift-click last.
- Click Sync and choose settings. Or toggle Auto Sync to apply changes live.
- Use Settings → Match Total Exposures to even out exposure across the set.
- If you used masks, choose Update AI Masks on the selection before exporting.
- Spot-check outliers.
- Export with presets for Gallery, Social, Print.
Pro Tips for Faster Lightroom Sync
- Copy Settings Cmd+Shift+C, Paste Cmd+Shift+V.
- Apply a Develop Preset on import to front-load speed.
- Build Smart Collections for flagged hero frames that need retouching.
How to Batch Edit in Photoshop with Actions
Record the steps once, then run File → Automate → Batch on a folder. Test three files before running hundreds.
Setting Up Photoshop Actions for Bulk Editing
- Window → Actions, New Action, Record. Include resize, sharpen, convert to profile, watermark, Save As. Stop.
- Prepare source and destination folders.
- File → Automate → Batch. Choose the Action, set Source and Destination, set file naming.
- Enable Override Action “Open” and Override Action “Save As” if your Action contains those steps.
- Run on three samples, review, then run the full set.
Running Batch Operations in Photoshop
- Scripts → Image Processor is a fast alternative for multi-format export.
- Create Droplets to drag-and-drop a folder onto an Action.
- Keep one Action per output: Web 2560 long edge sRGB JPEG, Social 2048 long edge, Print with lab ICC.
Free Online Bulk Photo Editing Tools
Use browser tools for resize, crop, and format conversions on JPEGs. Keep RAW work in Aftershoot plus Lightroom or Capture One.
- Aftershoot Free Converters: Start with PNG to JPEG, then grab other converters from the hub for last-mile delivery.
- Pixlr Batch Editor: Quick browser resize and crop.
- BeFunky Batch: Resize and watermark on the Plus plan.
- Canva bulk edits: Handy for teams already building social assets there.
Use when: you need quick marketing variants or client handoffs.
Avoid when: you need RAW color accuracy or strict privacy.
Streamline Your Bulk Photo Editing Workflow
There you have it, 10 tips for faster bulk photo editing.
From organizing your files to selecting the right editing software and optimizing your review and export processes, our guide is tailored to help you boost both speed and excellence in your batch photo editing process.
And hey, don’t forget to check out Aftershoot EDITS if you’re new here. With impressive features designed for efficiency AND quality, it might just be the missing piece in your editing puzzle.
What is the fastest way to bulk edit hundreds of RAW files?
Run an AI base in Aftershoot, review and sync in Lightroom Classic or Capture One, then export with presets. Retouch only the hero frames.
How many photos do I need to train an Aftershoot AI Profile?
Aim for about 2,500 edited photos to start. 5,000 or more improves accuracy and consistency. If you do not have a repo to work with, you can also simply create an instant profile in under a minute and run with it, Aftershoot will keep learning from you.
Can I use Aftershoot if I do not have an edited archive?
Yes. Start with AI Styles from the Marketplace or create an instant profile. You can switch to a trained profile later.
Does Aftershoot work offline?
Yes. Culling, edits, and retouching work offline on your machine. Use the free web converters online for format changes when needed.
Are free online batch editors good enough for client delivery?
They are great for quick resizes and format changes. For RAW color and style consistency, use Aftershoot with Lightroom Classic or Capture One.
What export settings should I use for web and print?
For web, size by pixels, 2048 to 2560 px long edge, sRGB JPEG, quality 80 to 90. For print, follow the lab’s size and ICC profile. Use 300 PPI only when calculating print dimensions.
Where should retouching fit in a bulk workflow?
Retouch hero frames after the AI base and sync pass. Keep the gallery consistent, spend time where it shows.
What hardware upgrades speed up bulk editing the most?
Fast NVMe SSD for catalogs and previews, more RAM for large shoots, and a capable GPU for Develop speed.