Every photographer knows the ISO number in theory, but in practice, it’s the setting most people second-guess. You lower it for clean files, raise it when the room goes dark, and pray your images don’t look like they were shot through static.
The truth is, ISO decisions shape how fast you can shoot, edit, and deliver. A poorly exposed gallery costs hours in post. A well-balanced ISO strategy gives you consistency across lighting conditions and cleaner RAW files that edit faster and hold up better in post.
This guide breaks ISO down to what really matters: how to choose it confidently on set, manage its trade-offs, and build a workflow that keeps your images sharp, consistent, and client-ready.
ISO in one minute
ISO controls how strongly your camera amplifies light hitting the sensor. Higher ISO brightens the image but increases digital noise and reduces dynamic range.
In the exposure triangle:
- Aperture controls depth of field.
- Shutter speed controls motion blur.
- ISO controls signal strength or, practically, how much noise you’re willing to trade for light.
It doesn’t make your sensor more “sensitive,” it just boosts the signal electronically. The higher the boost, the more grain appears, especially in shadows and smooth tones.
How to pick the right ISO setting?
Set your creative intent first. ISO simply makes that exposure possible. Here’s the fast, field-tested workflow most working photographers use:
- Start at base ISO (usually 100 or 200).
Begin with your camera’s cleanest setting to maximize dynamic range. - Choose your aperture for the look you want.
- Wide aperture for shallow depth of field.
- Narrow aperture for sharp detail across the frame.
- Wide aperture for shallow depth of field.
- Set shutter speed for motion or stability.
- 1/125 s minimum for handheld portraits.
- 1/250 s + for movement or dancing.
- 1/125 s minimum for handheld portraits.
- Raise ISO only as needed to maintain that exposure combination.
Each doubling of ISO equals one stop of light. Use it deliberately, not reactively.
Pro tip: Use Auto ISO with limits. Set a minimum shutter speed and a maximum ISO you’re comfortable with (e.g., 1/160 s and ISO 3200). The camera adapts for changing light, but never crosses your quality threshold. This simple flow saves time, prevents over-reliance on post-processing, and gives your files consistent exposure values.
Here is a quick video guide if you want to jump on your photoshoot right away
ISO quick reference guide
ISO is about flexibility. Every camera handles noise differently, so use these ranges as creative zones, not rules.
| ISO Range | When to Use | Why It Works | Watch Out For |
| 100 – 200 | Bright daylight · studio lighting · controlled setups | Maximum dynamic range and fine detail | Requires plenty of light or tripod support |
| 400 – 800 | Window light · overcast days · golden hour portraits | Clean files with more flexibility in moderate light | Slight grain if underexposed |
| 1600 – 3200 | Receptions · indoor events · low-light action | Balances motion control with acceptable noise | Noise in shadows · reduced highlight detail |
| 6400 + | Night scenes · concerts · artistic grain | Lets you capture unlit moments or use grain creatively | Heavy noise and color shifts — test limits first |
Pro tip: Always start at your base ISO, then raise it only as far as your creative settings demand. Clean exposure beats overexposed, underexposed, or heavily corrected files every time.
ISO in real shooting scenarios
1. Bright and controlled light (ISO 100–200)
When you control the light, stay at base ISO. Studio portraits, commercial product work, or outdoor portrait sessions all fall here. You’ll get maximum dynamic range and crisp detail. If exposure dips too low, add light or slow your shutter before touching ISO.
2. Mixed lighting and fast transitions (ISO 800–1600)
At weddings, corporate events, or mixed indoor-outdoor sessions, light changes constantly. A stable ISO range like 800–1600 keeps your exposures consistent without constant tweaking. Use Auto ISO with a max limit (1600–3200) so the camera adapts to shifts in light but never sacrifices your quality threshold.
3. Low-light and motion (ISO 3200–6400)
Sharp images matter more than perfectly clean ones. In receptions, concerts, or sports, keep your shutter speed fast (1/200s or more) and don’t hesitate to raise ISO to 3200–6400.
Clients notice motion blur long before they care about noise, and modern sensors handle this range surprisingly well.
4. Creative and intentional use (ISO 6400+)
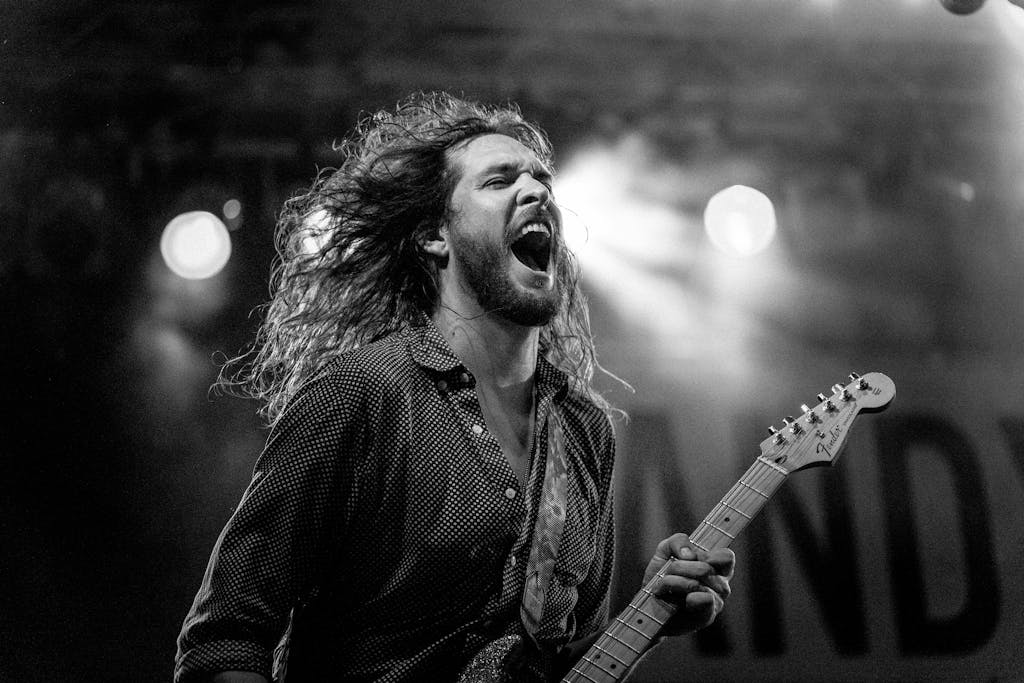
High ISO can be a creative choice, not a mistake. Black-and-white portrait sessions, street photography, and low-light storytelling often look better with visible grain. It adds character and mood. The key is intention: know your camera’s limit so the effect feels deliberate, not accidental.
Read also: A Complete Guide to Butterfly Lighting Setup
Real-world ISO examples for common shoots
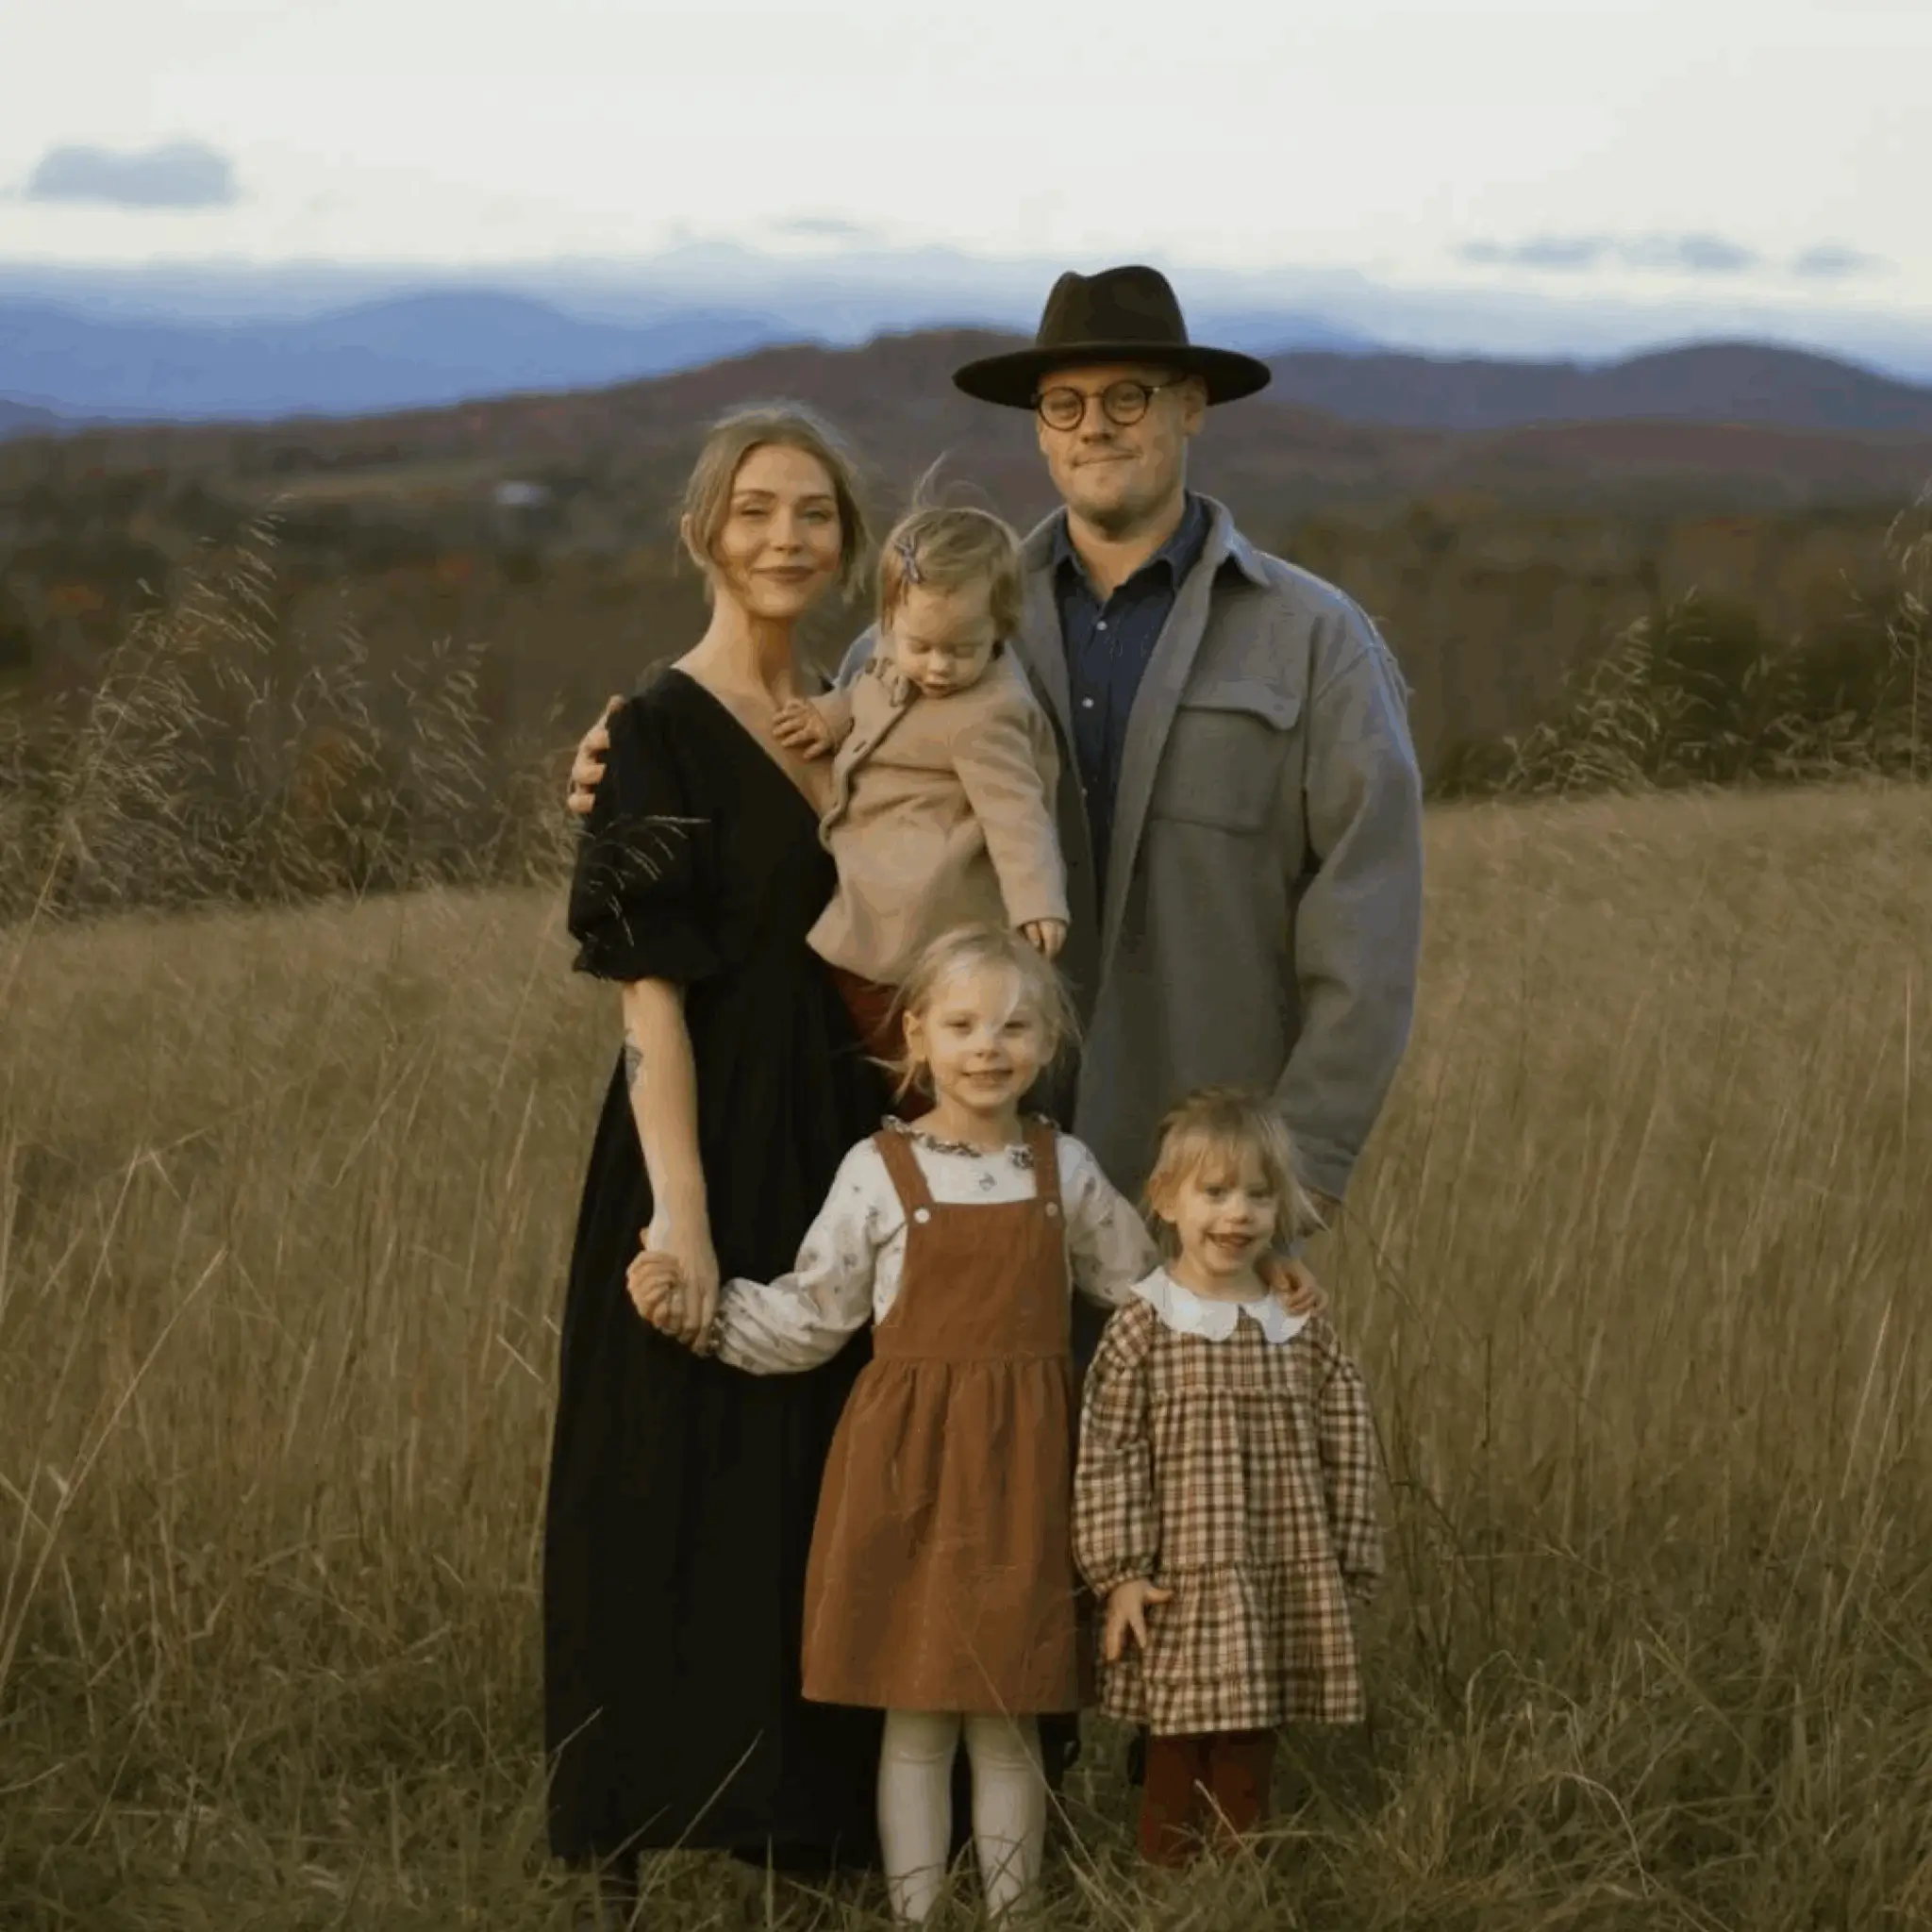
- Golden hour portraits: As the sun drops, raise ISO from 100 to 800 to hold 1/125 s and keep eyes sharp without sacrificing tone. Grain stays invisible at this range on most modern sensors.
- Indoor family session: With only window light, ISO 1000–1600 keeps active kids crisp at 1/200 s. Slight texture beats motion blur every time.
- Wedding reception: Dim dance floor? ISO 3200–6400 at f/2.8 and 1/250 s freezes energy and emotion. The noise is minimal, the moment priceless.
- Studio work: ISO 100 with strobes or continuous light gives you maximum dynamic range, accurate color, and easy post-processing.
Each of these scenarios proves the same rule: choose ISO based on the light and the story you’re telling, not the number you wish you could stay at.
Understanding noise and image quality
Noise is the unavoidable trade-off of high ISO, but it isn’t the villain many make it out to be. What matters is knowing where it shows up and how to control it.
What noise actually is
Digital noise appears as random color specks or grain, most visible in shadows and smooth gradients like skies or backgrounds. It’s a by-product of the camera boosting the signal from the sensor when light is limited.
Why exposure matters more than ISO
Underexposing and brightening in post produces more noise than simply raising ISO in-camera. A properly exposed frame at ISO 3200 will almost always look cleaner than an underexposed ISO 800 file pushed later.
Rule of thumb: Expose correctly first; let ISO do its job instead of fixing exposure after the fact.
When noise is acceptable (and when it’s not)
Acceptable for:
- Event or wedding photography where capturing the moment beats technical perfection
- Social media delivery (compression hides fine noise)
- Black-and-white or documentary sessions, where grain adds character
Avoid when:
- Shooting commercial products or fine art prints
- Delivering large-format output
- Heavy cropping is expected
Dynamic range and highlight recovery
As ISO rises, dynamic range narrows, bright highlights clip sooner, and shadow detail compresses. That’s why shooting slightly “to the right” (brighter but not blown) helps maintain usable information for post.
ISO and workflow efficiency
Choosing the right ISO saves time in every part of your workflow. So let’s do it right——
Cleaner files, faster edits
Well-exposed files with consistent ISO ranges edit faster and respond better to global adjustments. Instead of rescuing uneven exposures, you can focus on color, tone, and style.
AI tools work better with consistent exposure
Although AI tools are excellent at working with inconsistent lighting and exposure, they work far better when you get it right during your sessions.
The Business Impact of Correct ISO Decisions
Fewer exposure corrections mean shorter editing sessions, faster delivery, and happier clients. Photographers who batch edit their sessions with Aftershoot report cutting post-processing time by more than half, especially when shooting mixed-light events that would otherwise need individual adjustments.
Common ISO mistakes (and how to fix them)
Every photographer slips on ISO decisions at some point. The key is spotting the patterns early so they stop costing you time and image quality.
1. Raising ISO to fix blurry images
ISO can’t stop motion or camera shake, your shutter speed does.
If your shots are still soft at ISO 3200, increase the shutter speed or stabilize the camera instead of pushing the ISO higher.
Fix: Use the reciprocal rule (1 / focal length) as a baseline, but go faster for movement. For example, with a 50 mm lens, 1/100 s is minimum; for kids running or dancing, start at 1/250 s or more.
2. Underexposing and “lifting” in post
Dark files brightened later create harsher noise and muddy color. A correctly exposed ISO 3200 frame nearly always looks cleaner than an underexposed ISO 800 one.
Fix: Trust your histogram, expose slightly bright, and reduce in post if needed.
3. Letting auto ISO run wild
Auto ISO is helpful until it jumps to 12800 in dim light and wrecks consistency across your gallery.
Fix: Set smart limits. Cap Auto ISO to your camera’s clean upper range (often 3200 or 6400) and pair it with a minimum shutter speed that matches your shooting style.
4. Judging noise at 100% zoom
Clients never view files at pixel level. What looks grainy on a 27-inch monitor often disappears in print or web size.
Fix: Evaluate at actual output resolution or test print. Decide your real-world tolerance instead of chasing perfection on screen.
5. Ignoring camera testing
Every sensor behaves differently. ISO 3200 on one body may match ISO 6400 on another.
Fix: Run a quick ISO ladder test. Shoot the same scene at every stop from 100 to 12800 and review side-by-side. Note the highest ISO you’d deliver to a client. That’s your working ceiling.
Advanced ISO techniques and creative uses
Once you understand ISO’s trade-offs, you can start using it intentionally instead of defensively.
1. ISO invariance: when a lower ISO can beat a higher ISO
Modern sensors on many mirrorless bodies are partly ISO-invariant, meaning they record similar information whether you raise ISO in-camera or brighten later in post. The advantage is that if you’re protecting highlights or shooting long exposures, slightly underexposing at a lower ISO can preserve detail that would clip at higher settings.
Use it when: highlight detail matters most, and you have time for careful editing.
Skip it when: you need instant, clean JPEGs or quick turnaround.
2. Intentional grain for style
High ISO isn’t always a flaw. Controlled grain can add texture and mood, especially in monochrome, documentary, or street work. Many photographers now push ISO deliberately to mimic film aesthetics.
3. Matching ISO to deliverables
Set ISO ceilings based on how the images will be used:
- Web/social: higher ISO is fine, small display hides noise.
- Prints > 20×30 in: stay below 1600 if possible.
- Editorial/commercial: test and lock in your cleanest range.
4. Lighting synergy
Sometimes the best ISO control is light itself. Adding a small on-camera flash, LED panel, or bounced strobe lets you stay in the 400–800 range and avoid unnecessary noise entirely.
Mastering ISO confidence in any light
ISO gives you the creative control that helps you shoot consistently, edit faster, and deliver work that feels intentional in any lighting condition.
Once you understand how ISO interacts with aperture and shutter speed, you stop guessing and start predicting. You know exactly how far you can push your camera, what quality you’ll get, and how much time you’ll save in post.
Make it a habit to test your camera’s ISO range, set smart limits, and shoot with exposure balance in mind. The payoff is smoother editing, happier clients, and a workflow that works for you
Want to speed up your post-processing workflow? Aftershoot’s AI culling, editing, and retouching tools make your ISO decisions pay off. They help you deliver polished, consistent galleries faster, no matter what lighting you shot in.
FAQ: ISO settings in photography
What ISO should I use for portraits?
For natural-light portraits, ISO 200–800 is usually the sweet spot. If you’re shooting indoors or at golden hour, ISO 800–1600 keeps your shutter fast enough for sharp eyes and natural tones. In the studio, stick to ISO 100–200 for maximum detail.
Is high ISO always bad?
Not anymore. Modern sensors handle ISO 3200–6400 surprisingly well when exposed correctly. What ruins images isn’t high ISO, it’s underexposure. Nail your exposure, and even ISO 6400 files can look clean enough for client delivery.
How can I reduce noise without losing detail?
Expose correctly in-camera and use gentle noise reduction during editing. Heavy-handed noise reduction blurs skin and detail.
Should I use Auto ISO for weddings or events?
Yes, with limits. Set a minimum shutter speed that freezes movement (around 1/160–1/250s) and cap the maximum ISO to your clean range (e.g., ISO 3200). This keeps exposures consistent even as lighting changes throughout the day.
Does ISO affect color accuracy?
At higher ISO, color depth and saturation can drop slightly. Proper exposure and white balance correction in post will recover most of it. Whenever possible, stay within your camera’s native ISO range for best color fidelity.