How to Batch Edit in Lightroom: A Step-by-Step Guide for Photographers
Editing hundreds—or even thousands—of images from a single shoot or wedding can feel daunting, but Lightroom’s batch editing features can lend a substantial hand. As a professional wedding photographer, I’ve spent years refining my workflow to handle the sheer volume of photos that come with capturing someone’s big day. For a typical wedding, I’ll deliver around 600 images, each carefully edited to reflect the style my clients booked me for.
I want to share my process with you—not just as a Lightroom user, but as someone who knows how crucial it is to balance speed with creativity. Whether you’re an established professional or looking to up your game, these tips will help you edit smarter, not harder. In this article, learn how to batch edit in Lightroom step by step.
What is Batch Editing?
At its core, batch editing allows you to apply edits to multiple photos at once. Rather than tweaking each image individually, you can adjust exposure, colour, and other settings across an entire set with just a few clicks. It’s an invaluable technique for professional photographers juggling large galleries while maintaining a consistent style.
How to Batch Edit Photos in Lightroom?
Here’s my straightforward method for batch editing:
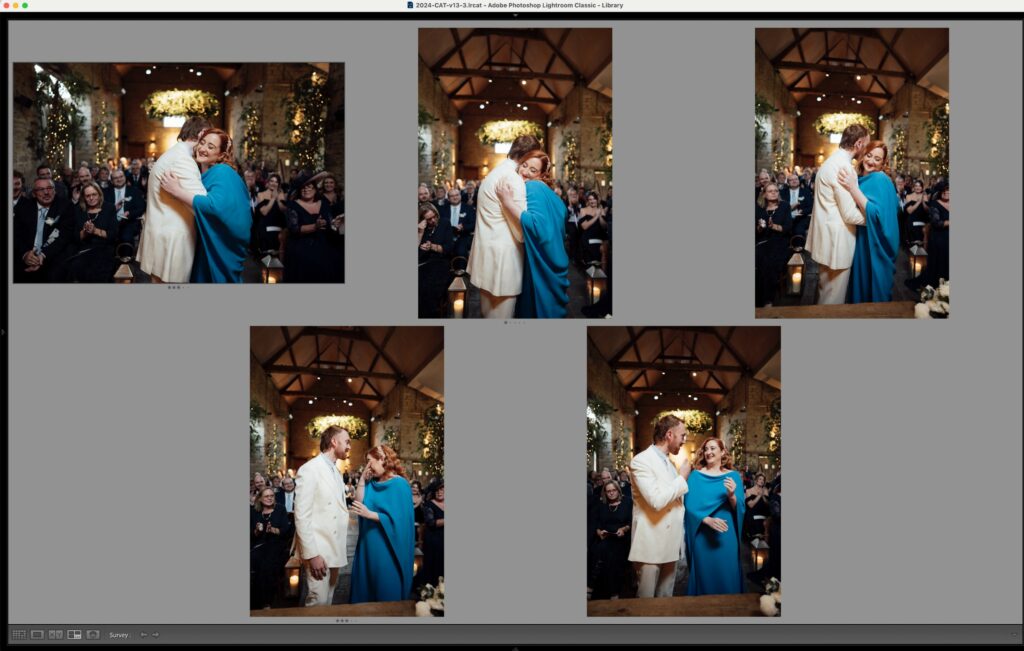
Step 1: Import Your Photos
Start by importing your images into Lightroom. Organise them into collections to make navigation easier. If you’re working with hundreds of photos, use flags or colour labels to prioritise your favourites or must-edits. I cover this in more detail in my recent post, The 7 step Lightroom Workflow For Photographers.
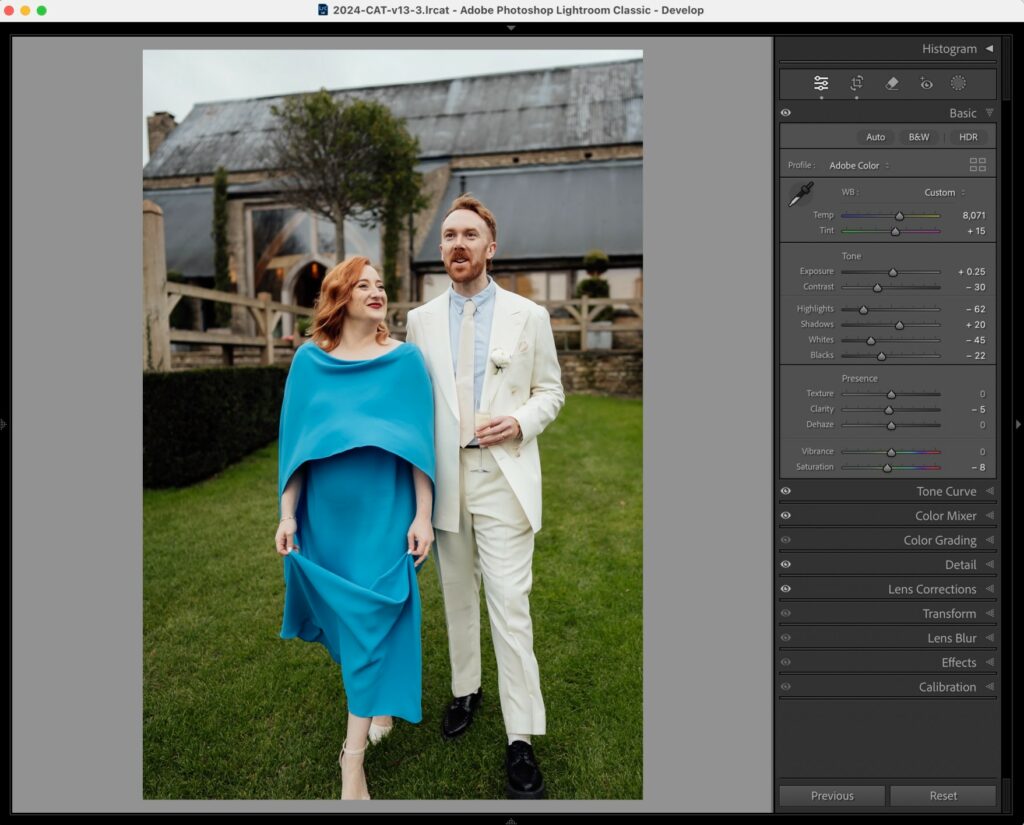
Step 2: Edit the First Photo
Find an image that represents the lighting, tone, and mood of the majority of your shoot. Edit this image to perfection. Adjust exposure, white balance, highlights, shadows, and any other settings you use to define your style. As weddings are shot in frequently changing environments and lighting scenarios, I’m usually batch editing for a part of the day, such as the ceremony, speeches or dancefloor.
Step 3: Synchronise Settings
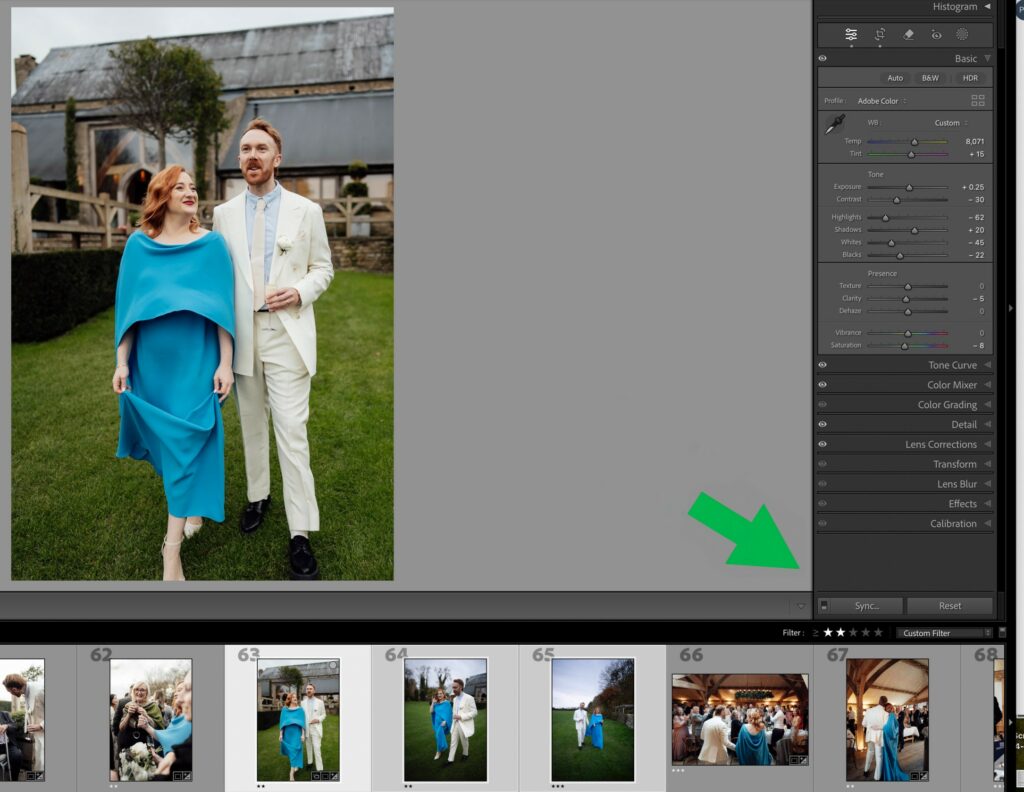
Once your ‘target’ photo is edited, use the ‘Sync’ feature to apply those adjustments to other images.
- Select the edited photo, then highlight the rest of the images you’d like to edit.
- Click the “Sync” button in the Develop module.
- Choose which settings to apply—this could include exposure, colour grading, and even crop ratios if your images need to match dimensions.
Step 4: Fine-Tune Individual Photos
Even with batch editing, every photo deserves a second look or personal touch. Check each image for small adjustments to ensure skin tones, highlights, and shadows look their best.
Advanced Lightroom Tips and Tricks
Use Presets for Consistency
Presets are a lifesaver. Whether you create your own or purchase professional ones, they allow you to apply a signature look in seconds. Here’s how you can apply presets in Lightroom:
- Navigate to the Preset Panel
Open the Develop module in Lightroom, and look for the Presets panel on the left-hand side. If it’s not visible, press Shift + Tab to bring up all panels. - Choose a Preset
Browse through the available presets. Lightroom provides some default options, or you can load custom presets by clicking the “+” icon at the top of the panel and selecting “Import Presets.” - Apply the Preset
Click on a preset to apply it to the selected photo. You’ll see the edits instantly reflected in the preview. - Adjust as Needed
Presets are a great starting point, but they might not fit every photo perfectly. After applying one, tweak the settings to refine the final look—especially for exposure or white balance adjustments.
I’ve even created my own preset, inspired by my love for natural edits. I also use my own profile in Aftershoot, which I find much more reliable.
Read: Why Aftershoot AI Styles Are Better Than Lightroom Presets.
Automate Repetitive Edits with AI Tools
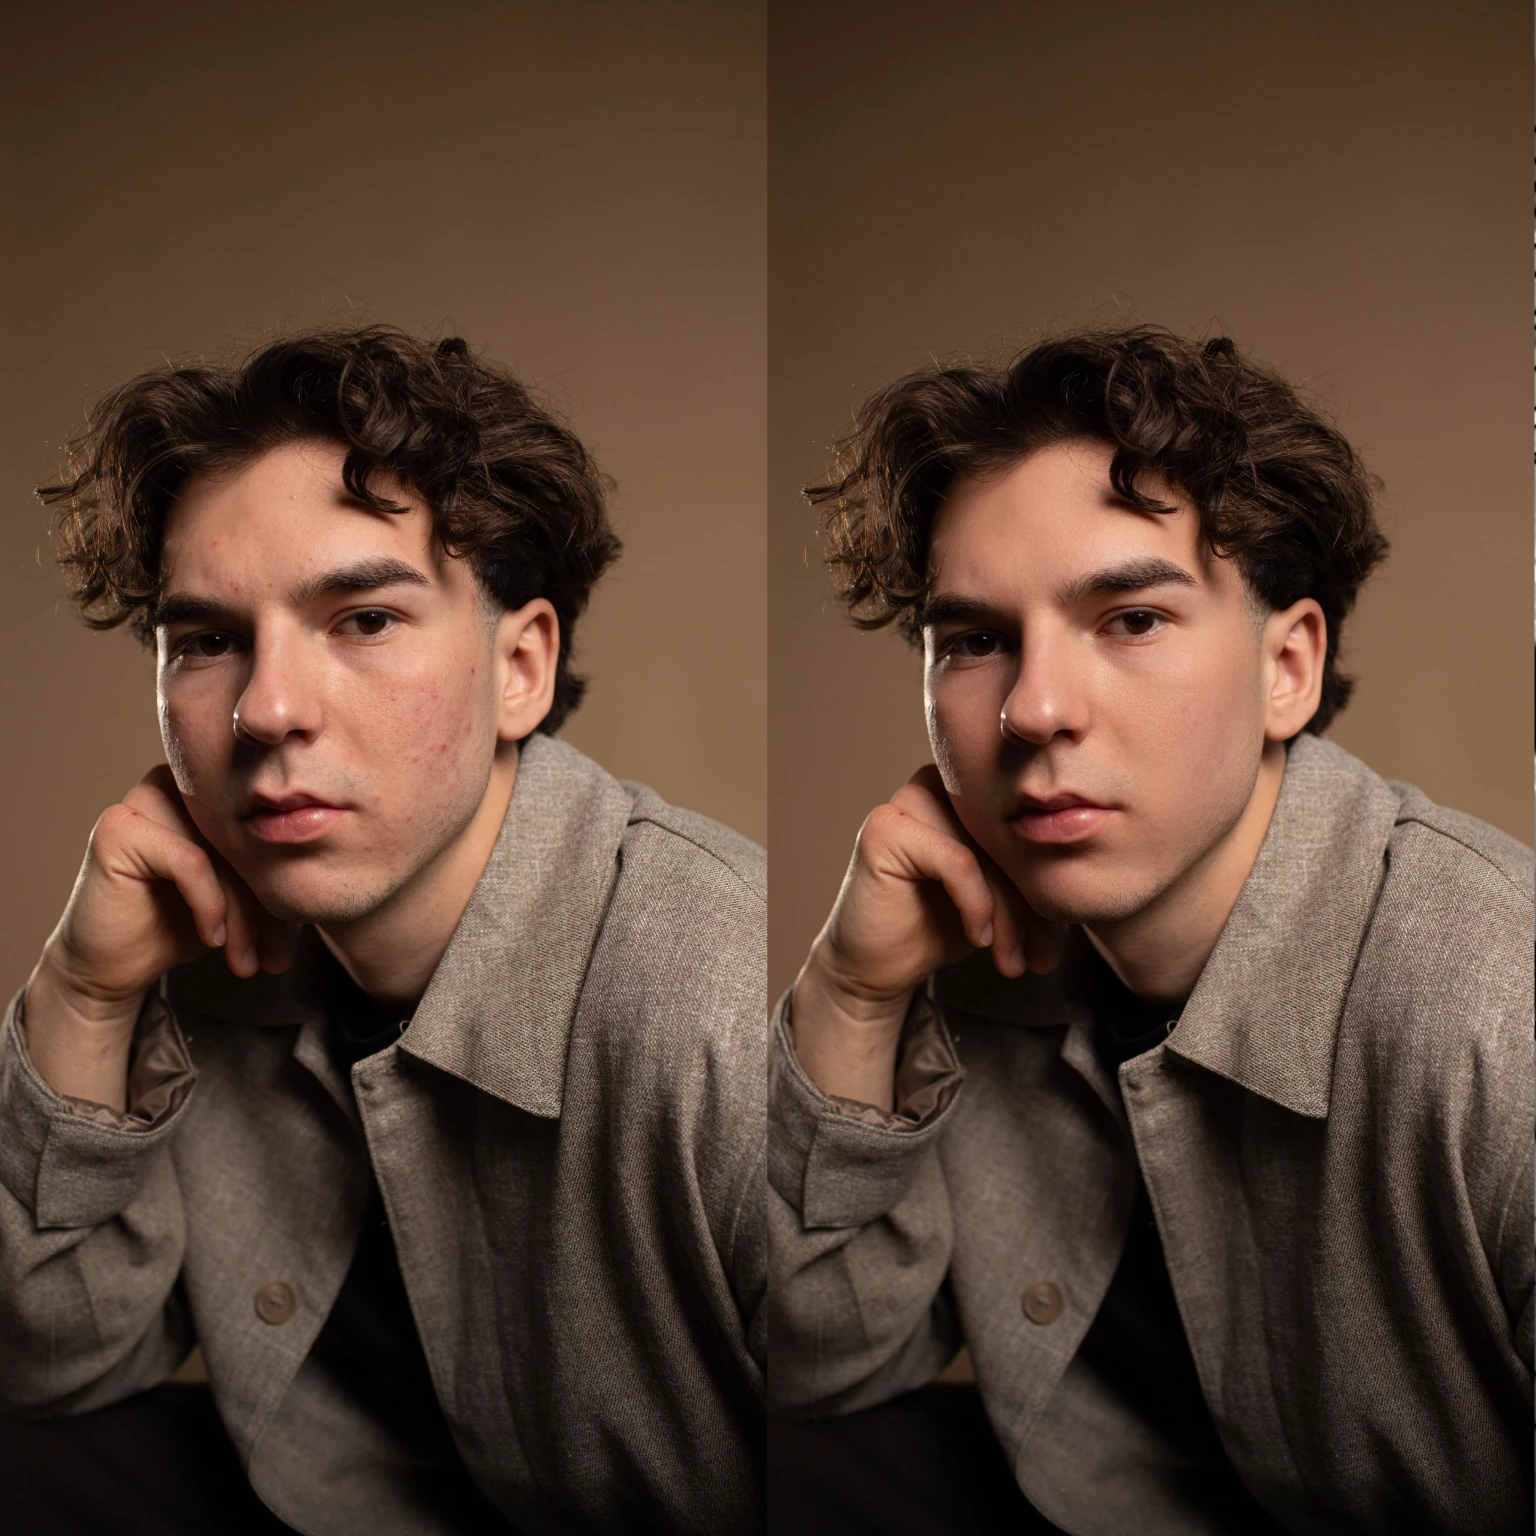
Here’s where Aftershoot comes in. Before I even open Lightroom, Aftershoot AI helps me cull and pre-edit my galleries. It learns my style, applies initial edits, and reduces the time spent tweaking every shot. By using Aftershoot to edit your photos with your personalized AI profile, you can achieve consistent and dynamic edits across your entire gallery. The AI intelligently adjusts for lighting, white balance, and other factors unique to each photo. Once the initial edits are complete, you can export the images to Lightroom for any final adjustments, creating a seamless and efficient workflow.
Keyboard Shortcuts for Faster Editing
Save time by mastering these handy shortcuts:
- Ctrl/Cmd + Shift + S: Synchronise settings.
- Ctrl/Cmd + E: Export images.
- G: Grid view for quick navigation.
FAQ: Batch Editing in Lightroom
How Do I Batch Edit Multiple Photos at Once?
Follow the steps outlined above: edit one photo, synchronize settings, and fine-tune individual images. It’s as simple as that!
How to Batch Edit in Lightroom Classic?
In Lightroom Classic, select a photo to edit and make adjustments. Then, use the Sync Settings or Previous button in the Develop module to apply those edits to a batch of selected images. Alternatively, use the Auto Sync feature to edit multiple photos simultaneously.
How to Enhance Multiple Photos in Lightroom?
You can enhance multiple photos by applying global adjustments such as exposure, contrast, or vibrance through the Quick Develop panel in the Library module. For more refined edits, use the Develop module’s synchronisation options.
How to Apply Presets in the Library Module?
In the Library module, select the photos you want to apply a preset to, then open the Quick Develop panel on the right-hand side. Choose a preset from the Saved Preset dropdown, and it will apply the preset to all selected images.
How to Apply Custom Edits from One Photo to a Batch?
After editing a single photo, right-click it, choose Settings, and then select Copy Settings. Highlight the other photos you want to edit, right-click again, select Settings, and choose Paste Settings. You can also use the Sync Settings button in the Develop module for quicker workflow.
How Do I Ensure That Specific Adjustments, Like Cropping, Are Not Included in My Batch Edits?
When synchronising settings, Lightroom allows you to choose which adjustments are applied. After clicking Sync, a box will appear where you can check or uncheck settings like cropping. This way, only the desired edits are applied to your batch.
The Right Batch Editing Lightroom Workflow
Batch editing in Lightroom is a skill that can really help your Lightroom workflow, saving you hours without compromising on quality. By leveraging tools like Aftershoot AI for culling and using Lightroom’s synchronisation features, you’ll be able to deliver stunning galleries faster than ever.
About the Author
This post is written by Paul Waring, a UK-based professional wedding photographer. He specializes in capturing chic countryside weddings with a contemporary approach.

