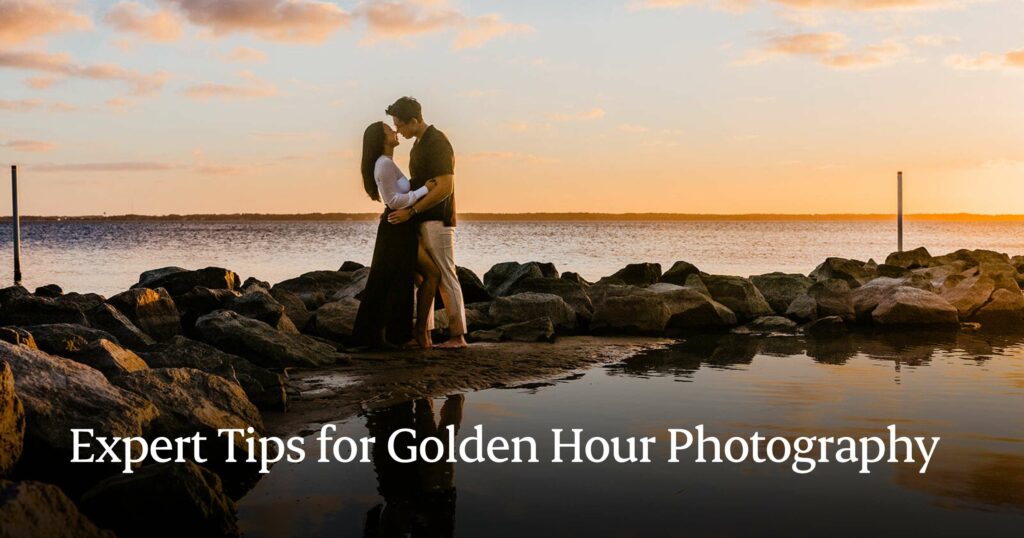
Golden hour doesn’t last long. One moment, you’re working with perfect golden light, and the next, it’s gone, quicker than your client can hold a pose or follow last-minute directions.
That’s why planning matters. Whether you’re photographing a couple in a warm, romantic glow or capturing a sweeping golden landscape, knowing how to anticipate and adapt to the short window of light can mean the difference between decent photos and stunning images.
But golden hour photography isn’t just about timing. To capture truly beautiful golden hour shots, you need to understand how to work quickly, position your subject relative to the setting sun, and fine-tune your camera properly. With the right approach, you’ll make the most of every second of that warm light and walk away with photos that feel effortless and emotionally rich.
Let’s take a closer look at why this time of day is so special and how to use it to your advantage.
What Is the Golden Hour in Photography?
Golden hour is the brief period just after sunrise and before sunset, when the sun’s rays create a warm glow, soft shadows, and even, natural, soft light.
It’s sometimes called the magic hour because of how flattering and cinematic the lighting can be, especially for portrait and wedding photography.
Unlike the harsh direct light of midday, golden hour lighting reduces contrast and flatters skin tones by bathing your scene in a soft, ambient light. The result: stunning photos with a warm hue, smoother textures, and more light spread across your subject without overexposure.
Although we call it an “hour,” golden hour time isn’t fixed. Depending on your location, the season, and weather conditions, it might last 20 minutes or stretch much longer. Near the poles during summer, golden light can linger for hours, and that extended golden moment can lead to some of the best golden hour photos of your career.
Harnessing Golden Hour for Wedding and Portrait Photography
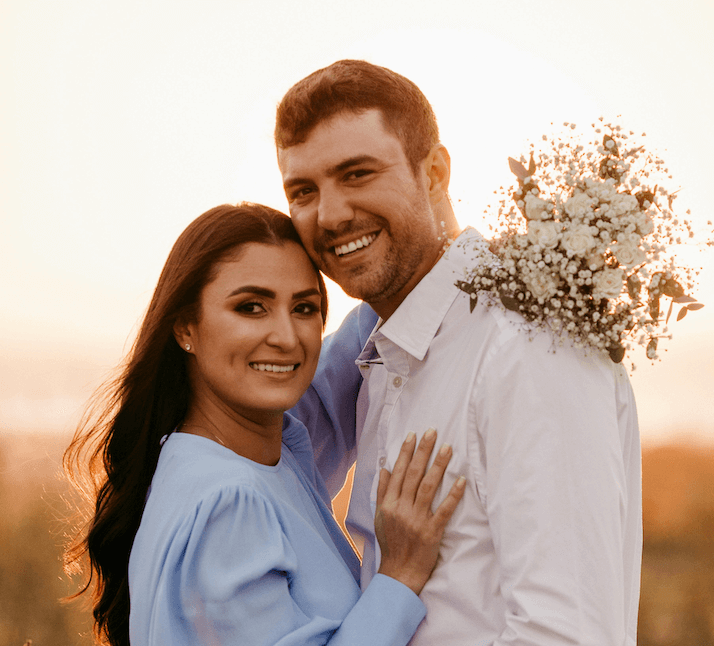
Golden hour photography is emotionally resonant. The warm tones created by the setting sun evoke feelings of comfort, connection, and nostalgia, which is why this light is so effective for capturing weddings, engagements, and portraits.
Golden light enhances skin tones, softens shadows, and creates a natural glow that doesn’t require much retouching. From a psychological perspective, warm light and soft colors are associated with joy and intimacy, which means your viewers feel what your subjects felt in the moment.
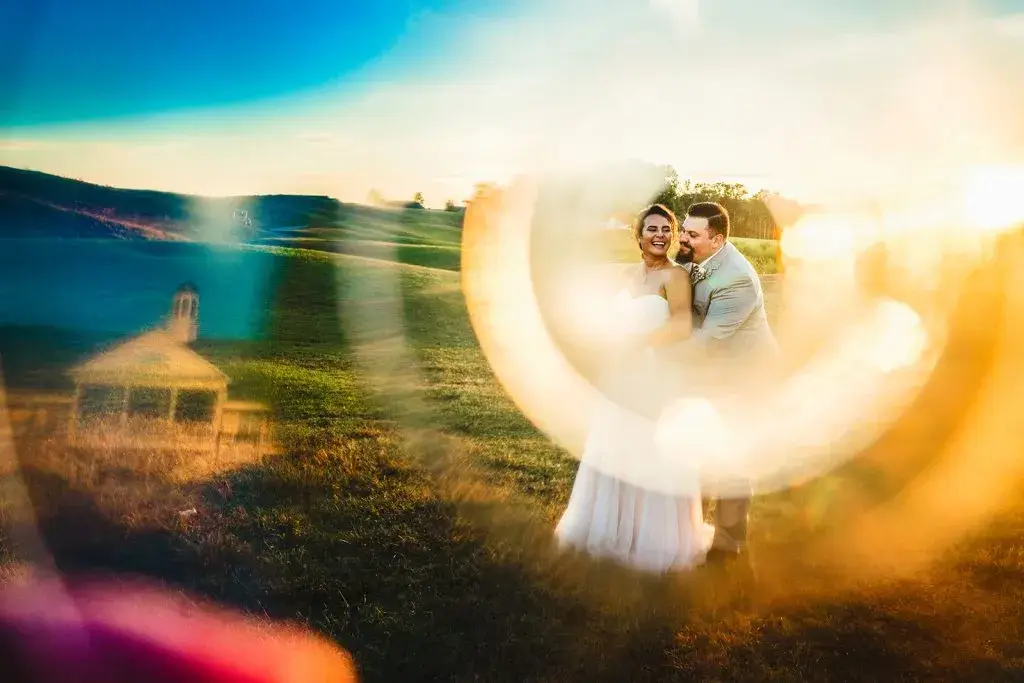
You’ll also notice a subtle visual effect called halation — that soft, glowing halo that appears around backlit subjects. It’s caused by light scattering slightly beyond bright areas in the image. In golden hour photos, this adds a gentle haze that wraps around your subject, giving the image a dreamy, cinematic atmosphere. Some lenses and film stocks produce halation naturally, while others replicate it in post-processing to enhance the look.
This is the real magic of golden hour: it transforms the mood. You’re not just capturing people. You’re capturing how the moment felt.
How to Calculate the Golden Hour
Golden hour doesn’t happen at the same time every day—it’s all about location, time of year, and even the weather. Because of this, you can’t just count on the exact timing from day to day. But don’t worry, you can calculate it by considering a few things.
Golden hour typically occurs when the sun is low in the sky, between 6° above and 4° below the horizon. In the morning, it starts at dawn (just before the sun rises) and lasts until the sun gets about 6° above the horizon.
In the evening, golden hour kicks off when the sun drops to 6° above the horizon and lasts until dusk when the light fades away completely.
One thing to remember is that golden hour isn’t just one fixed window of time. It changes throughout the year, depending on where you are.
If calculating all of this sounds complicated, you can use apps like the Golden Hour Calculator for iOS or Android to find out when Golden Hour will occur, so you don’t have to guess.
If you don’t have an app handy, you can do a manual viewfinder check: Look through your camera’s viewfinder at the landscape. If colors appear noticeably warmer, shadows have a soft, golden quality, and the light adds depth without harsh contrast, you’re likely in the golden hour.
Some professional photographers also carry a sun angle finder or inclinometer to measure the sun’s position more accurately, ensuring they never miss the perfect lighting conditions.
11 Expert Tips on How to Plan for the Golden Hour
As much as photographers love the golden hour, it can be tricky to work with. Here are some expert golden hour photography tips to help you make the most of it and capture breathtaking shots.
Packing the Right Gear for Golden Hour Photography
Having the right photography gear ensures you make the most of every shot. Here’s what to bring:
- Fast Prime Lens (50mm f/1.8 or 85mm f/1.4): A wide aperture helps maximize available light and creates beautiful background blur.
- Tripod: Ideal for low-light conditions, especially for landscapes or capturing motion blur with slower shutter speeds.
- Reflector: Helps bounce light onto your subject, particularly in the final moments of golden hour when shadows deepen.
- ND Filter: If the light is still too bright, a neutral density filter allows you to maintain wide apertures without overexposing highlights.
Making the Most of a Short Golden Hour
Golden hour doesn’t last long —usually just 20-30 minutes —so it’s easy to feel rushed. To make the most of this fleeting light:
- Arrive Early and plan ahead: Arrive at least 30 to 60 minutes before golden hour begins to scout your location, set up your gear, and prepare your compositions. This gives you time to think about your shots without the pressure of the rapidly changing light.
- Prioritize key shots: Focus on your most essential shots when the light is at its peak. If you have time afterward, experiment with other compositions, but always be ready with your primary shots to avoid missing that perfect moment.
- Simplify your shots: Keep your compositions simple, especially when you’re in a time crunch. The more straightforward your shot, the more time you’ll have to adjust settings as the light changes.
Adapting to Rapidly Changing Light for Consistent Shots
The exposure settings that work at the start of the golden hour may not be right as it progresses, creating problems for consistency across shots. The key to managing this is having control over your settings.
- Switch to manual mode: Manual mode allows you to adjust ISO, aperture, and shutter speed as the light fades or shifts.
- Adjust gradually: Instead of drastically changing your settings, try adjusting them gradually. If you’re unsure, bracket your shots—take a few with different exposure settings—to ensure you capture the perfect exposure no matter how fast the light changes.
- Use metering for your subject: Spot metering ensures that your subject is correctly exposed, even when the background is significantly brighter, which is common with backlighting or dramatic sky contrasts.
Balancing Exposure in High-Contrast Scenes
Golden hour often features high contrast between bright skies and darker subjects, which can overwhelm your camera’s metering system. You might end up with a well-exposed sky but a dark, underexposed subject—or vice versa.
- Use graduated neutral density filters: These filters can help balance exposure between bright skies and dark foregrounds, providing a more even shot.
- Shoot in RAW: Shooting in RAW provides more flexibility in post-processing. You can recover details from the shadows or highlights that may have been lost due to tricky exposure settings.
Read also: How to Photograph a Wedding
Controlling Lens Flare and Harsh Shadows to Your Advantage
While golden hour light is typically soft and flattering, it can sometimes result in harsh shadows or lens flare, especially when shooting directly into the sun. While this can be frustrating, ways to make it work to your advantage exist.
- Fill flash or reflector: If shadows are too harsh, use a fill flash or a reflector to bounce light back onto your subject and soften those shadows. This is especially useful in portrait shots, where you need to balance the light on your subject’s face.
- Positioning for better light: Position your subject at an angle to the sun to avoid unwanted harsh shadows or flare. However, don’t be afraid to embrace lens flare if it enhances your shot — it can add a creative, ethereal effect that’s uniquely golden hour.
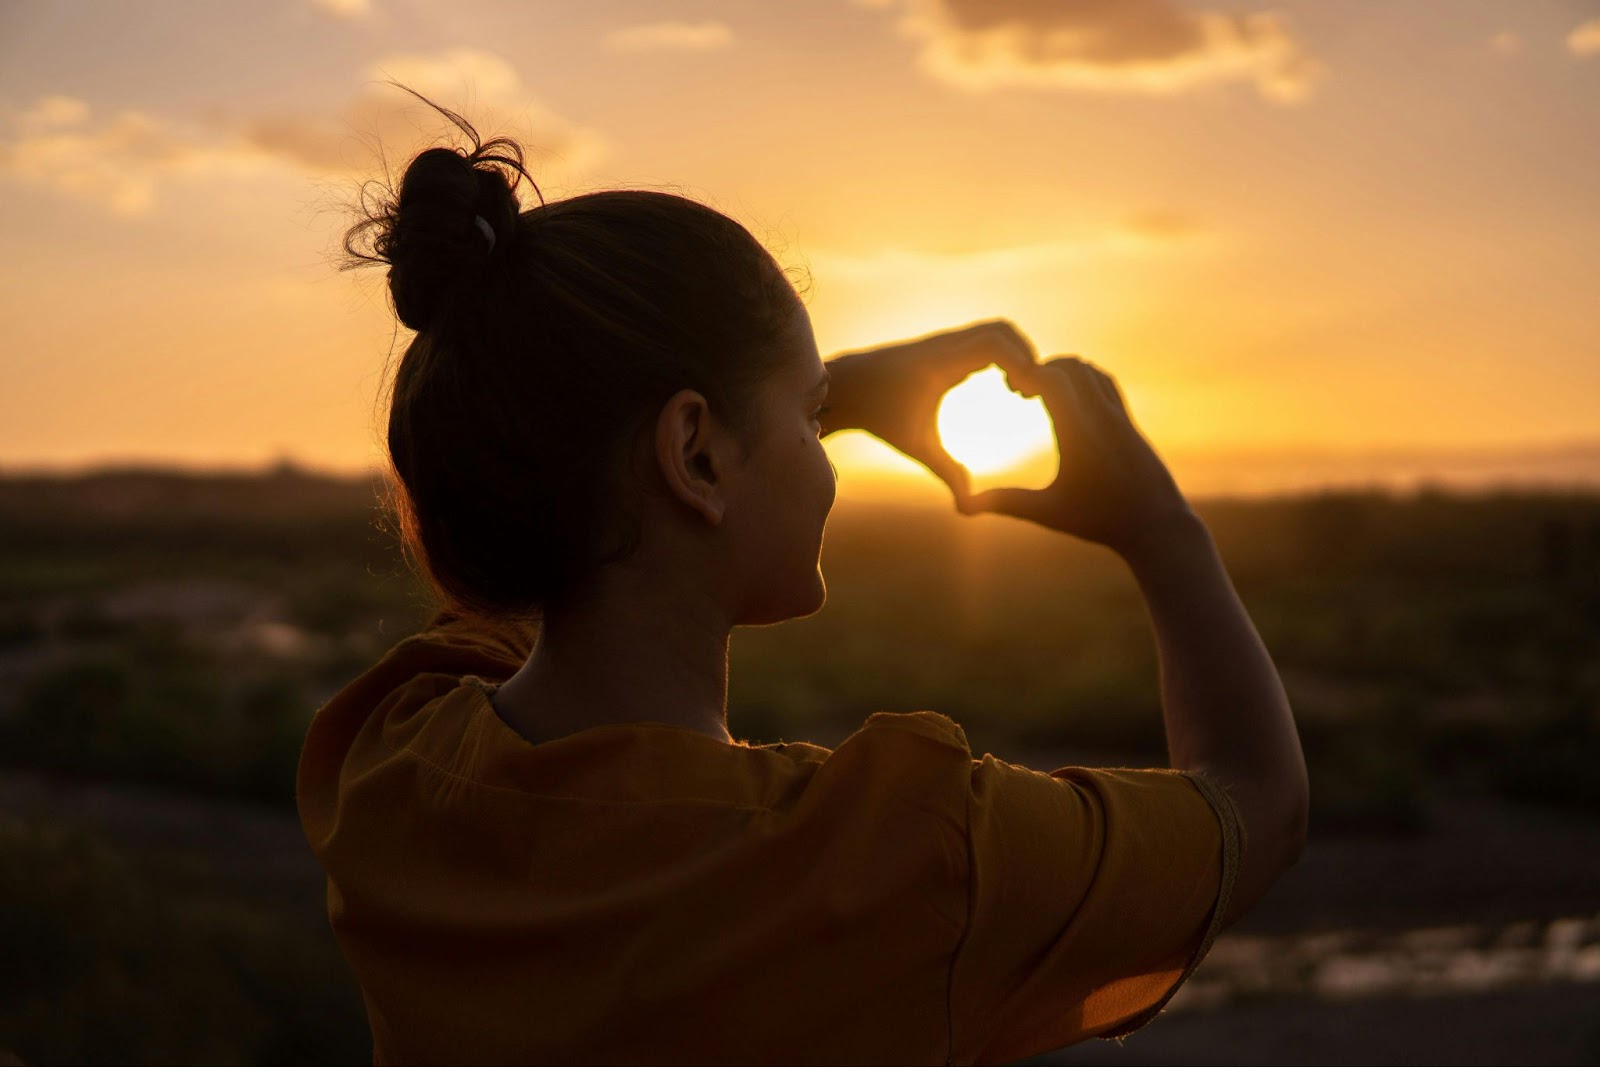
- Play with backlighting and silhouettes: Position your subject with the sun behind them for a beautiful silhouette effect. The glowing outline can add depth and drama to your photos, turning what might be a challenge into a stunning opportunity.
Keeping a Consistent Look as the Light Shifts
Since golden hour light shifts quickly, it’s challenging to maintain consistency in exposure and color across shots. You may find that one shot looks perfect while the next doesn’t match.
- Use a tripod: A tripod helps keep your compositions stable and prevents unwanted camera shake, especially as light levels decrease. This ensures your images stay sharp as the light fades.
- Check your settings regularly: As the light changes, check your settings every few shots to ensure consistency in exposure, shutter speed, and aperture. If you’re using manual mode, minor adjustments will keep everything looking consistent.
Enhancing Dynamic Range and Exposure for Balanced Shots
Midday sunlight creates harsh contrasts with blown-out highlights and deep shadows, often exceeding a camera sensor’s dynamic range. On the other hand, Golden hour light is softer and more diffused, making it easier to retain highlight and shadow details. This means:
- Less need for HDR bracketing to balance exposure.
- Reduced reliance on graduated ND filters to darken bright skies.
- Minimal post-processing for shadow recovery.
Using Directional Light to Add Depth and Texture
With the sun lower in the sky, golden hour light creates striking directional effects that enhance depth in photos. Experiment with:
- Side lighting to sculpt facial features in portraits.
- Backlighting for glowing, ethereal rim-lighting effects.
- Soft shadows that add a three-dimensional look to landscapes and architecture.
“The way elements are arranged within a frame can dramatically impact the feeling an image conveys. I use composition to guide the viewer’s eye, create a sense of balance and harmony, and emphasize the most significant moments,” said Wes Shinn, a professional wedding photographer.
Taking Advantage of Lower Light Intensity for Creative Flexibility
The reduced intensity of golden hour light allows for wider apertures and more creative control. This enables:
- Shallow depth of field (f/1.4–f/2.8) for dreamy, blurred backgrounds.
- Lower ISO settings for cleaner images with minimal noise.
- Longer exposures to capture motion blur in water, clouds, or moving subjects.
Leveraging Warm Tones for Natural Color
Golden Hour’s naturally warm color temperature enhances skin tones and landscapes without extensive post-processing. Compared to the cooler, neutral light of midday, this lighting can:
- Add a golden glow to portraits for a flattering, natural look.
- Enhance the richness of colors in nature photography.
- Reduce the need for artificial warmth adjustments in editing.
“Colors evoke emotions and set the tone for an image. I pay close attention to the interplay of colors throughout your wedding, capturing the vibrant hues of your decor, the subtle tones of your surroundings, and the natural beauty of the light,” Shinn added.

Sorting Through Hundreds of Shots
Ah, the classic golden hour dilemma. You’re snapping away, and suddenly, you’re left with hundreds of nearly identical shots.
The key to overcoming this? An efficient photo culling process. Instead of spending hours sorting through hundreds of photos, let Aftershoot do the heavy lifting for you.
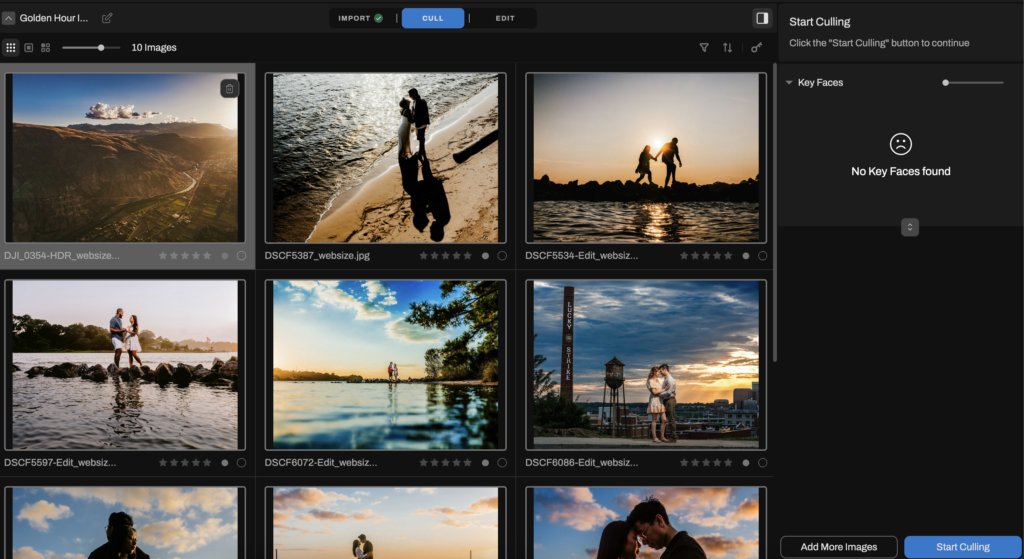
Its AI-powered culling quickly sorts through your images, flagging the best ones so you can focus on perfecting your photo edits and not get bogged down by too many options. That way, you can spend less time choosing and more time creating.
Read also: The Complete AI Photo Culling Workflow Guide for Photographers
Capture Golden Hour Effortlessly
Golden hour is one of the most magical times for photography, offering warm, soft light that enhances every shot. You can create breathtaking wedding and portrait images that capture beauty and emotion with the right approach.
When sorting through hundreds of golden hour shots, Aftershoot makes the process effortless. AI-powered culling swiftly identifies your best shots, while AI editing ensures consistent, stunning results for golden-hour photos. This means less time spent sorting and more time perfecting your favorites with creative edits.
Ready to perfect your golden hour shots? Claim your free 30-day trial today.