When you’re shooting a wedding, there’s no time to scroll through menus or second-guess yourself. The lighting conditions shift quickly, and the most meaningful moments happen in an instant.
After nine years of shooting weddings, I’ve come to realize that camera settings aren’t about getting it perfect every single time; it’s more about being prepared, able to adapt, and, perhaps most importantly, knowing your camera without hesitation.
Let’s Talk Camera Settings: What Actually Works on a Wedding Day
Here are the foundations I rely on for my photography:
- Manual mode when I need total control. For example, with flash or difficult light
- Aperture priority when working quickly in natural light, usually wide open.
- Automatic white balance, manual when using flash
- Shutter speed fast enough to freeze action, usually a minimum of 1/200.
- Auto ISO, set to work with the minimum shutter speed in the camera menu. Manual ISO when I’m in manual mode. I will push my ISO high when needed.
Let me throw this out there: There’s no ‘right’ setting or magic formula. No wedding is like a studio shoot where you’re blessed with consistency. Weddings are fast and sometimes unpredictable. The best settings are the ones that keep you reactive.
Getting Your Aperture ISO and Shutter Speed Right
In my opinion, you should understand the exposure triangle before you shoot any weddings. Cameras have worked with these three settings for generations now. They are aperture, ISO, and shutter speed.
The exposure triangle works a little differently when using flash, so I’ll just talk about my natural or ambient light wedding settings here.
Aperture
Aperture controls the amount of light that your lens allows into the camera. Most of the day, I’m shooting ‘wide open’, essentially the lowest setting on your lens, to let in the most light.
This setting also controls how your ‘depth of field’ appears. Shooting a wider aperture, a smaller number, will give you a shallower area of focus and soft backgrounds.
With most lenses, that’s anywhere between f/1.2 and f/2.8. For group shots and certain scenarios, I’ll tighten to f/4 or f/5.6 to make sure everybody is in focus.
Shutter Speed
Shutter speed controls how long your camera’s shutter stays open, letting light in and capturing motion during that time. It’s measured in fractions of a second (or full seconds when you get really slow, but that would be rare at a wedding).
Then I try to stay above 1/200 when I want sharp images. Rarely will I go slower, but I will sometimes introduce some subtle motion blur with a shutter speed around 1/30.
ISO
Essentially, the sensitivity of the camera sensor, or film, to light. In daylight, you’ll usually be set between 100 and 400. You will be pushing this higher when indoors or in any low light.
In candle-lit venues, I’m often pushing this to 12800 and beyond. This will introduce some digital noise or grain to your photos, so know what your camera can handle and how much you’re comfortable with. Lightroom Denoise can do a fantastic job of cleaning this up, too.
Putting Them Together
This might be where you need to pick up your camera, set it to manual, and watch the settings change your photographs in real time.
The three settings work as a team to control how bright or dark your image is. If you open your aperture wider, you’ll let in more light, but your depth of field will get shallower.
If you slow down your shutter speed, you’ll gather more light, but movement (even moving the camera slightly) will blur.
If you raise your ISO, you will brighten the image but risk adding grain if you go too high.
The trick is to balance them based on the scene. It can take a bit of getting used to, but if you think of them as three dials, you’ll get the hang of it.
TL;DR: Understanding the Exposure Triangle for Weddings
Before shooting a wedding, get familiar with the exposure triangle: aperture, shutter speed, and ISO.
- Aperture affects light and depth of field: Shoot wide open (f/1.2–f/2.8) for soft backgrounds, stop down (f/4–f/5.6) for group shots.
- Shutter speed controls motion: Keep it above 1/200 for sharpness, go lower (like 1/30) if you want some motion blur.
- ISO boosts brightness in low light: Use 100–400 outdoors, push higher (even 12800+) indoors, but watch for grain.
Together, these settings shape your exposure. Think of them as dials to balance depending on light, motion, and your creative goals.
How do I Achieve the Right White Balance?
I tend to shoot on Auto White Balance (or AWB setting) for most of the day. It’s generally very accurate on modern cameras, and any inconsistencies can be altered when editing.
If I need consistency in-camera, I’ll switch to Cloudy outdoors. I prefer this to ‘daylight’ as I like the warm feel. I’ll also use Cloudy White Balance when using flash.
How I Nail Focus Settings in Dynamic Wedding Scenes?
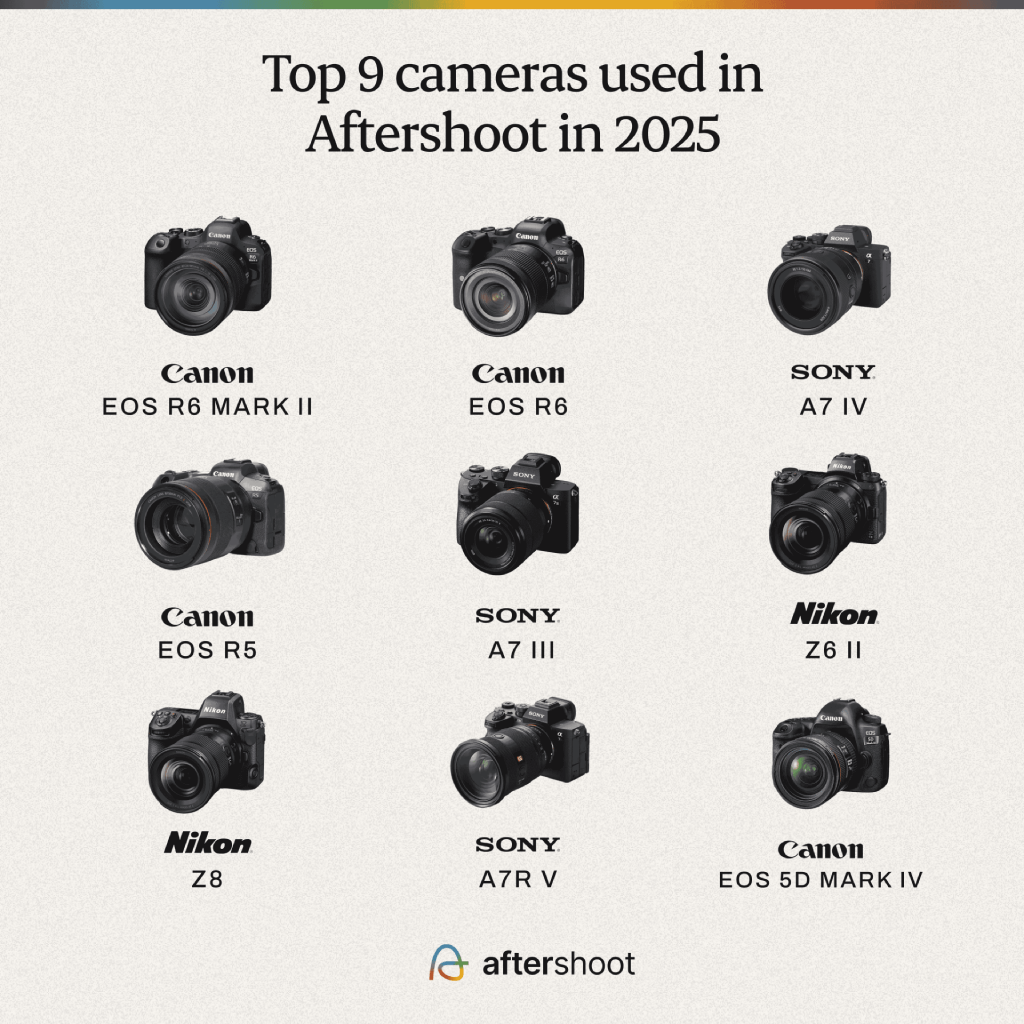
The focus settings that I use will entirely depend on what camera I’m using. Some brands or older cameras are slower to track, and so single-shot will give a better response. I use Sony cameras, and the autofocus is impeccable. Here’s the settings I use:
- AF-C (Continuous Autofocus) tracking for almost every part of the day
- Eye AF is turned on to detect faces in the scene
- Single point for control.
In use, I have my ‘point’ in the centre, I can grab focus quickly and keep the shutter half-pressed, and then recompose my photo or track the subject. With most modern mirrorless cameras, your camera will do a good job of keeping ‘locked on’.
My Go-To Camera Settings for Wedding Photography
1. Natural Light Camera Settings
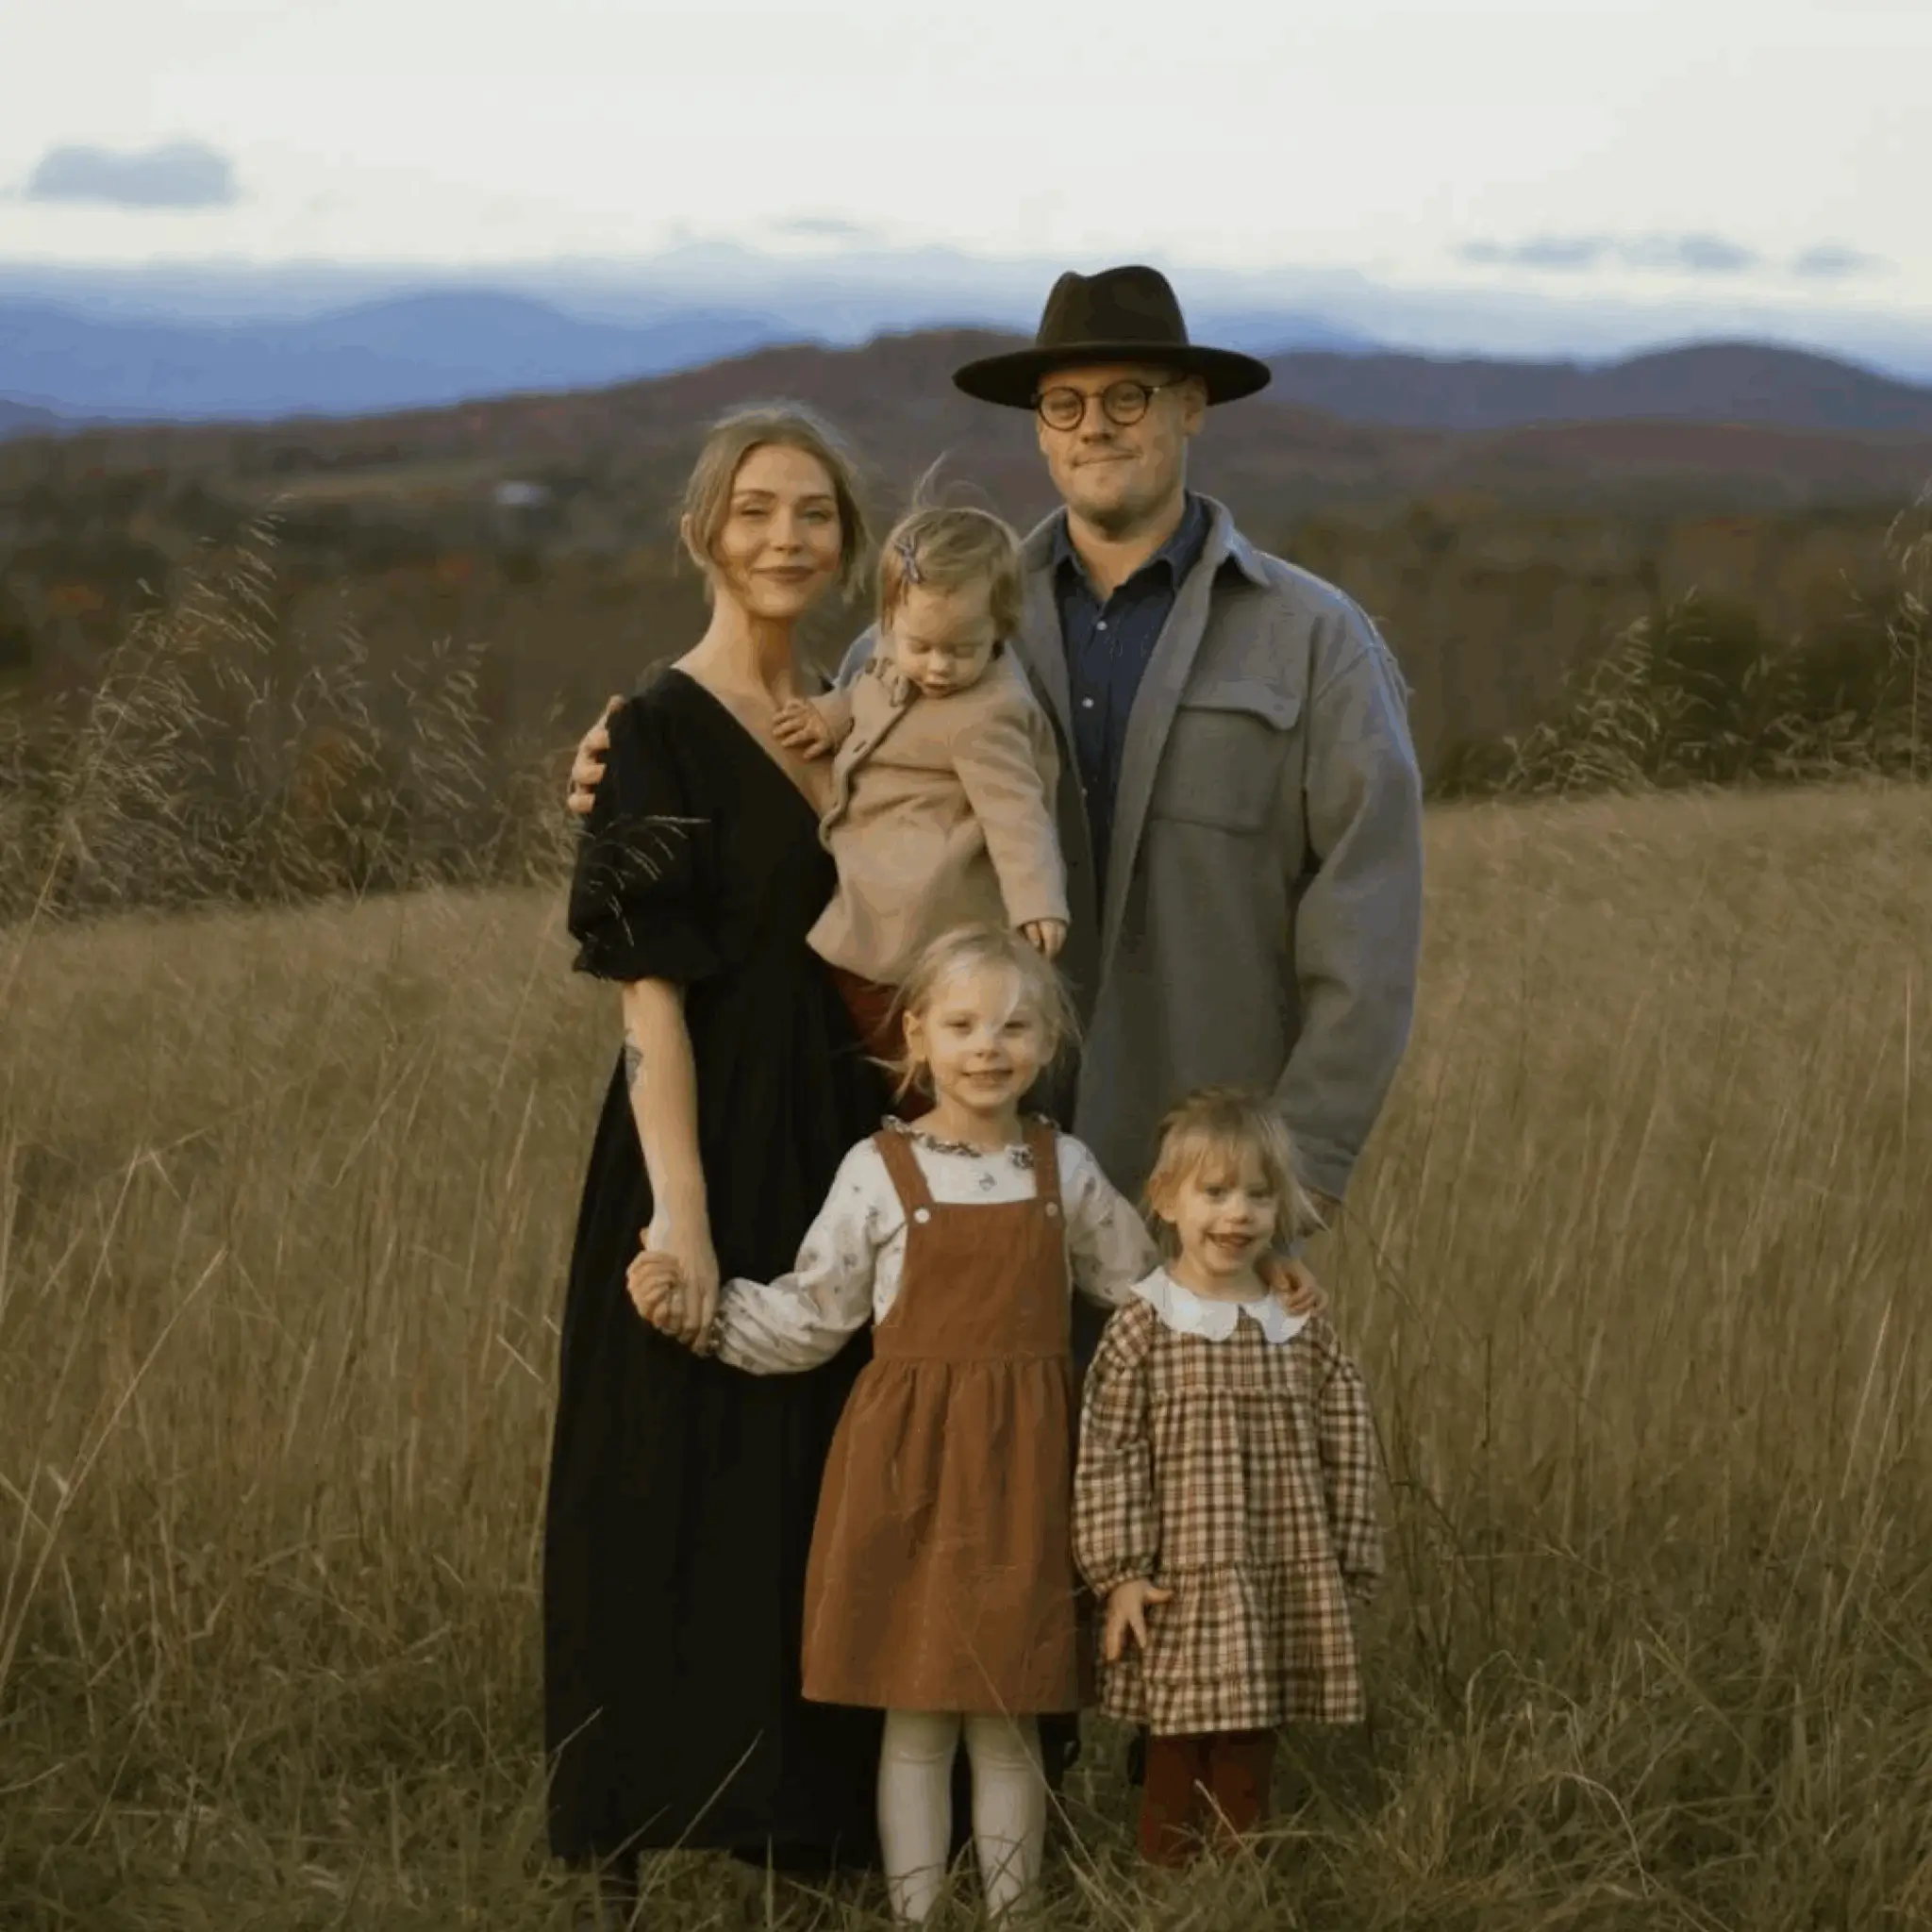
Natural, or indoor ambient light can make weddings unpredictable. Generally, these are my settings for outdoors in the daytime, or decent light indoors. This setup is so versatile that I’ll even default to this when using LED lighting inside at night.
My outdoor setup:
- Aperture Priority, for speed
- Aperture at f/2, the lowest on my Sony 28-70mm f/2 lens. f/4 for groups
- Auto ISO, with the shutter set to stay faster than 1/200.
- White balance, Auto.
I keep this setup as a custom setting on my Sony camera. It means I can quickly switch my camera to these settings and know that I can just take a photo, and it’s usually close to ‘right’.
Need to perfect your outdoor photography? Check out this guide to learn how to nail your outdoor wedding photoshoot
2. Settings For Flash
Camera settings work a little differently when using flash. It can seem intimidating at first, but is a great tool once you’re comfortable, especially when the sun goes down.
One of the key differences when it comes to the exposure triangle is that shutter speed only controls the ambient light, the environment that you’re working in. The aperture and ISO will both work to make your flash light brighter or darker.
If you want to let in more of the room’s ambient, natural vibe, you can slow the shutter speed slightly. If you want to kill the ambient light for a more dramatic look, you can make it faster.
I’ll use Flash in two different ways, with two sets of ‘go to’ settings.
3. Bounce Flash Settings: The Natural Look
If I’m using flash during prep, speeches, or any scenario I want the photo to looks like I’m only using ambient light, I’ll bounce it. This means aiming the flash at a ceiling or neutral-coloured wall to reflect light back into the scene. Here are my settings:
- Camera set to Manual
- Shutter speed around 1/100 to 1/160
- ISO usually around 800-1250, depending on the ambient light
- Aperture around f/2 or f/2.8
- White balance is usually set to ‘Cloudy’ for a warmer look.
I will essentially use the exposure triangle to slightly underexpose the ambient light and get the environment looking ‘right’, and then add flash.
4. Direct Flash Settings For a Bold Look
On the dancefloor or when I want a bold, punchy look, I’ll play with direct flash. I usually hold my flash in my hand, but this works well on-camera.
- Aperture around f5.6
- Shutter speed around 1/100, a little slower if I want more ambient light
- ISO around 1250
- White balance set to ‘Cloudy’ for a warmer look.
Struggling to get your lighting right at weddings? Check out this guide to wedding photography lighting techniques that actually work.
Quick Camera Setting Tips
- Lock exposure for consistency: Once you’ve nailed your exposure for the prep room or ceremony, lock it in. That way, your photos don’t flicker in tone across the gallery.
- Use Highlight Alert or Zebra Stripes: On mirrorless cameras, these show where your highlights are blowing out. Super handy for sunny ceremonies or white dresses in bright light.
- Set up Custom modes or presets for regularly used settings. That way, you can flick from natural light portraits to flash-friendly settings instantly.
Your Settings Are Great, But Are Your Edits?
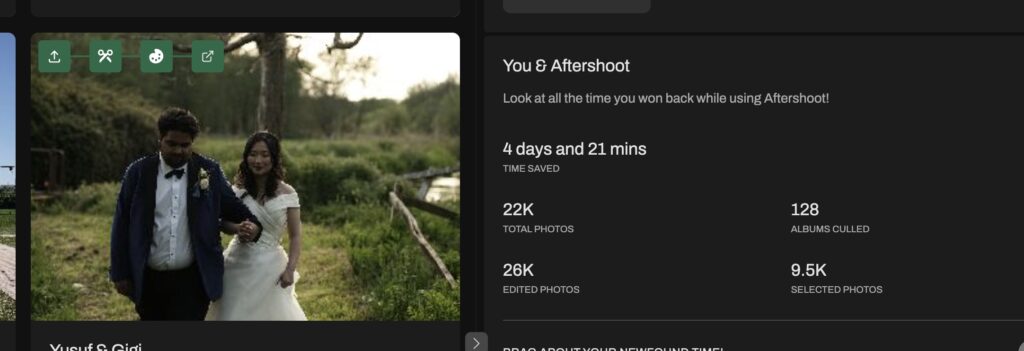
Even if your in-camera settings are perfect, weddings generate hundreds of images with slight shifts in light, tone, and exposure. That’s where tools like Aftershoot come in.
Aftershoot’s editing tool lets me batch-correct exposure, white balance, and tone in a way that’s tailored to my style. It’s especially helpful for mixed-light galleries, like when I’ve shot prep with window light, portraits in golden hour, and dancing with flash.
You don’t need to fight through every individual image. Get the gallery 90% of the way there, then finish with final touches in Lightroom.
Got Questions? Let’s Break Down the FAQs
What settings are best for wedding photography?
For me, it’s Aperture priority, wide apertures, and ISO that flex with the light. The key is control, not perfection.
What is the best ISO setting for wedding photography?
There’s no single number. During the day, it’ll be around 100 to 400. Indoors or in low light, I’ll happily push as high as I need.
Is f/4 good for wedding photography?
Absolutely. f/4 is great for group shots or ceremonies. For portraits, I prefer f/1.8 to f/2.8 for that shallow look.
Nail the Shot, Finish Strong
My camera settings for wedding photography aren’t about rules, they’re about readiness. Know your camera well enough to adjust on instinct, and don’t let perfectionism slow you down.
Set up your camera so you can focus on moments, and be in tune with the wedding.