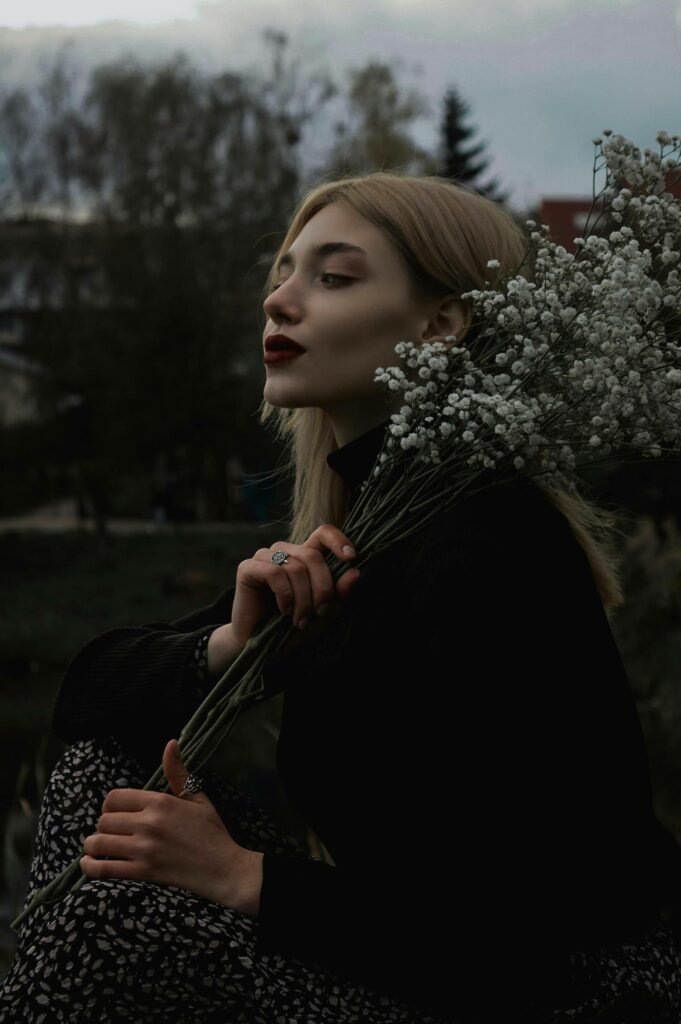
When you think of silhouette portraits, imagine figures frozen against a blazing sunset, their forms…
Posted by Team Aftershoot
Updated: February 2, 2026
Chapters
When you think of silhouette portraits, imagine figures frozen against a blazing sunset, their forms telling stories without revealing faces. This style transforms ordinary portrait sessions into cinematic experiences, capturing emotion and narrative through pure shape and contrast. Silhouette portrait photography relies on controlled backlighting, precise exposure, and intentional posing to tell a story through shape rather than facial detail. It’s chosen by photographers who want to create mystery, drama, and timeless artistic impact that stands apart from traditional portraiture.
With its emphasis on perfect timing, precise exposure control, and creative composition, silhouette portrait photography turns technical challenges into artistic opportunities. In this guide, we’ll break down everything you need to know about shooting, composing, and delivering stunning silhouette portraits, plus how modern workflow tools can help you manage the volume of shots needed to nail that perfect silhouette.
TL;DR
The magic happens during golden hour and blue hour, but also during storms, city nights, and dramatic indoor lighting situations.
Exposure is everything: meter for the brightest part of your background, then stick to those settings while your subjects move and pose.
Silhouettes require more shots than typical portraits because you can’t rely on facial expressions. Every pose, gesture, and body line must be perfect.
Post-processing focuses on contrast enhancement and background drama rather than skin retouching.
Aftershoot’s AI culling becomes essential when you’re shooting 200+ frames to capture the perfect silhouette pose, helping you quickly identify the sharpest outlines and most dramatic compositions.
As portrait photography moves toward more cinematic and editorial styles, photographers who master silhouettes are offering clients something truly distinctive in a crowded market.
Here’s what every silhouette portrait shoot demands:
Essential camera gear:
Wide-aperture lens (f/1.4-f/2.8): For shallow depth of field that separates your subject from busy backgrounds
Telephoto lens (85mm-200mm): Creates compression that makes backgrounds appear larger and more dramatic
Tripod: Essential for consistent framing when you find the perfect composition
Spot metering mode: Critical for exposing exactly where you want—usually the bright background
Lighting approach:
Natural backlighting: Position subjects between you and your light source (sun, window, city lights)
Avoid fill flash: Any front lighting will kill the silhouette effect
Embrace rim lighting: Sometimes a tiny bit of light wrapping around your subject’s edges adds definition without breaking the silhouette
Location considerations:
Clean backgrounds: Busy backgrounds create messy silhouettes. Look for simple, dramatic skies or clean architectural lines
Elevation changes: Shooting from lower angles can put subjects against the sky rather than distracting ground elements
Multiple backup locations: Weather and lighting change fast, so always have plan B and C ready
How to shoot silhouette portrait photography
Before the shoot
Client Communication: Silhouette sessions require more direction than typical portraits. Send clients a Pinterest board showing the style and mood you’re aiming for. Explain that clothing choice matters enormously—flowing dresses, distinct profiles, and avoiding baggy clothes that hide body shapes.
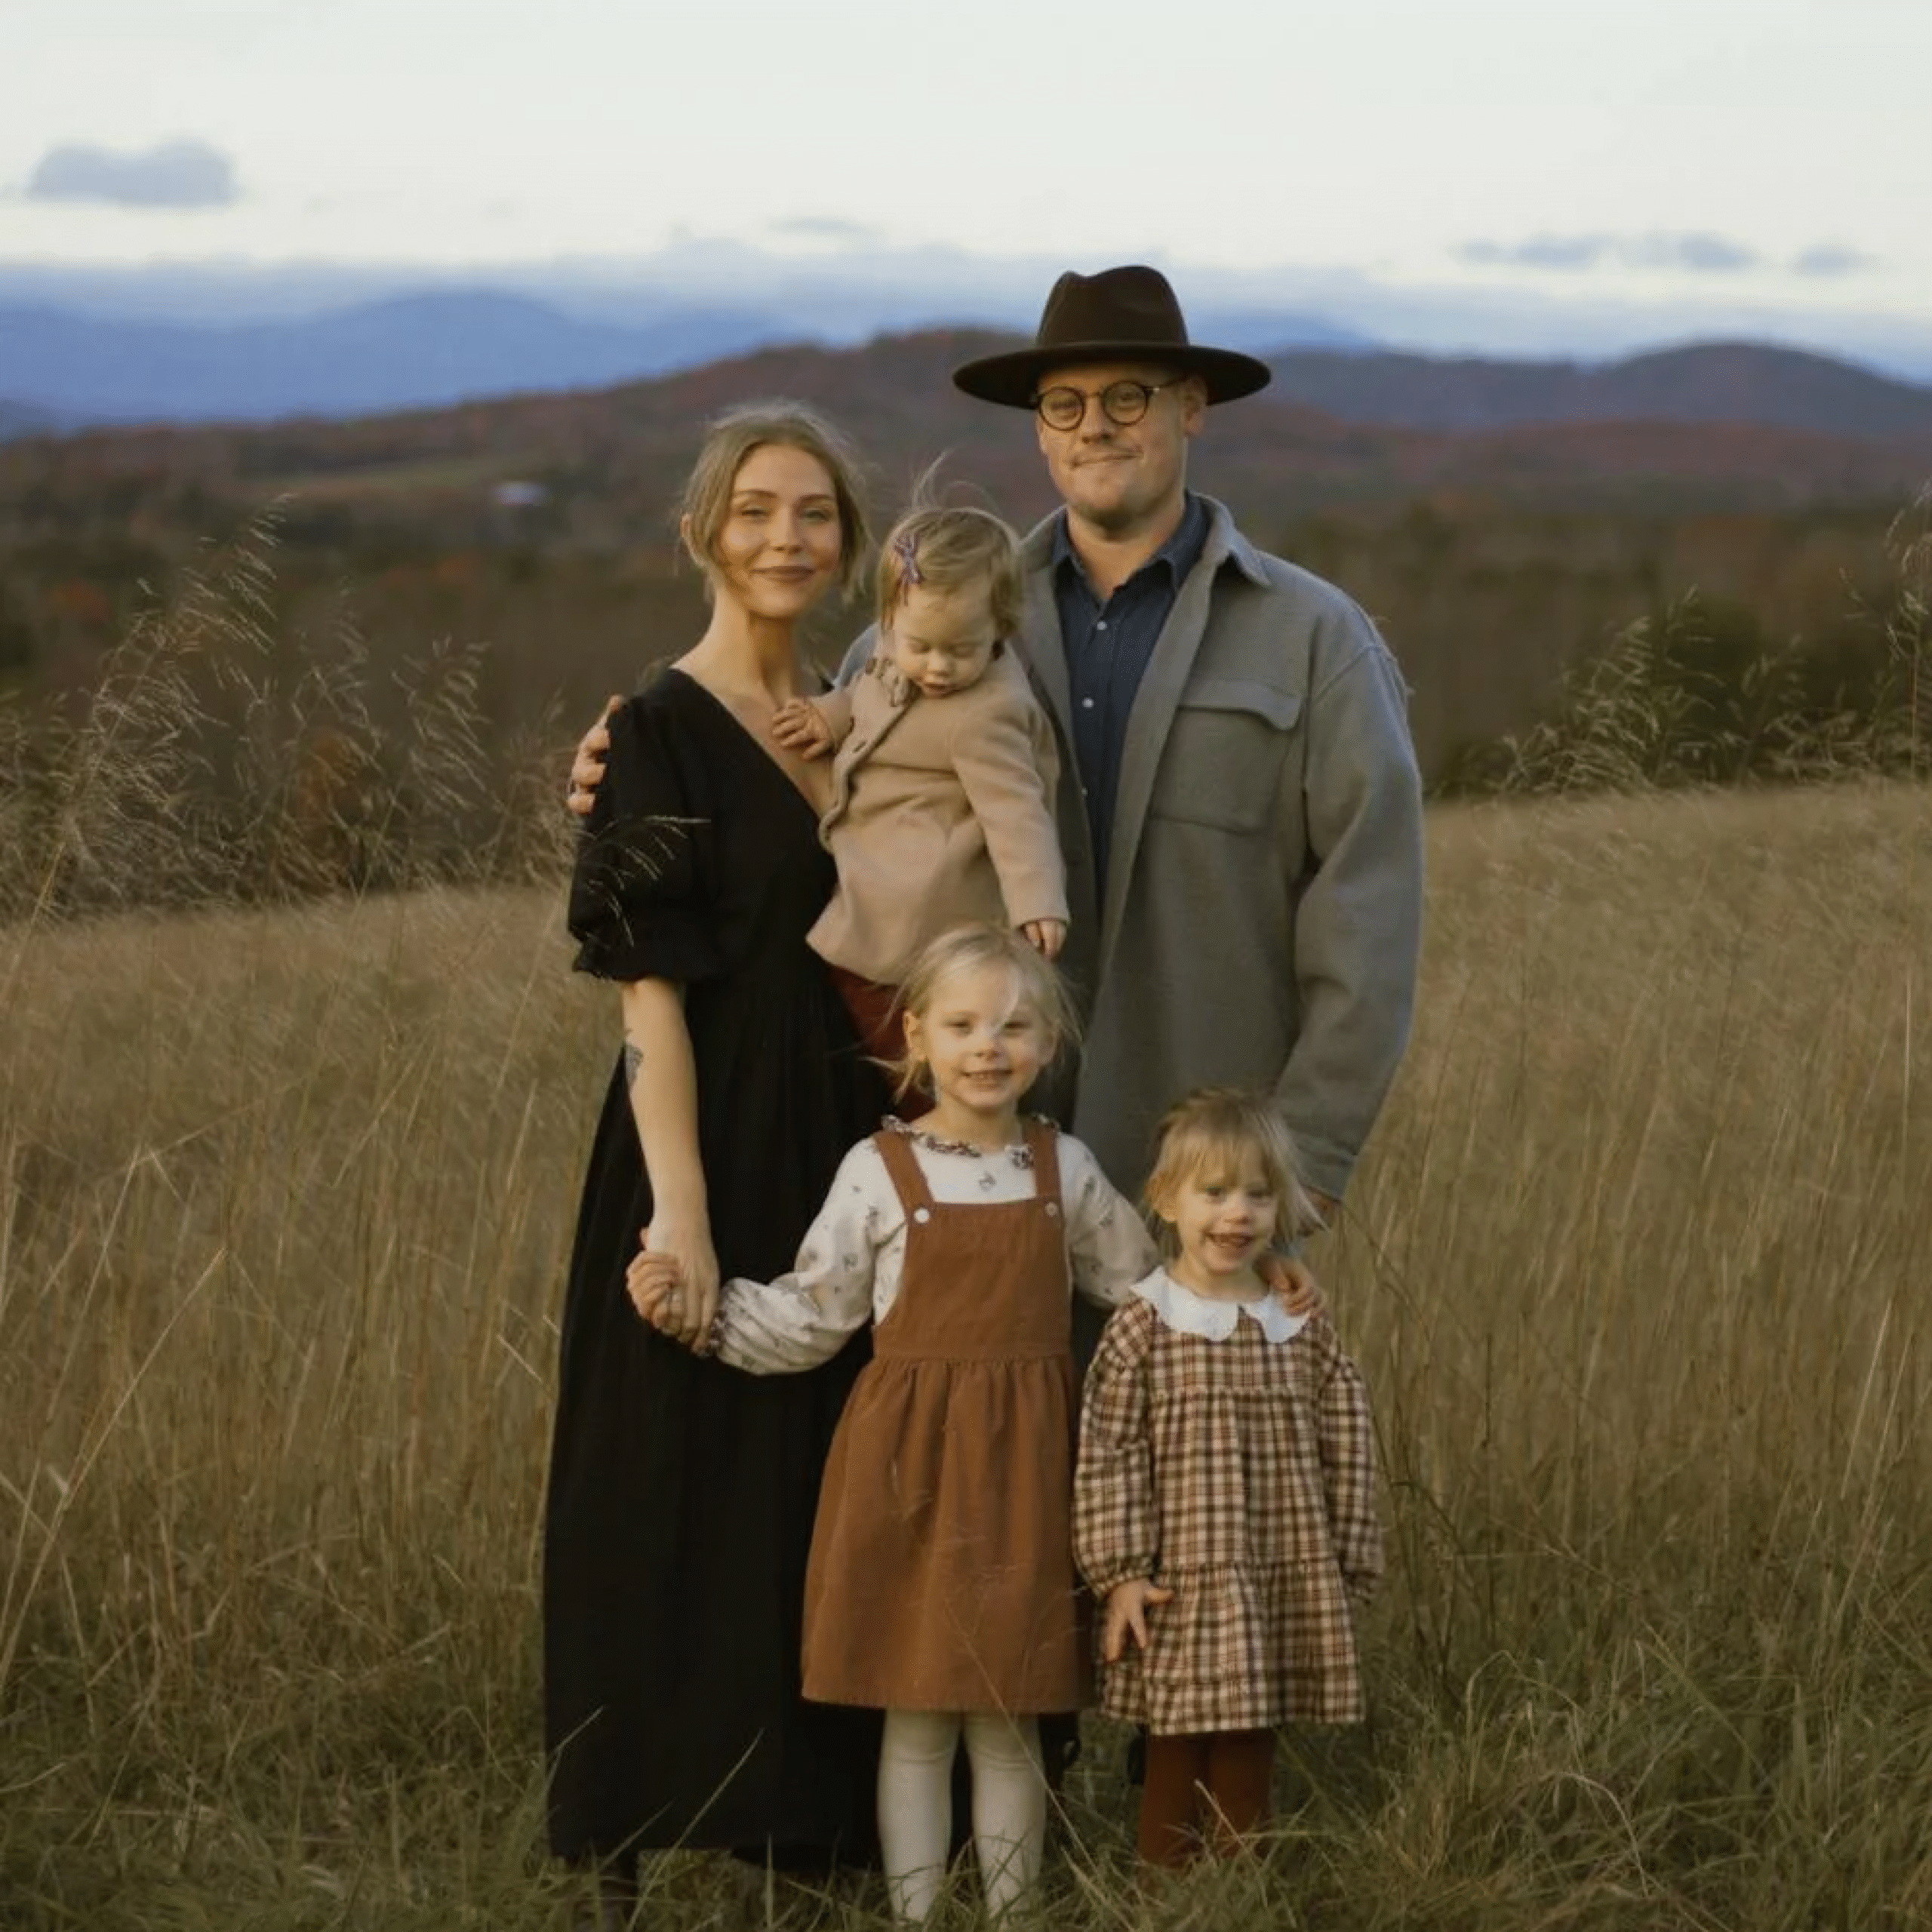
Set expectations that faces won’t be visible, so this style works best for couples, families comfortable with artistic interpretation, and clients seeking fine art over traditional portraits.
Timing Strategy:Golden hour for silhouettes is kinda mandatory. Scout locations during the same time you’ll be shooting to understand how light moves and where shadows fall. Weather apps become your best friend; storm fronts and dramatic clouds often create the most spectacular silhouette backgrounds.
Shot Planning: Unlike portrait sessions, where you can improvise, silhouettes demand pre-visualization. Plan 3-4 hero shots with specific poses and compositions. Sketch out how you want bodies positioned, where hands should be, and how clothing might flow or catch wind.
During the Shoot
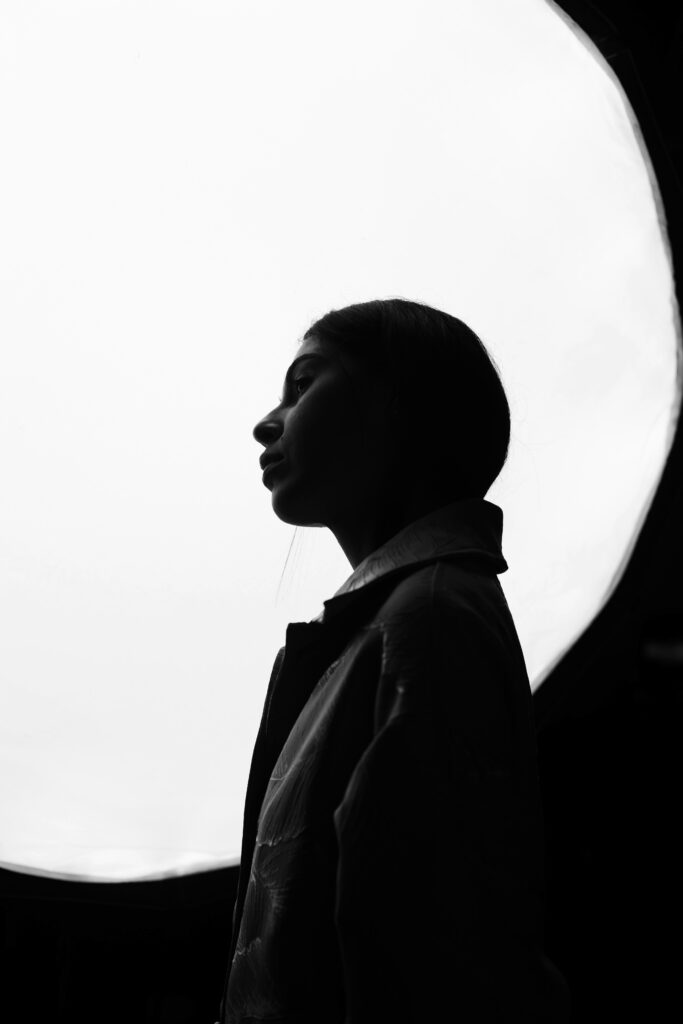
Camera Settings: Switch to spot metering mode and meter off the brightest part of your background usually the sun or brightest sky area. Start with settings like f/5.6, ISO 100, and whatever shutter speed gives you proper exposure for that bright background. Your subjects will appear completely black, and that’s exactly what you want.
Composition focus: Every line matters in silhouette work. Profile shots often work better than straight-on poses because they create more recognizable shapes. Pay attention to:
Limb separation: Arms and legs shouldn’t overlap in ways that create confusing shapes
Negative space: The space around your subjects is as important as the subjects themselves
Gesture and body language: Without facial expressions, hands, posture, and overall body language carry all the emotional weight
Common problems + fixes:
Muddy silhouettes: If your subject isn’t completely black, you’re either underexposing the background or getting unwanted reflected light. Find cleaner backgrounds or adjust your position.
Boring backgrounds: A silhouette is only as strong as its background. Don’t settle for plain skies, wait for dramatic clouds, city skylines, or interesting architectural elements.
Stiff poses: Silhouettes amplify awkward body language. Keep subjects moving, dancing, or walking to capture natural, flowing shapes.
Post-processing workflow for silhouette portraits photography
Here’s how experienced portrait photographers actually handle silhouette post-processing, and where Aftershoot becomes the obvious first stop.
Silhouette portraits live and die on shape clarity. The sooner you cull, the easier it is to spot which frames actually read as silhouettes and which ones just looked promising in the moment. Most photographers cull silhouette-heavy sessions within minutes usingAI culling toolslike Aftershoot, especially when dealing with burst sequences during sunset or backlit setups. Near-duplicate grouping, blur detection, and composition cues cut through the noise fast, so you’re not clicking through 50 versions of the same pose.
At this stage, you’re not judging exposure or color. You’re looking for:
Clean subject outlines
Strong body language that reads instantly
Clear separation from the background
Aftershoot gives you a head start by surfacing technically solid frames, so you can focus on gesture, posture, and negative space— all the things that actually matter for silhouettes.
2. Editing silhouette portraits across changing light
Silhouette sessions often move quickly through different lighting conditions—harsh backlight, soft haze, full sunset, post-sunset glow. Manually normalizing exposure across 200–500 RAWs can eat hours. This is where AI editing helps speed things up. Using Aftershoot editing, photographers can:
Apply consistent baseline exposure across similar lighting scenarios
Push subjects into true silhouette territory without repeating slider moves
Maintain visual consistency as light changes minute by minute
And if you don’t have time to train a full AI profile, Instant AI Profiles make this even easier. You can turn your favorite Lightroom preset into an AI editing profile in under a minute and apply it immediately after setup.
Think of AI here as your first-pass editor. It handles the foundational exposure and tonal consistency so you can export into Lightroom or Capture One and refine selectively.
Once the baseline edits are in place, this becomes a human job. At this stage, you’ll fine-tune minor crops to strengthen the silhouette shape, shadow depth while preserving edge integrity and background gradients to reduce distractions.
Silhouette backgrounds should feel cinematic and dramatic. Golden hour shots benefit from warm highlight tones and cool shadow tones that create that movie-magic separation. Blue hour shots often work best with deep blue-purple gradients that emphasize the transition from day to night.
For the silhouette subjects themselves, resist the temptation to lift shadows—they should remain completely black for maximum impact.
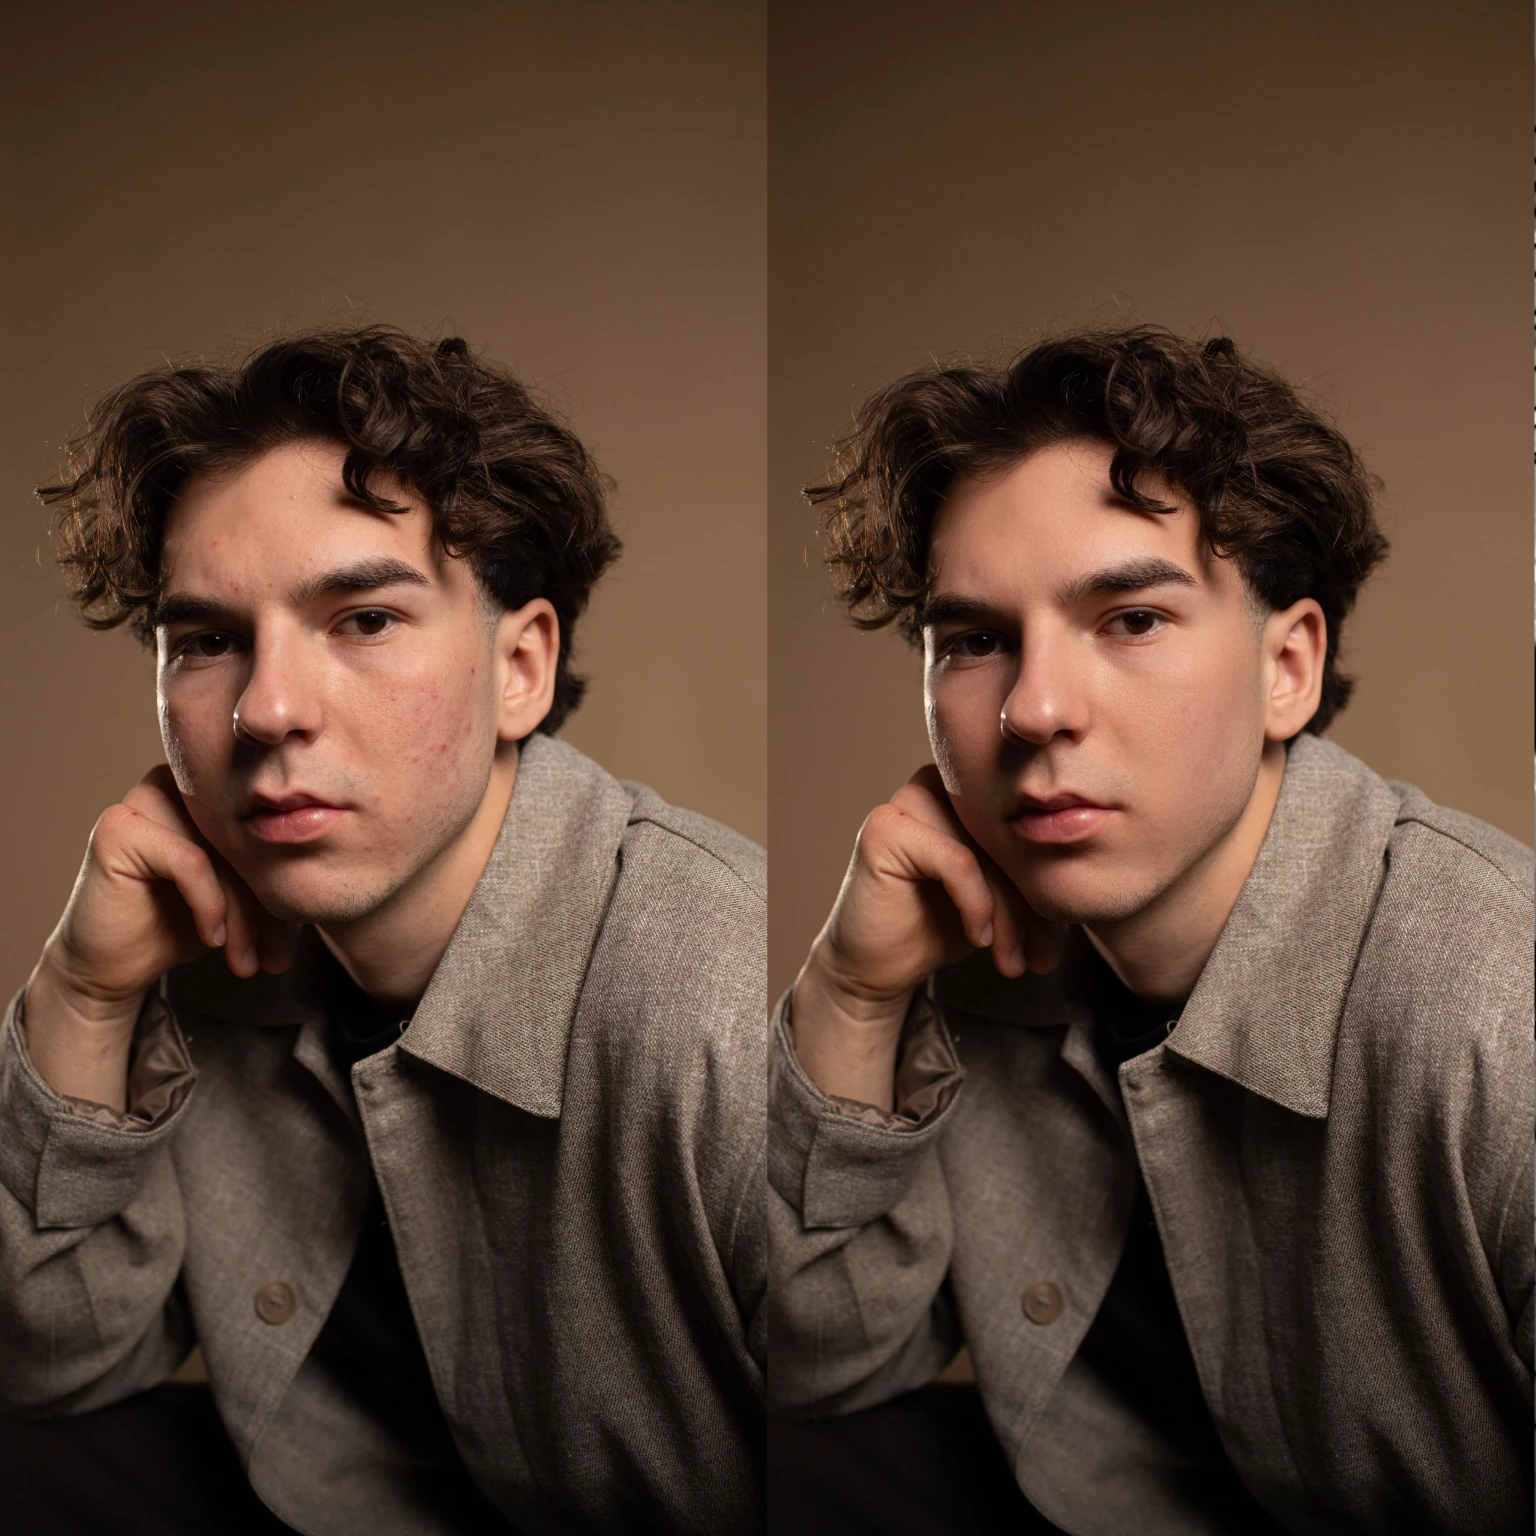
4. Retouching hero silhouettes
Silhouette galleries don’t need heavy retouching across every image. Instead, focus on 10–20 hero frames that carry the visual impact:
Signature profile shots
Wide environmental silhouettes
Iconic poses with strong negative space
For those hero images, Aftershoot’s AI retouching can quickly handle minor blemish cleanup (where visible), stray hair along edges or small distractions in the background.
Most photographers report finishing retouching for all hero silhouettes in 15–20 minutes total, keeping the images polished without stripping them of mood or realism.
5. Faster delivery without rushing creative decisions
Silhouette portraits are often client favorites and fast delivery amplifies that impact. With an AI-assisted workflow, a realistic turnaround looks like:
Sneak peeks within 24–48 hours
Full gallery delivery in under a week
Social-ready hero silhouettes for immediate sharing
Silhouette portraits thrive on high contrast and dramatic backgrounds. The most popular styles include:
Golden hour warmth with rich oranges and deep purples that make backgrounds glow
Moody blue hour processing that emphasizes cool tones and urban drama
High contrast black and white that strips away color distractions and focuses purely on shape and form
You can find silhouette-specific styles in theAftershoot marketplace that enhance background drama while maintaining pure black subjects.
How much does silhouette portrait photography make?
Photographers specializing in dramatic, artistic portrait work can command premium rates:
Artistic engagement sessions featuring silhouette work: $400-$1,200 per session
Fine art family portraits with silhouette elements: $500-$1,500 per session
Creative wedding photography incorporating silhouettes: $3,000-$8,000+ for full wedding coverage
The key differentiator is positioning silhouette work as cinematic, editorial-style photography rather than standard portraits.
You’ve mastered silhouette portraits, now make them delivery-ready
Great silhouette photography comes from perfect timing, precise exposure, and graceful posing but success also depends on having a workflow that delivers dramatic results without drowning you in post‑processing.
Golden hour sessions can easily generate 300+ frames. Manually sorting near‑identical shots to find the strongest shapes is tedious and time‑consuming. Aftershoot automates the process, grouping similar poses, picking the sharpest outlines, and applying consistent, dramatic edits that make backgrounds pop and subjects stand out.
Keep your focus on capturing those show‑stopping moments while AI handles the busy work. Try Aftershoot free for 30 days and see how workflow automation turns challenging shoots into your most profitable ones.
A bi-monthly newsletter for photographers who want more than surface-level advice. Get thoughtful insights, honest takes, and real strategies to grow your business and stay creative.