Discover essential wedding photography lighting techniques to capture stunning, well-lit shots in any setting —…
Posted by Team Aftershoot
Updated: February 2, 2026
Chapters
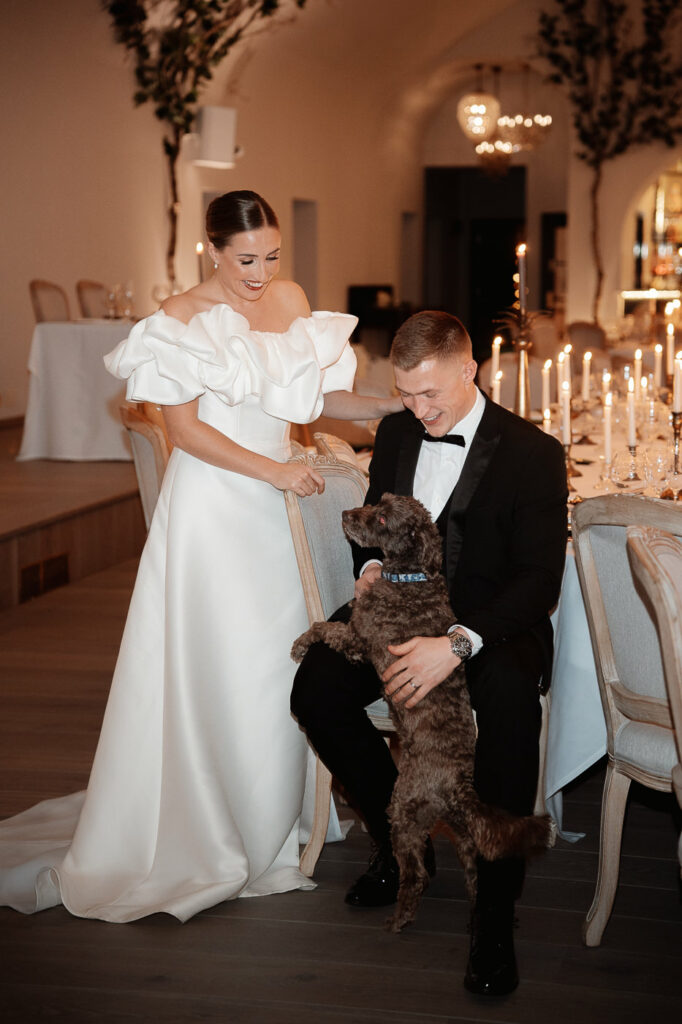
Weddings move fast, and the light changes. The weather can throw curveballs, and there’s no one-size-fits-all setup that works for every moment. Being a fan of natural photographs, I like to keep my wedding photographylighting simple: natural light first, flash when needed, and a couple of compact LEDs in my bag for when things get dark, but I want to save the ambience.
This guide will be great if you’re a photographer looking for wedding photography lighting ideas that won’t overcomplicate your setup. I’ll walk you through my go-to gear, settings, and creative techniques to help you capture beautiful images in any scenario. You don’t need to feel like you’re dragging a whole studio to the wedding.
Gear Essentials for Wedding Photography Lighting
I could be called a gear minimalist. I’m not into lugging around a full lighting ring, and I want each item of gear to work hard for me. For my weddings, I rely on a full-frame mirrorless camera (I shoot with a Sony A7IV), a 28-70mm f/2.0 zoom, and a 35mm prime lens.
That covers 90% of what I need throughout the day. A flash comes out when I need to add a pop of light. I use a Profoto A2 with a trigger, and have this in my left hand or on a light stand. I would, however, recommend a flash that can be used on-camera for most people, like a Godox V1.
A small, battery-powered LED panel is another item I keep in my bag. It’s really useful, especially for speeches or low-light moments.
Great natural light is a wedding photographer’s best friend. It’s flattering, it’s free, and it changes throughout the day, offering endless creative opportunities.
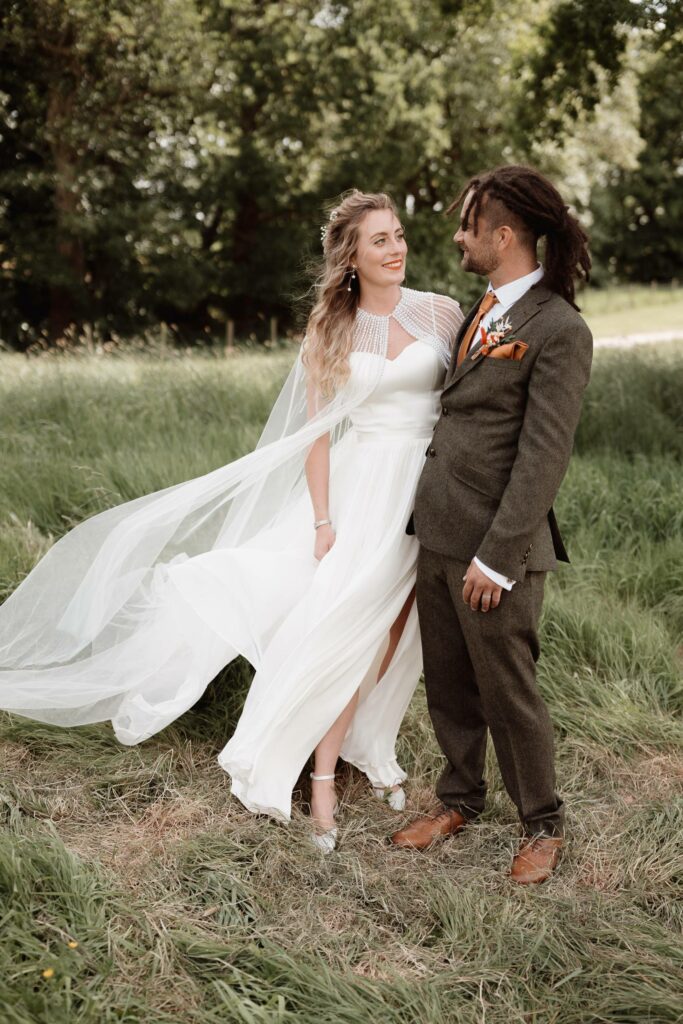
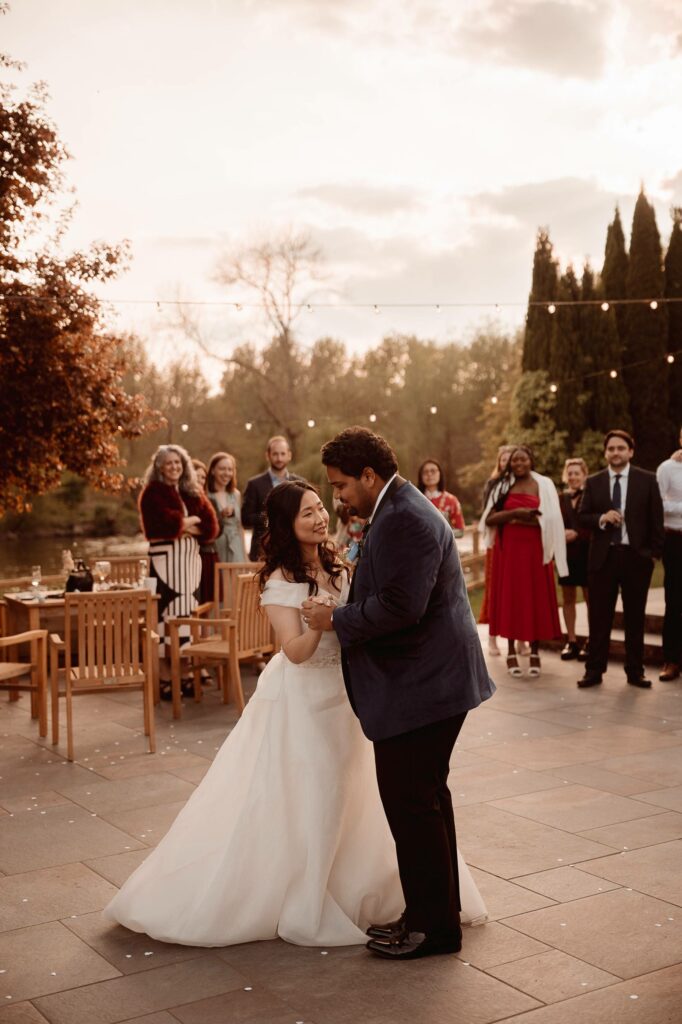
I’m always on the lookout for open shade to soften harsh sunlight, and I love positioning my couple with the sun behind them for that warm, golden glow at sunset.
Pale walls, gravel paths, or even a white tablecloth can bounce light beautifully onto your couple too. Indoors, I’ll often use windows and doorways for directional light that adds depth. And while a good golden hour is always a bonus, a cloudy day can give you soft, even light that’s stunning and easy to work with.
2. Using Flash Without Killing the Mood
Flash has a bit of a reputation for killing atmosphere, but when used intentionally, it can actually elevate your shots.
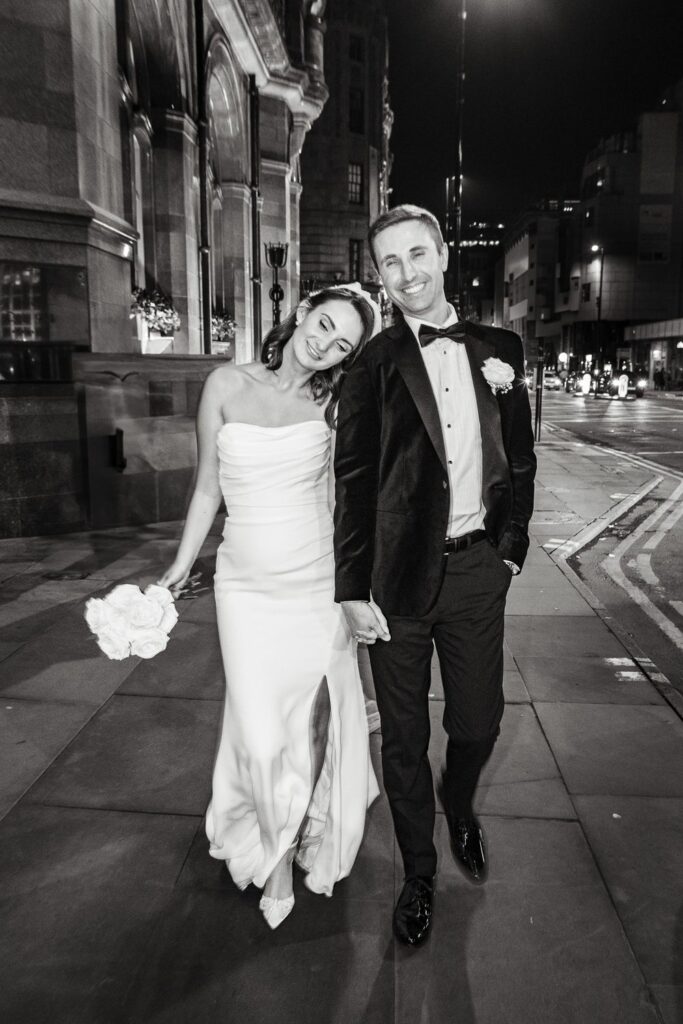
I’m a big fan of direct flash for a bold, editorial vibe. I also use it on the dance floor or during moments that call for a bit of drama.
Off-camera flash gives you even more flexibility. You can backlight the couple for a rim-lit look or add a pop of light in a dark corner of the venue. Indoors, bouncing flash off a ceiling or wall is a classic way to soften shadows and create a flattering light without blinding your couple or their guests.
When I want to play with something different, I’ll slow down my shutter (sometimes to 1/30) to blend ambient light with flash for a funky, motion-filled effect.
Just a quick note… If you’ve ever shot a gallery that includes a mix of natural light, flash, and LEDs, you’ll know the editing can get messy. This is where Aftershoot works for me. It helps me batch-correct colour and exposure in complicated, mixed-light galleries.
A compact LED light is one of my favourite tools for evening receptions. I use the simple Kenro Smart Lite Bi-Colour LED. It’s small, cost-effective, and gives you the flexibility to light speeches, cake cutting, or first dances without overpowering the natural atmosphere of the venue.
I tend to keep the LED on a stand, hidden behind a pillar or tucked near the DJ booth, and I’ll use warm colour settings to match the vibe of the low interior lights or candles.
This kind of subtle fill light can make all the difference when the ambient light is too low to get clean shots without cranking your ISO through the roof. For me, it’s about adding just enough light to keep faces clear, while still letting the scene breathe.
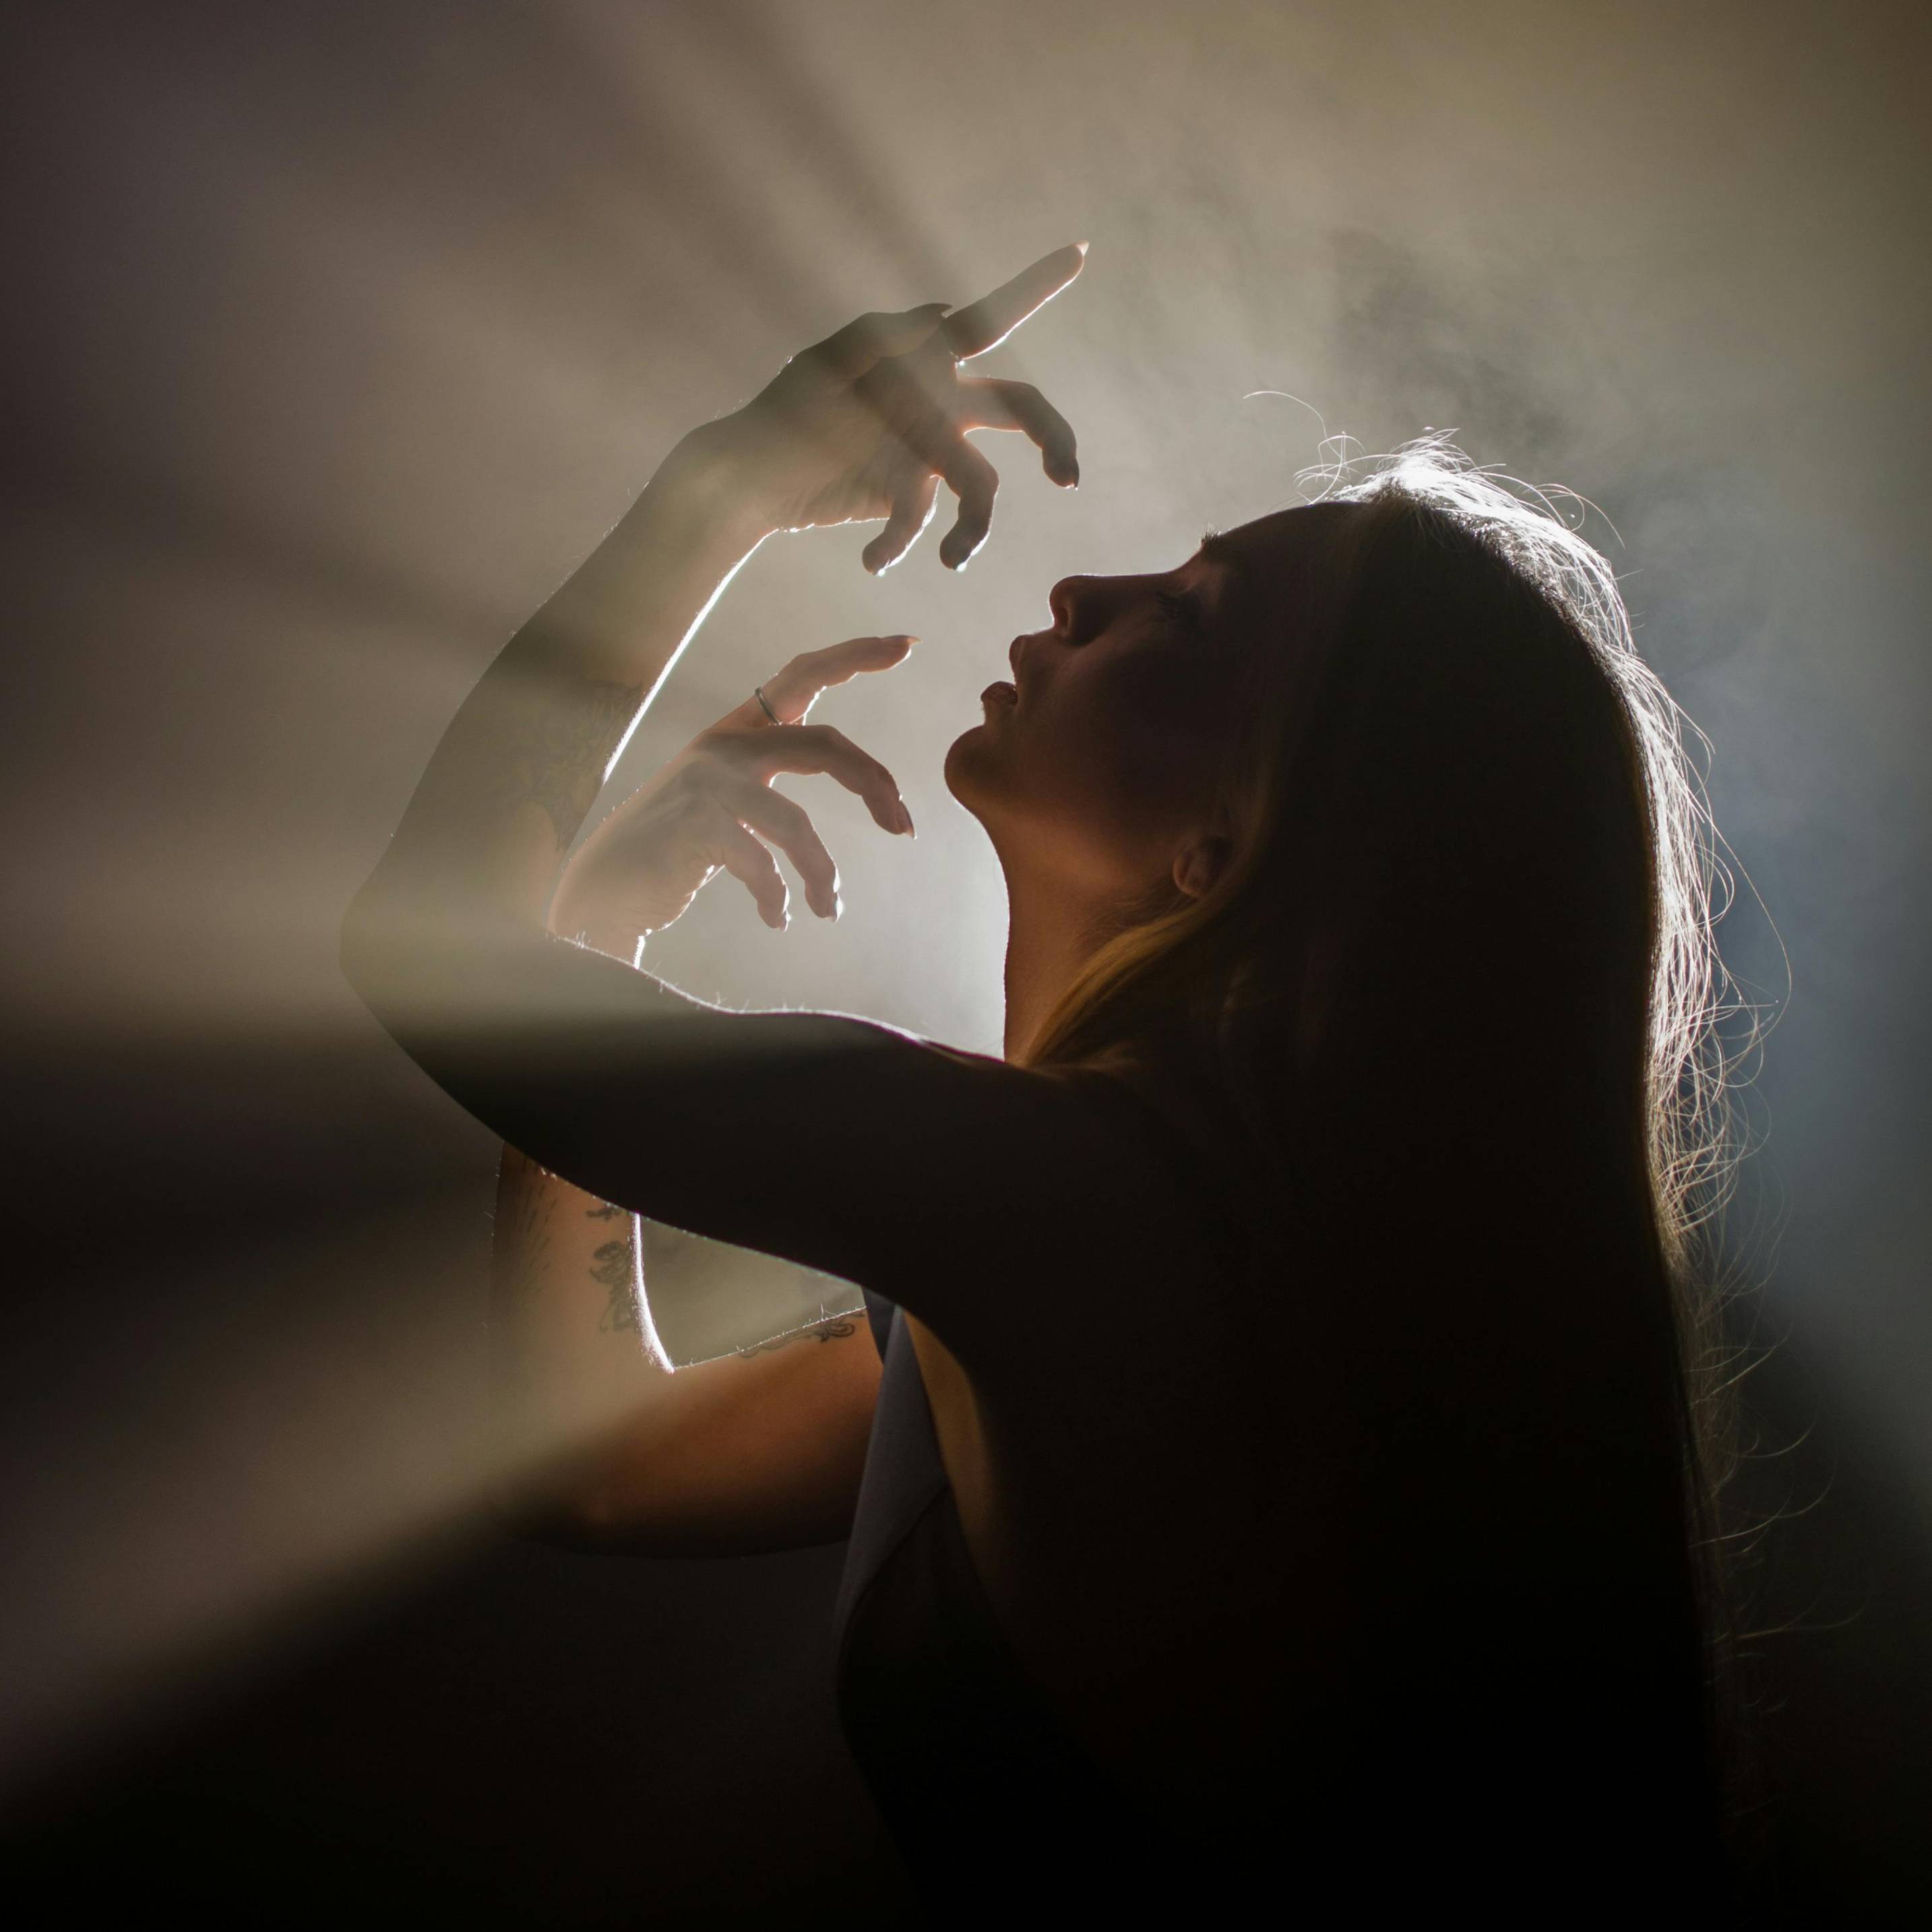
4. Using Backlight at Weddings
Backlighting can create some of the most unique, flattering and dramatic images of the day and is my favourite way to shoot at golden hour. You can backlight veils, flowers, or hair to give a pretty glow around the edges. It works beautifully for portraits but also for details or wide shots.
Indoors, I sometimes use window light from behind the couple for a subtle backlit feel that is still clean and natural.
It can be a good idea to shoot your digital images a little underexposed and bring back the shadow details when editing.
5. Side Lighting
Side lighting will add drama and depth when done well. I’ll often find this effect naturally happening indoors. For example, during speeches when the light from a window is skimming across the couples’ face, creating contrast.
It’s also lovely for giving portraits a gentle contrasty feel, rather than flat lighting from the front.
Be careful with your shadows. Side lighting works best when subtle.
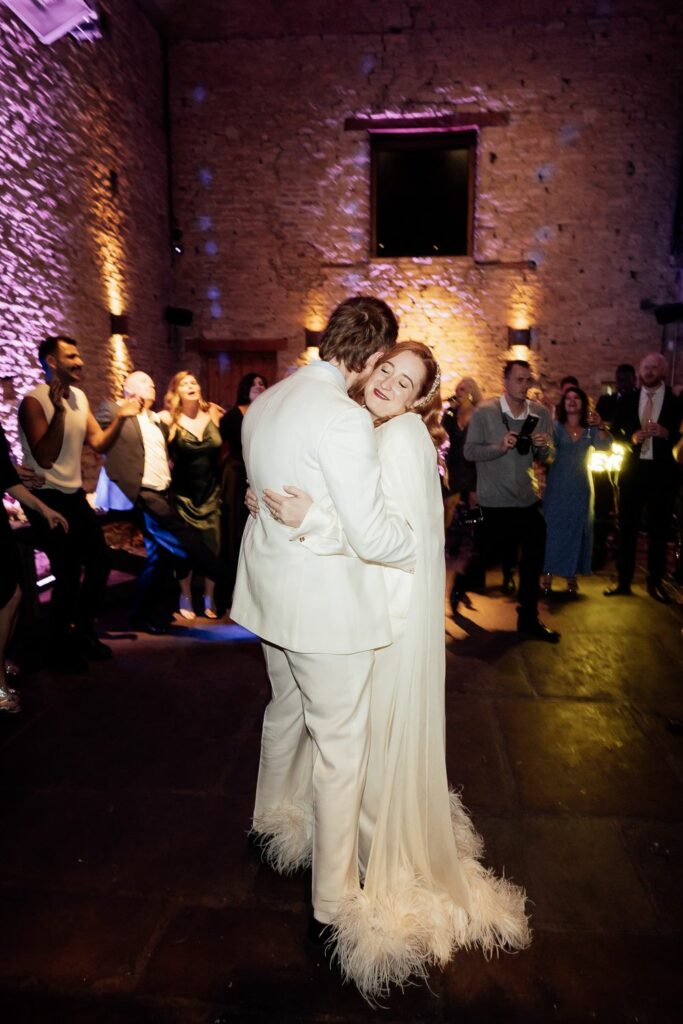
6. Lighting for Wedding Receptions: Keeping the Atmosphere
Evening receptions are where the light really shifts. Candles, fairy lights, and a packed dance floor can make for some of the most atmospheric shots of the day. The key is to keep that vibe alive in your images, but this can be difficult.
I use a slower shutter speed to let ambient light soak into the frame and add a small flash or LED only when it’s needed. The goal isn’t to light up the whole room like a film set, but to lift the shadows just enough so faces aren’t lost in the dark. It’s a balancing act between adding light and preserving the feeling of the evening.
Best Camera Settings for Wedding Photography Lighting
I like to keep my camera settings simple and adaptable. For most pictures on a wedding day, I’ll shoot wide open (aperture at f/1.4 to f/2.8) while groups require a bit more depth of field at f/4 or f/5.6.
ISO during the day is usually 100 to 400, but I’m happy to push it in the evening. Modern cameras handle noise well, and I’d rather get the shot than miss it because I am too worried about grain. Lightroom’s AI noise reduction helps here too.
Shutter speed is usually 1/200 for sharp shots, but I’ll slow it down to 1/60 or even 1/30 to blend in more ambient light, especially during the evening reception. I tend to use Auto White Balance, though I’ll switch to Cloudy for a warmer look and for consistency.
My Go-To Lighting Scenarios for a Wedding Day
Every wedding is different, but I tend to approach the day with a loose lighting plan. During morning prep, I’ll stick with window light whenever possible, sometimes adding a bounce flash if the lighting is dark. I’ll usually try to switch off any lamps or spotlights that will give a strange colour cast. I’d rather work with lower light than mixed colours.
For the ceremony, I only shoot natural light. There are photographers who will use bounce-flash when the light is low, but I prefer to be discreet.
If I can, I shoot my portraits in the day using natural light with backlighting or open shade. For group shots, I’ll scout a shady spot and add flash if the light is patchy.
When the light fades. I typically like direct flash for high-energy dance floor shots or editorial night portraits. I’ll use my LEDs for speeches or cake cutting.
This plan, as mentioned, is loose. I will always be open to utilising the options available to me. I’ve been known to go through the entire wedding without needing flash at all.
Quick Lighting Hacks That Save Time
Lighting doesn’t have to be complicated, and I usually keep it simple. For most setups, one flash and one LED are all I need.
Hiding lights in the environment (behind a pillar, a DJ booth, or even tucked into a floral arrangement) can help keep your setup discreet.
Adjusting white balance in-camera to match your lights (or matching your lights to the environment) saves time in editing later. Aftershoot’s batch editing features let me correct exposure and white balance across the board so I can focus on the creative details instead of endless tweaks.
Some of the most memorable shots I deliver come from simple but thoughtful lighting choices. Silhouettes at sunset are always a hit with my clients. Just position your couple in front of the sun, expose for the sky, and let the shapes do the work.
Backlit veil shots during golden hour create that dreamy, romantic feel clients love.
Direct flash on the dance floor adds energy and a bold, editorial edge, while rim lighting the couple during their first dance can create a cinematic glow.
I also love a wide shot of guests mingling under low venue lights. It’s a beautiful way to capture the atmosphere.
Get Your Wedding Lighting Right
Lighting for wedding photography doesn’t have to be complicated. Start by working with what you’ve got (the natural or ambient light). Add flash or LEDs when you need them, and focus on telling the story of the day in a way that feels real and true to the moment.
And remember, your time is valuable. Tools like Aftershoot can streamline your workflow, helping you get through post-production faster and freeing up more time for the creative side of your business. Get a 30-day free trial to edit your photos with Aftershoot.
Honestly, whatever keeps things simple and flattering. Natural light is usually my go-to, using window light indoors, open shade outdoors, and golden hour when the timing works. But I’m not afraid to use flash or a little LED fill when needed. The best lighting is the one that fits the moment and doesn’t distract your couple.
Which mode is best for wedding photography?
I shoot in manual mode most of the day. It gives me full control and keeps my exposure consistent across a series of shots. I’m not precious about it, though, if you’re moving fast and the light’s changing constantly, aperture priority can be great.
What is the perfect lighting for a photo?
There’s no such thing as perfect lighting; it’s personal preference or what works best in a situation. Sometimes that’s soft and romantic, like a cloudy ceremony. Other times it’s hard and punchy, like direct flash on a dance floor. The goal is to tell the story, not to follow rules for the sake of it.
Posted by Team Aftershoot
Updated: February 2, 2026
Share Article
Subscribe to The Newsletter
A bi-monthly newsletter for photographers who want more than surface-level advice. Get thoughtful insights, honest takes, and real strategies to grow your business and stay creative.