You love the art of boudoir photography — the lighting, the posing, the storytelling. But let’s be honest… retouching boudoir photos? That’s where things slow down. One image turns into an hour-long session of skin smoothing, blemish removal, and dodging & burning.
What if you could cut that time in half (or more) without sacrificing quality? AI tools for photographers, like AI retouching, aren’t about replacing your artistic touch—it’s about speeding up the tedious parts so you can focus on the creative refinements that matter.
In this guide, we’ll explore some advanced boudoir retouching techniques, plus how AI tools can help you achieve stunning results faster.
Because less time spent editing means more time doing what you love — whether that’s shooting, marketing, or, you know… having a life. Let’s dive in.
How to Retouch Boudoir Photography in 5 Steps
Manual photo retouching is one of the most time-consuming parts of a photographer’s workflow, especially when working with a large set of boudoir images requiring precise edits.
That’s where AI-powered editing tools like Aftershoot come in to help you save time with AI editing.
With Aftershoot’s AI Retouching Tool, you can streamline 90% of your editing process by automating the repetitive tasks, think skin smoothing, blemish removal, and exposure adjustments while still keeping full creative control when it comes to the final touches.
We’ll walk you through using Aftershoot to quickly retouch boudoir photos with stunning, consistent results.
Then, we’ll dive into the final 10%, the advanced manual techniques professionals use to refine each image to perfection.
Let’s get started.
Step 1: Organize Your Photos
Before retouching boudoir photos in Aftershoot, ensure your images are culled and edited. Retouching works best with your final selections, so start using Aftershoot to cull photos quickly, review, rate, and edit your album.
Need a full breakdown of the process? Check out this guide for step-by-step instructions on how to cull and edit your unedited photos before moving into retouching.
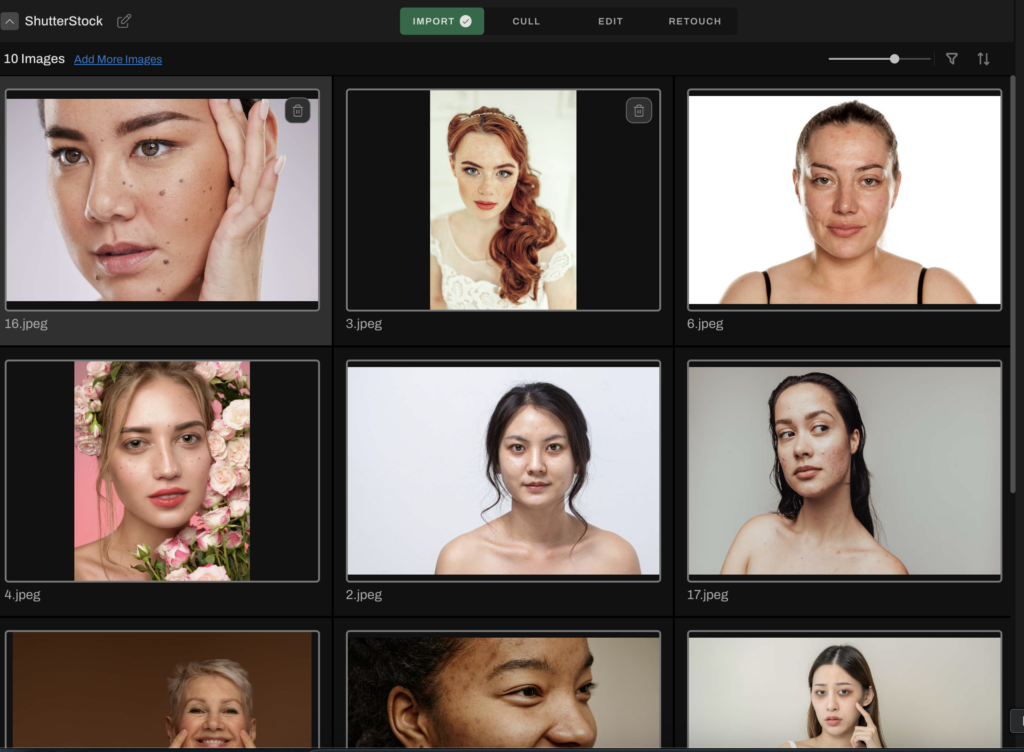
Step 2: Import Photos
Before you begin photo retouching:
Make sure you’re working with JPEGs, not RAW files or catalogs. Aftershoot Retouching currently only supports JPEGs.
When attempting to retouch a catalog, you’ll encounter a message advising you to re-import your images in JPEG format.
Also, the same message will appear if you cull and edit a JPEG album in Aftershoot and attempt to retouch the images right afterward. To proceed, export your edited selections to Lightroom or Capture One, create a new album in Aftershoot, and re-import the edited JPEGs for photo retouching.
Why this step matters: Aftershoot Retouching uses destructive editing, meaning changes can’t be undone later. You want your images to be finalized before retouching begins.
Step 3: Switch to the Retouch Tab
Open your JPEGs in a new album within Aftershoot.
Navigate to the Retouch tab.
Switch to Loupe View. To use a keyboard shortcut, press L.
Your selected image will appear center screen, with the full set in a carousel below.
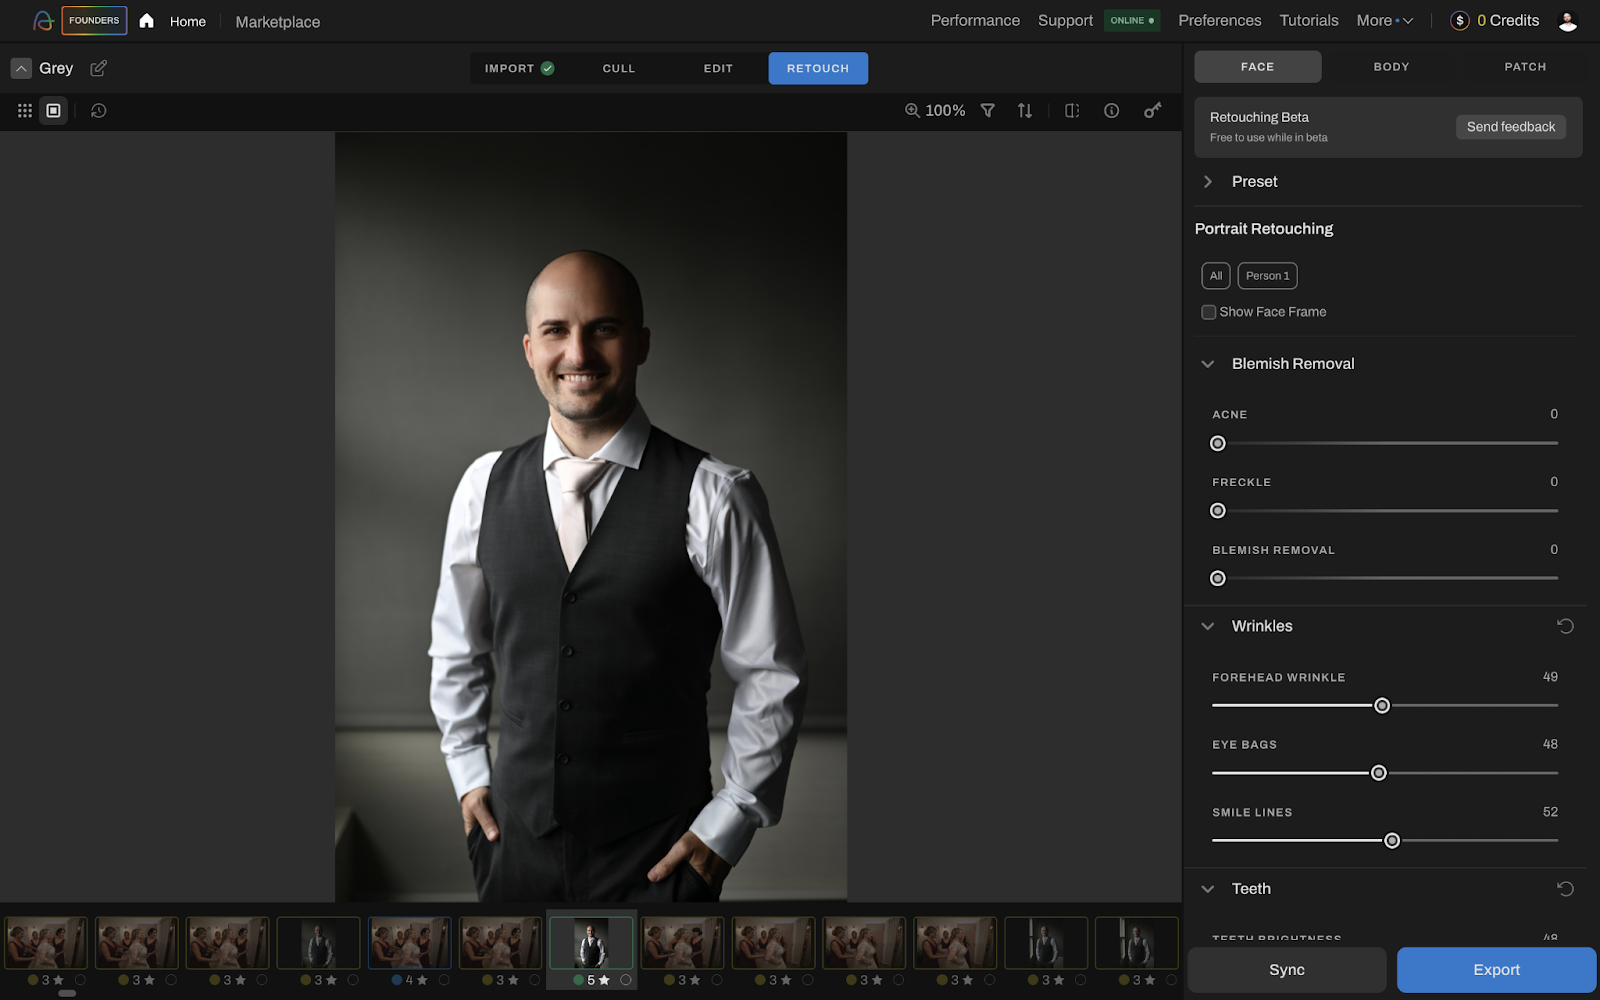
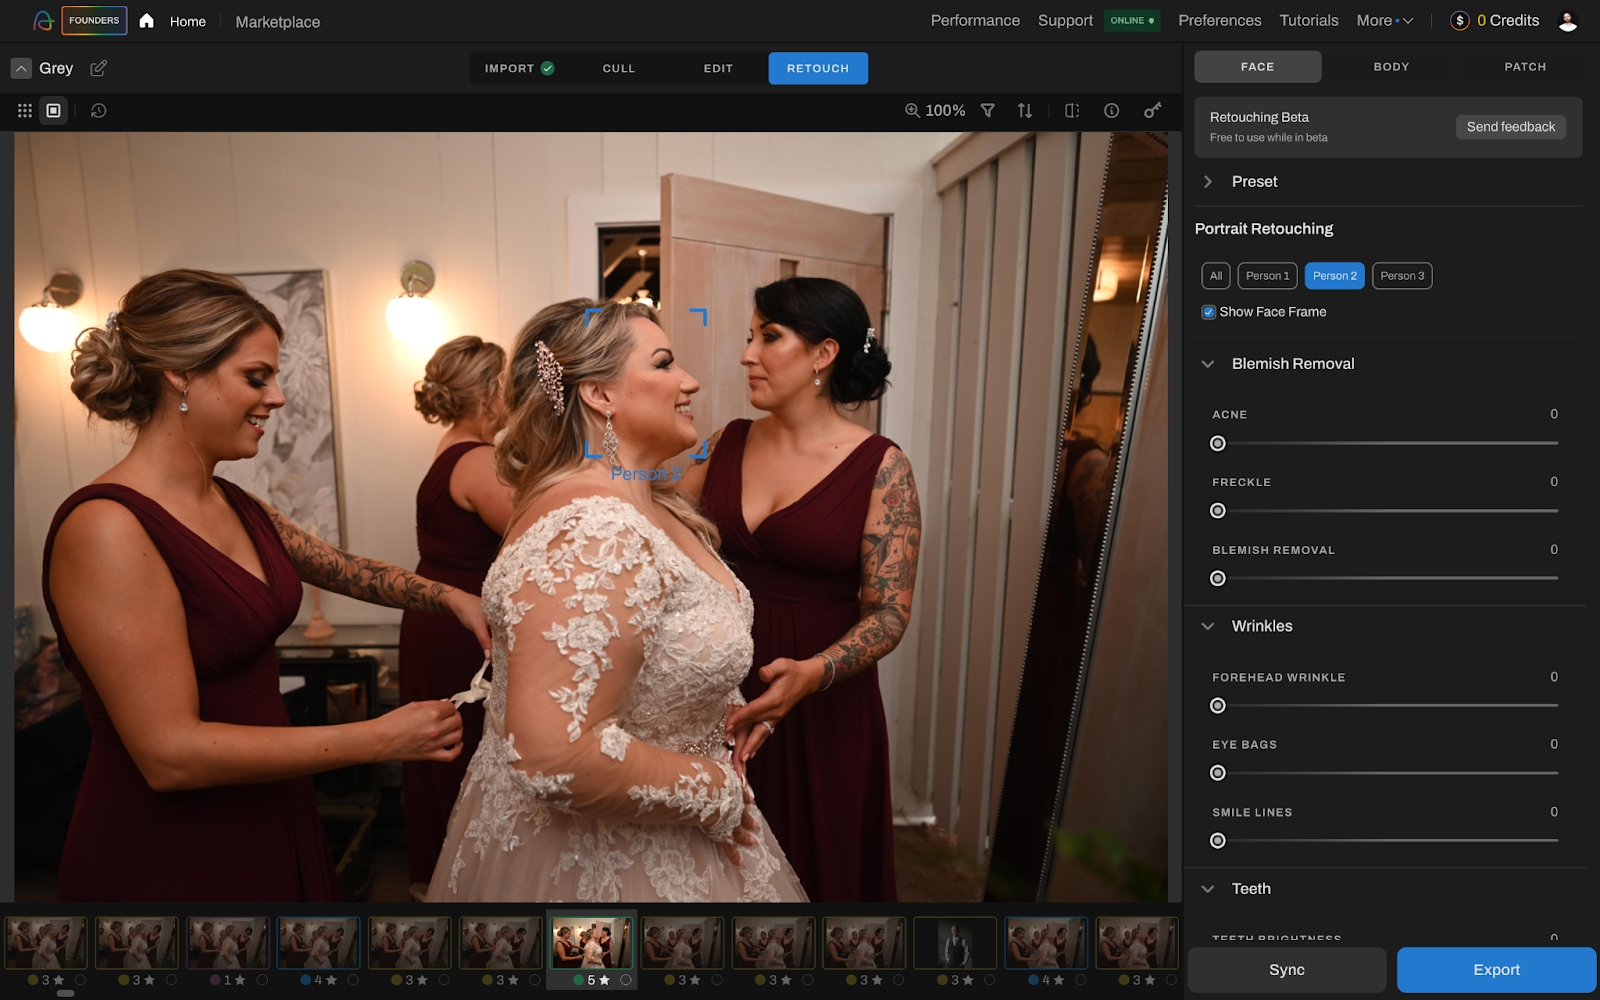
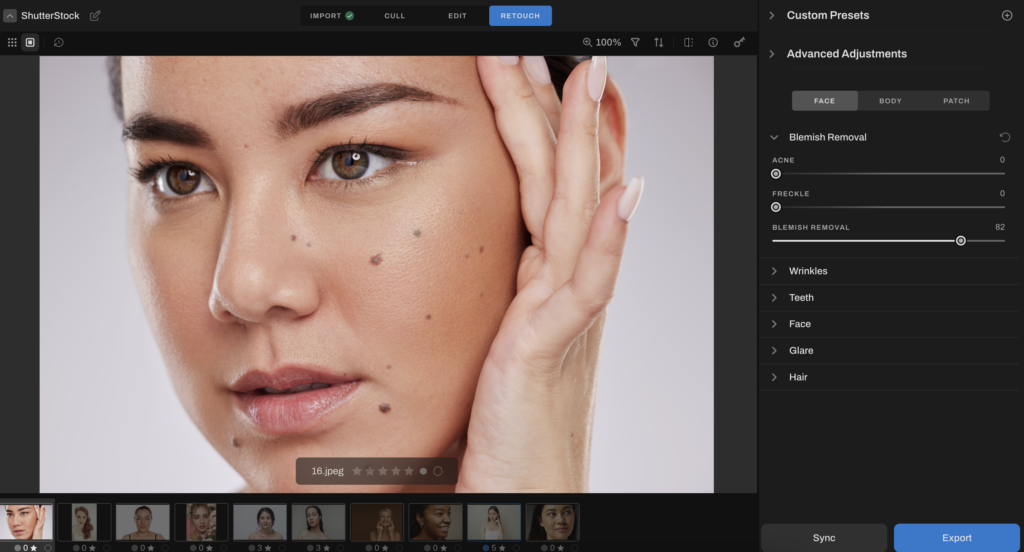
From here, you’ll see adjustable Portrait and Body retouching sliders on the right.
Here are the main options to choose from for boudoir photography retouching:
Skin Retouching
Perfect for enhancing softness without making skin look plastic.
Blemish Removal: Targets acne, freckles, and uneven skin tones.
Wrinkle Reduction: Smooths forehead lines, under-eye bags, and smile lines.
Face Brightening & Smoothening: Adds an even glow while maintaining skin textures.
Eye Brightening & Teeth Whitening: Subtle enhancements for a polished finish.
Body Retouching
Useful for full-body boudoir portraits and wardrobe refinement.
Skin Smoothening: Evens out body tone and texture. Cloth Smoothening: Reduces wrinkles in lingerie or outfits for a cleaner look.
Hair Retouching
Control flyaways and boost contrast where needed.
Stray Hair Removal: Cleans up flyaways around the face and shoulders.
Hair Darkening: Deepens tones for a bolder look, helpful in low-contrast lighting.
Now that you know each slider’s function, it’s time to use them.
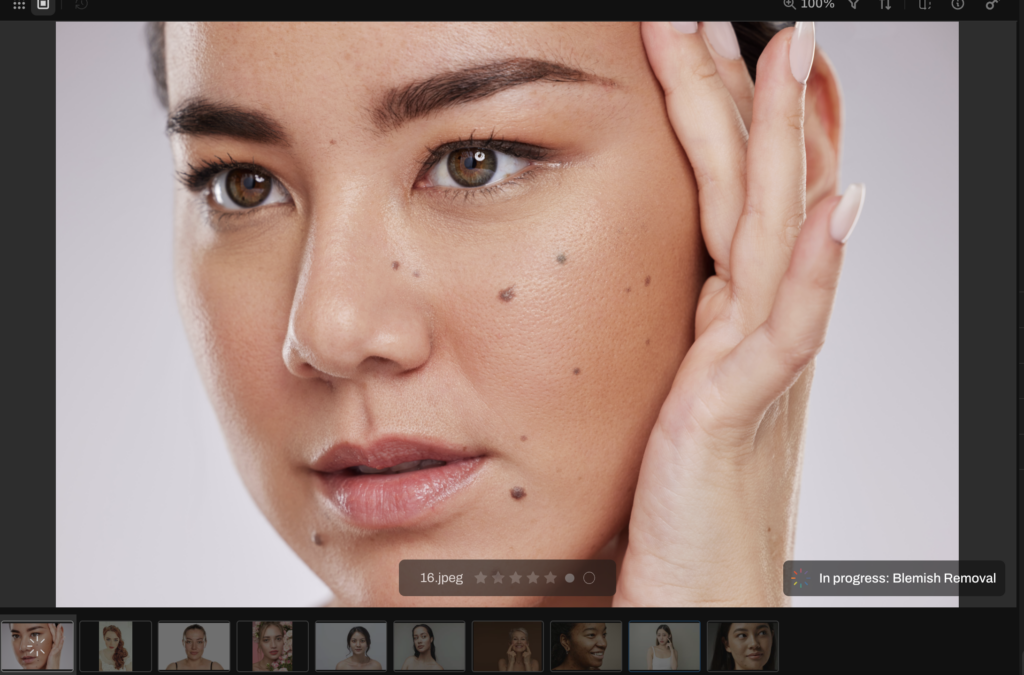
You can adjust the slider by clicking on it and dragging it to your preferred level. As soon as you change, a small circle will appear in the bottom right corner of your image, the “in progress” shows that the retouch is being applied.
This works the same way for both Portrait and Body retouching. Simple, smooth, and intuitive.
To zoom in on your image, use your trackpad or mouse wheel. The exact zoom level will be displayed in the bar above the photo. Hit the Spacebar to toggle between your current zoom and the previous one quickly.
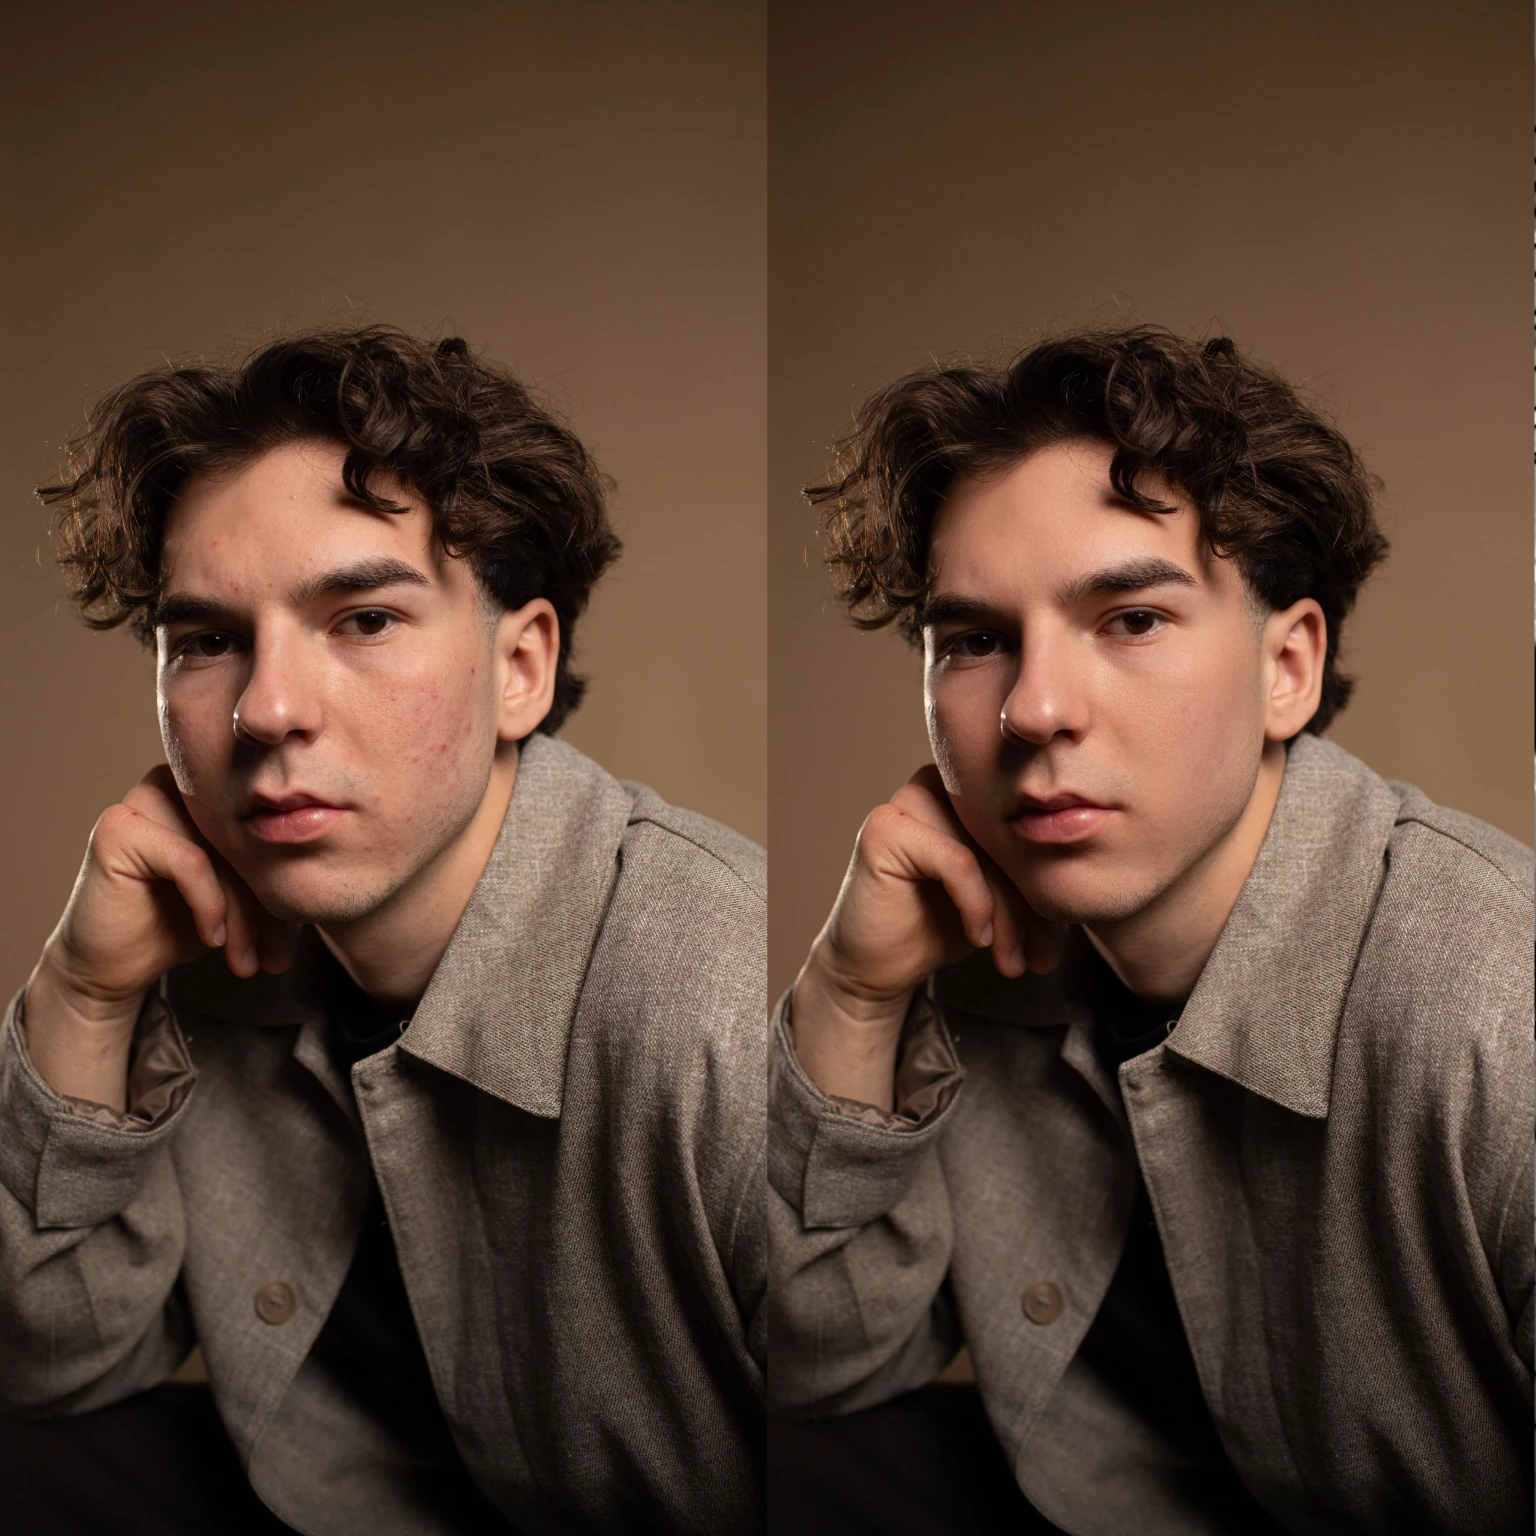
Want to check your progress? Click the Before/After button next to the zoom percentage to compare your edits to the original image side-by-side. Click it again to return to your retouched view.
The History button is in the upper left corner next to the view options. It shows a full list of every adjustment you’ve made.
Click on any step to revert the image to that point—any changes after that will be removed. If you change your mind, click the greyed-out step to return those edits.
Need to start fresh with a specific set of sliders? Click the Reset button next to that slider group’s name to simultaneously undo all the changes in that section.
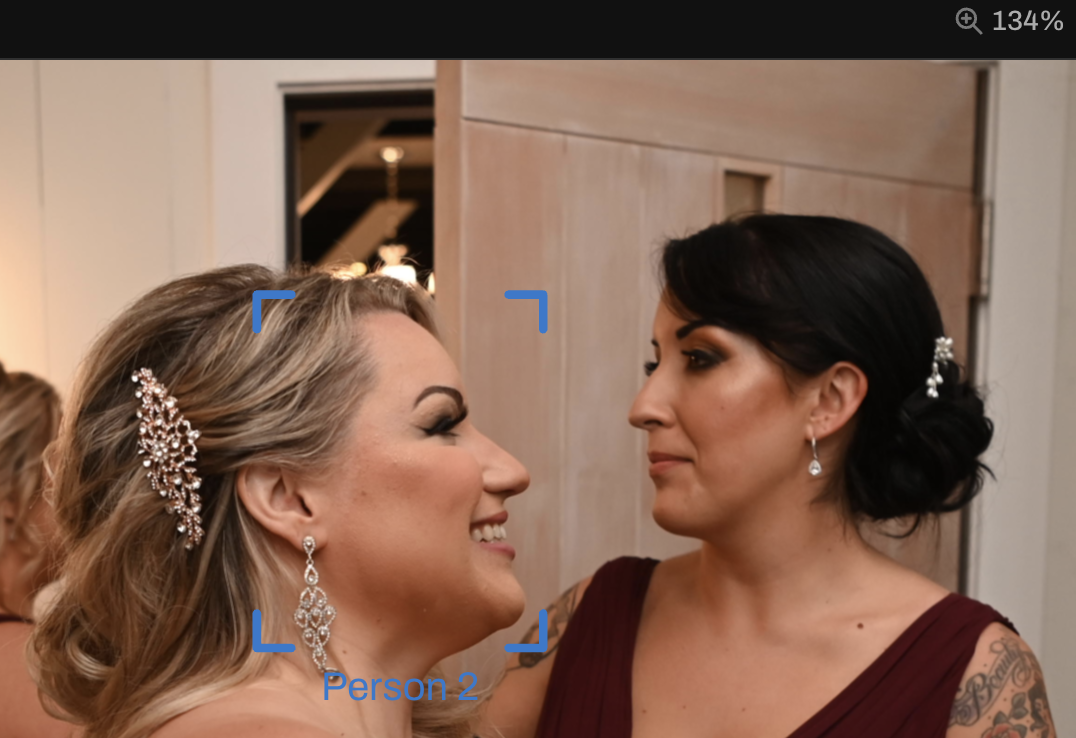
Pro Tip: Use the Person 1 / Person 2 toggle for multi-subject sessions to apply specific sliders to individuals.
Step 4: Apply Batch Edits to Your Photos
To apply the same retouching settings across several images:
Apply your desired slider settings to one image.
Select additional images using CMD/CTRL + click, or CMD/CTRL + A to select all.
Click the Sync button or use CMD/CTRL + C and CMD/CTRL + V to copy and paste settings.
This is especially helpful when working with consistent lighting setups or batch edits from a single boudoir session. For more tips on faster bulk photo editing, check out our guide.
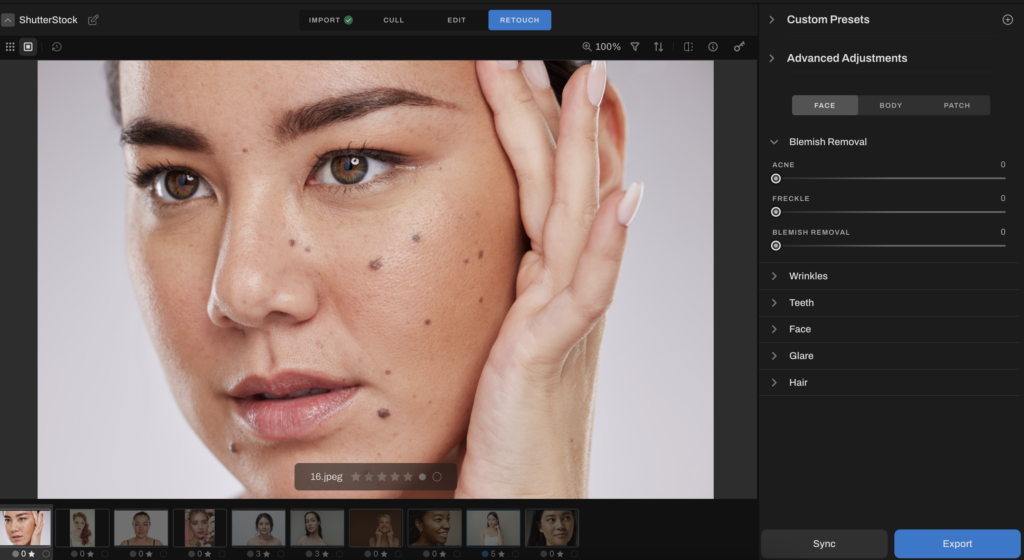
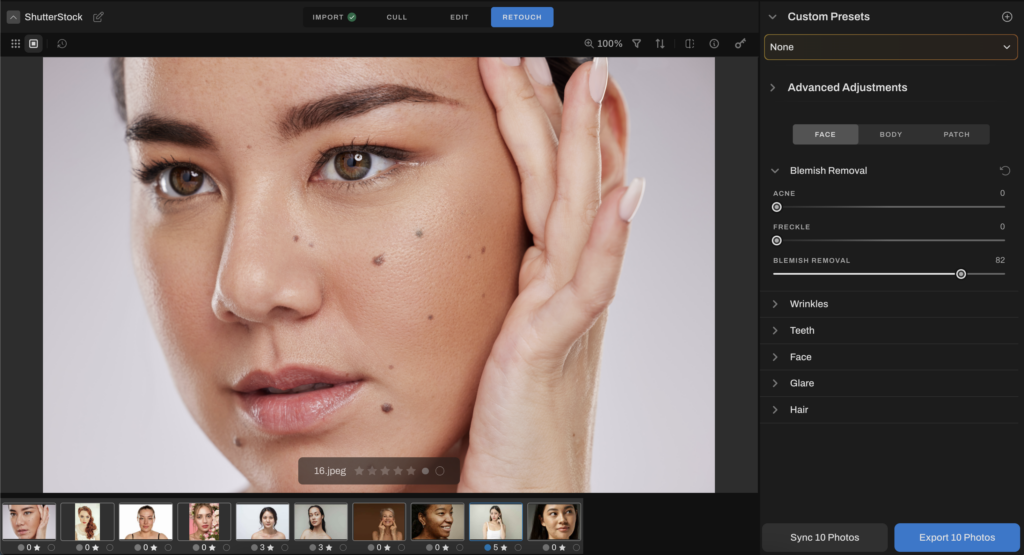
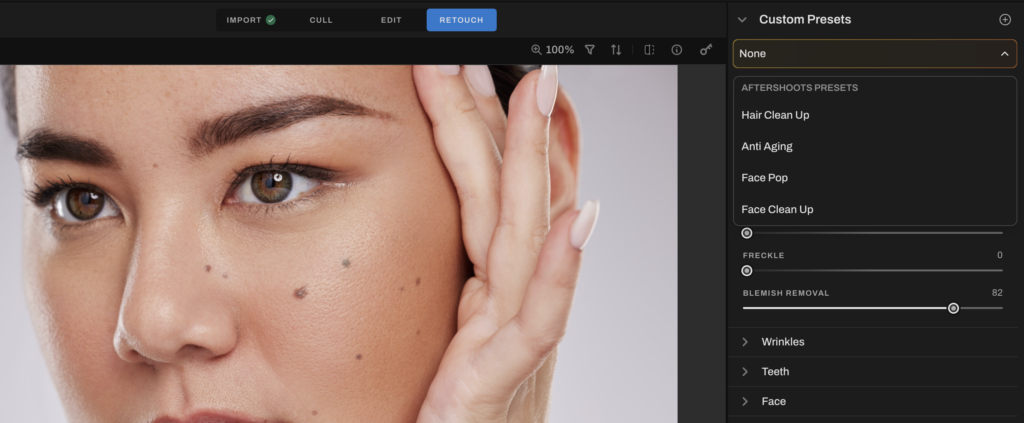
You can apply a pre-made retouching preset to one or more images at the top right of the retouch panel.
Choose a preset from the dropdown menu in the top-right corner and tweak individual sliders afterward if needed.
Step 5: Export
Once you are satisfied with your edits, you can export images by selecting one, multiple, or all (CMD/CTRL + A) and clicking the Export button at the bottom right.
Choose your destination folder and rename files if needed.
3 Advanced Retouching Techniques for Boudoir Photography
You’re 90% of the way there.
AI-powered retouching in Aftershoot does the heavy lifting, handling skin smoothing, blemish removal, and tone adjustments across your entire boudoir gallery in minutes.
But it’s that final 10% —the subtle, manual refinements that give your images a professional polish and a personal touch.
Below are a few advanced editing techniques boudoir photographers often use to add those finishing touches and create images their clients will truly cherish.
P.S. These retouching techniques are specific to adobe photoshop
Frequency Separation
In retouching, frequency separation splits an image into two components: high frequency (texture) and low frequency (tone and color). It’s a powerful method for smoothing skin while preserving realistic detail—but it requires a careful, technical setup to avoid over-editing.
The low-frequency layer handles color inconsistencies like redness or blotchiness, while the high-frequency layer holds fine details like pores and lines.
Used well, this retouching technique helps even out skin tones without sacrificing natural texture — but go too far, and you risk veering into “plastic skin” territory.
Dodge and Burn
Dodge and burn is a photo editing technique that allows you to lighten (dodge) or darken (burn) selectively specific areas of your boudoir images. When applied thoughtfully, this technique creates a three-dimensional quality that can dramatically enhance your subject’s natural beauty.
Using dodge and burn effectively is like sculpting with light and shadow, and helps:
Enhance natural body contours and muscle definition.
Even out inconsistent skin tones.
Create depth and dimension in otherwise flat-looking images.
Highlight your subject’s best features.
Minimize distractions and reduce the appearance of minor imperfections.
For boudoir photography, dodge and burn techniques are particularly effective for facial contouring, body shaping, and achieving smoother-looking skin without sacrificing texture.
Here’s how:
Burn along the sides of the torso to create a slimming effect.
Dodge the center line of the abdomen to create a more toned appearance.
Burn slightly under the jawline to define it.
Dodge along collarbones, cheekbones, and other natural highlights.
Burn where shadows naturally fall, such as under the bust or between muscle groups.
These subtle adjustments follow the body’s natural contours while enhancing them slightly, helping create a more sculpted appearance without making obvious changes to your subject’s actual shape.
Using the Curves Method
One of the most effective approaches to dodge and burn is the curves method, which gives you extraordinary control over the process. Here’s how it works:
Create two curves adjustment layers: One set to lighten (for dodging) and one to darken (for burning)
Fill both layer masks with black: This helps hide the adjustments.
Use a soft white brush to paint on the masks where you want to apply the effect
Work at low opacity (3-5%) to build up the effect gradually
This method is completely non-destructive, allowing you to refine your work throughout the editing process.
Color Correction
Getting skin tones right ensures your subject looks natural and radiant while helping to establish the overall mood of the image. But before diving into specific color correction techniques, it’s important to understand that skin is never one uniform color.
Natural skin contains undertones, with areas like the cheeks, nose, knees, and elbows often appearing more red than the rest of the body. Other areas, like the underside of the arms, might have a bluer cast.
When working with skin tones, start with white balance adjustment. This sets the foundation for all other color work:
Use the eyedropper tool to select a neutral gray or white area in the image.
Fine-tune using temperature and tint sliders to achieve natural-looking skin.
Boudoir photography often benefits from slightly warmer tones that create a sensual, inviting mood.
Once white balance is established, move to more targeted adjustments using Curves. This powerful tool allows you to control both contrast and color with precision:
Use RGB curves for overall contrast adjustments.
Utilize individual red, green, and blue channel curves to address specific color casts.
Create subtle S-curves to add depth while maintaining a natural skin appearance.
For even more control, Color Balance adjustments let you separately modify colors in the shadows, midtones, and highlights. This is particularly useful when dealing with mixed lighting scenarios common in boudoir settings.
Finalizing Your Vision With Color Grading
Color grading is where technical skill meets artistic vision. To explore different photo editing styles and enhance the mood of the picture, based on your aesthetics and client preferences, try the following:
Split Toning: Apply different colors to highlights and shadows for a stylized look.
Warm tones in highlights and cool tones in shadows create a classic boudoir aesthetic.
Subtle complementary colors can add dimension and emotional impact.
LUTs (Look-Up Tables): These provide consistent color grades across multiple images.
Start with skin tone-specific LUTs as a foundation.
Adjust intensity to suit each image.
Create custom LUTs for your signature style.
Vibrance vs. Saturation: Use these adjustments strategically:
Vibrance increases the saturation of muted colors while protecting skin tones.
Targeted saturation boosts can emphasize elements like lingerie or props without affecting skin.
Remember that color correction and grading aren’t just about applying fixes—they’re about enhancing the mood and telling a story through color.
Bonus: How to Communicate with Your Clients for a Boudoir Photoshoot
Open communication with clients about your retouching practices is essential. Before the session:
Discuss your retouching philosophy and boundaries.
Show before-and-after examples from previous sessions.
Explain which elements you typically enhance (temporary blemishes, minor skin smoothing) versus permanent features you preserve.
Be transparent about additional costs for extensive editing requests.
This conversation sets realistic expectations and builds trust with your clients, reducing potential disappointment or requests for unrealistic changes later.
Striking a Balance When Retouching Boudoir Photos
The most powerful aspect of the boudoir experience isn’t creating perfect images — it’s helping clients see their beauty. Ethical retouching should enhance confidence rather than reinforce insecurities.
When clients view their images, they should feel that you’ve captured their best self, not created an unattainable fantasy version.
By thoughtfully integrating automation into your workflow while preserving your artistic input, you’ll create a streamlined process that benefits you and your satisfied clients.
Ready to streamline your workflow with AI retouching? Join the waitlist today!